 TOOL HUNTER
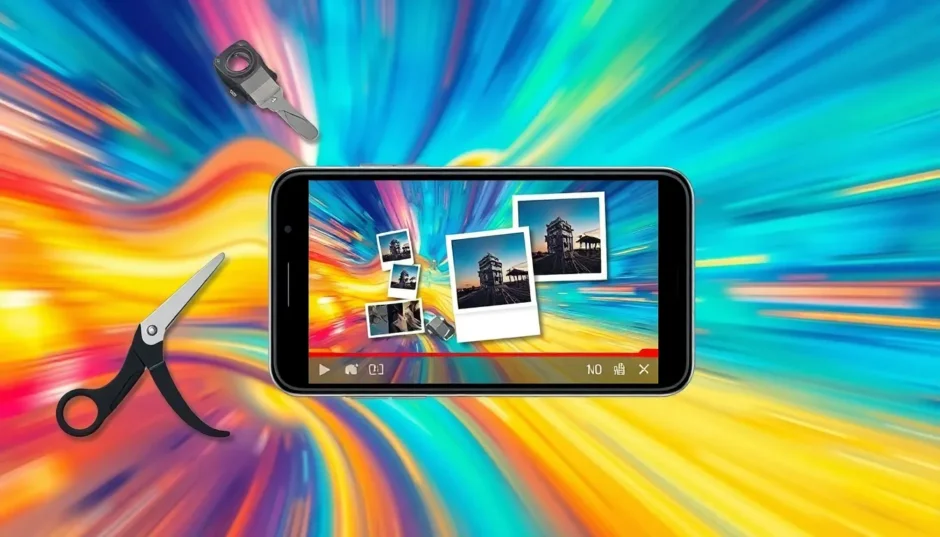

Ever seen a video where pictures pop up on screen and thought, “I wish I could do that”? Well, you totally can! Adding images on top of videos is a super fun way to make your content more eye-catching and personal. Whether you’re sharing memories, creating tutorials, or just having fun, learning how to overlay pictures is a game-changer.
In this guide, we’ll walk through three super simple methods to overlay pictures on your videos. And yes, one of the absolute best tools for this is CapCut—super easy to use, packed with features, and completely free. So if you’re curious about how to overlay in CapCut or how to add picture on CapCut, you’re in the right place. Let’s jump right in!
What is Image Overlay?
Before we start, let’s quickly cover what overlaying an image actually means. It’s pretty straightforward: you’re placing a picture—like a logo, a sticker, a meme, or any graphic—on top of your video. You can move it around, resize it, and decide how long it stays visible. It’s a simple trick that can make your videos look way more professional and engaging.
Using a tool like CapCut for your capcut overlay image projects means you can do all this even if you’ve never edited a video before. It’s that user-friendly!
Overlaying Images with CapCut Mobile App
Most of us have our phones with us all the time, right? That’s what makes mobile editing so convenient. CapCut’s mobile app is available for both Android and iOS, and it feels like having a mini editing studio right in your pocket.
The app is designed to be simple and intuitive. You don’t need to be a tech expert to figure it out. Trimming clips, adding effects, and yes—overlaying images—are all just a few taps away.
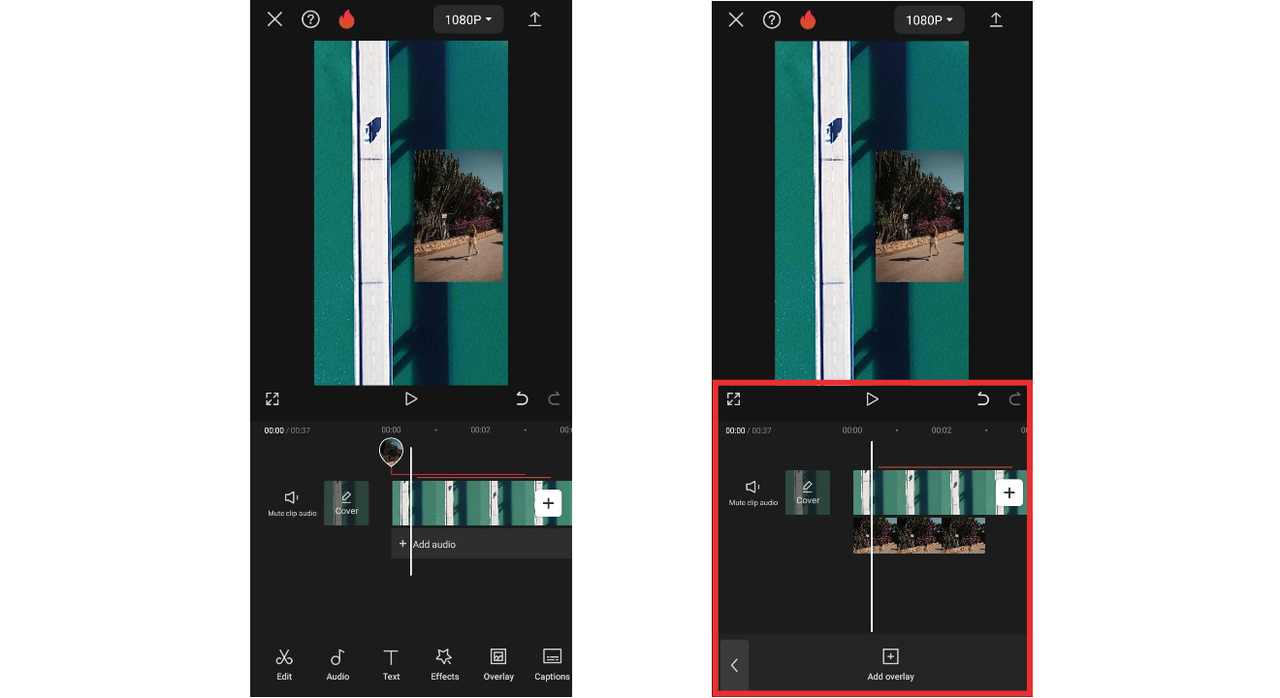
Here’s a quick guide on how to add pictures in CapCut using your phone:
- Download CapCut from your app store (it’s free!), open it, and tap “New Project.”
- Pick the video you want to edit from your gallery. It’ll show up in the timeline at the bottom.
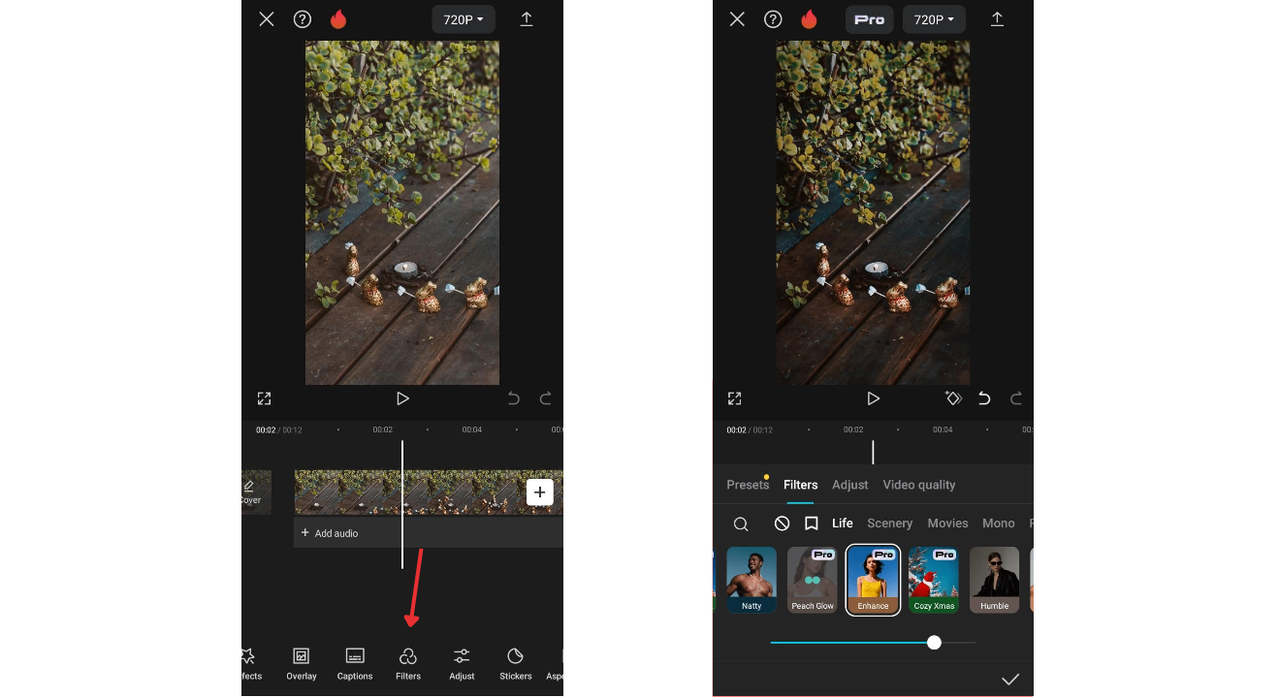
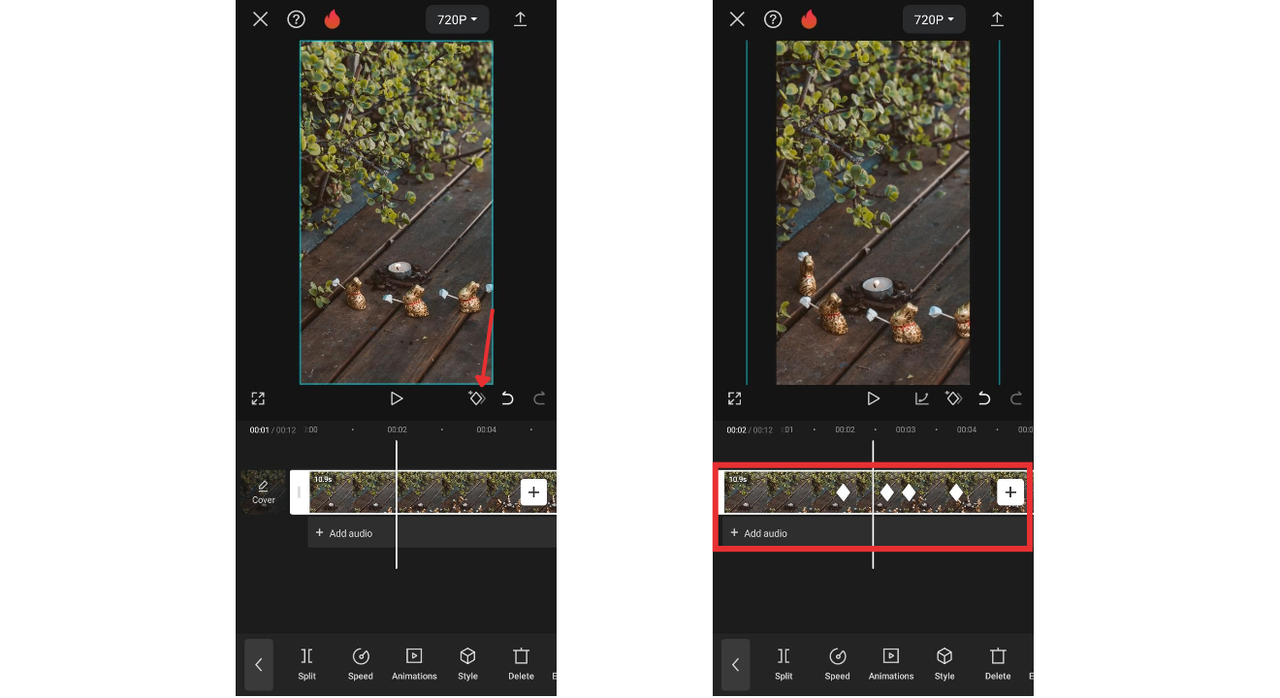
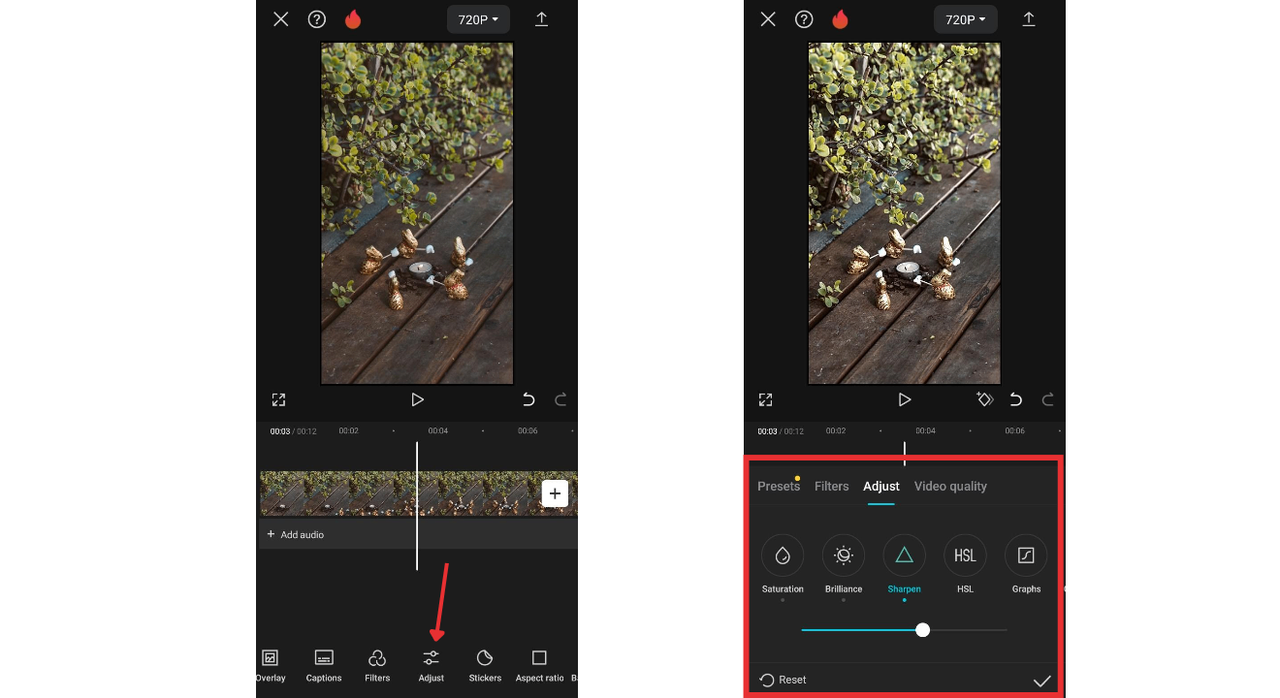
- Tap the “Overlay” button on the bottom toolbar, then select “Add Photo” to choose your image.
- Once your image is placed, you can pinch to resize, drag to reposition, and adjust its duration by stretching the clip on the timeline.
- Experiment with animations, filters, or keyframes to make your overlay fit perfectly.
- Happy with the result? Hit export, choose your quality settings, and share your video online!
See? Creating a capcut overlay is easier than you thought!
Key Features of CapCut Mobile
CapCut isn’t just about placing images—it’s loaded with features that make editing both powerful and enjoyable.
With multi-layer support, you can stack multiple images, text, stickers, and even sound layers. This means you can get really creative without things getting messy.
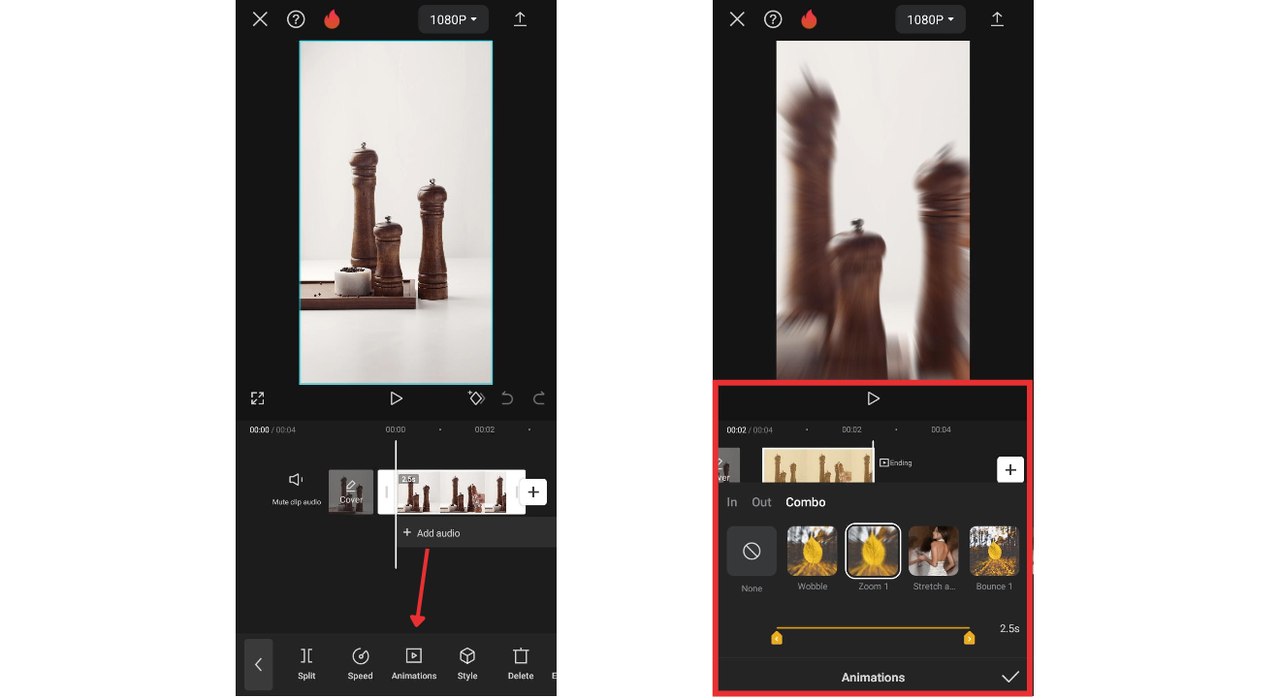
Add life to static images with built-in animations. Make them fade, bounce, slide—you name it.
Change the vibe of your video instantly with filters. Go vintage, moody, bright—whatever fits your story.
For those who love control, keyframing lets you set movement paths and timing for your overlays.
Fine-tune brightness, contrast, and saturation so your overlays blend in naturally.
Pros and Cons of CapCut Mobile
Pros:
- Super easy to learn and use
- Tons of features for overlays and edits
- Free with no hidden costs
- High-quality video export
- Perfect for quick mobile edits
Cons:
- Takes up phone storage
- Some advanced features have a learning curve
Overlaying Images on Video with iMovie for iOS
If you’re an iPhone or iPad user, you might already have iMovie installed. It’s a solid, simple tool that’s great for basic edits—and it’s totally free for Apple users.
Here’s how to overlay an image in iMovie:
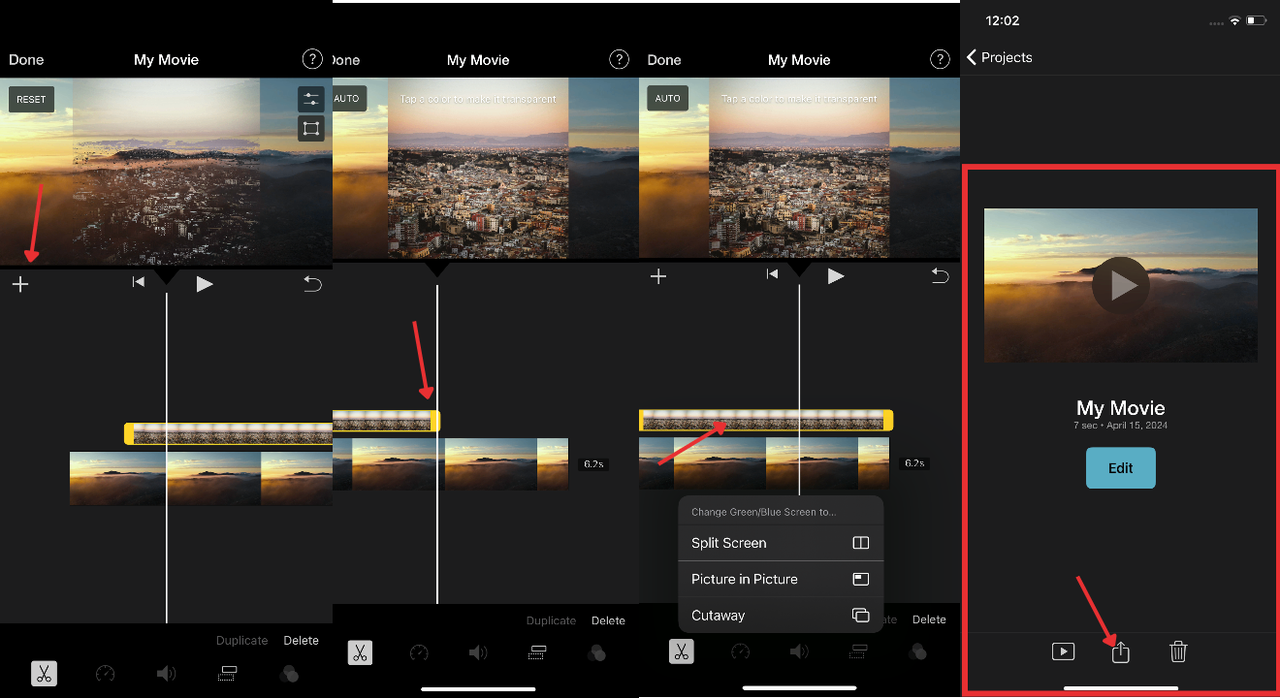
- Open iMovie and start a new project. Import your video.
- Tap the “+” button, go to Photos, and pick your image.
- Your image will appear above the video timeline. Drag it to adjust placement.
- Tap the image to resize or reposition it manually.
- Drag the ends of the image clip to control how long it appears.
- Export and share your video.
Pros and Cons of iMovie
Pros:
- Very simple and intuitive
- Pre-installed on Apple devices
- Free for iOS users
- Good for beginners
Cons:
- Only available on Apple products
- Limited advanced features
- Fewer effects and filters
- Supports fewer video formats
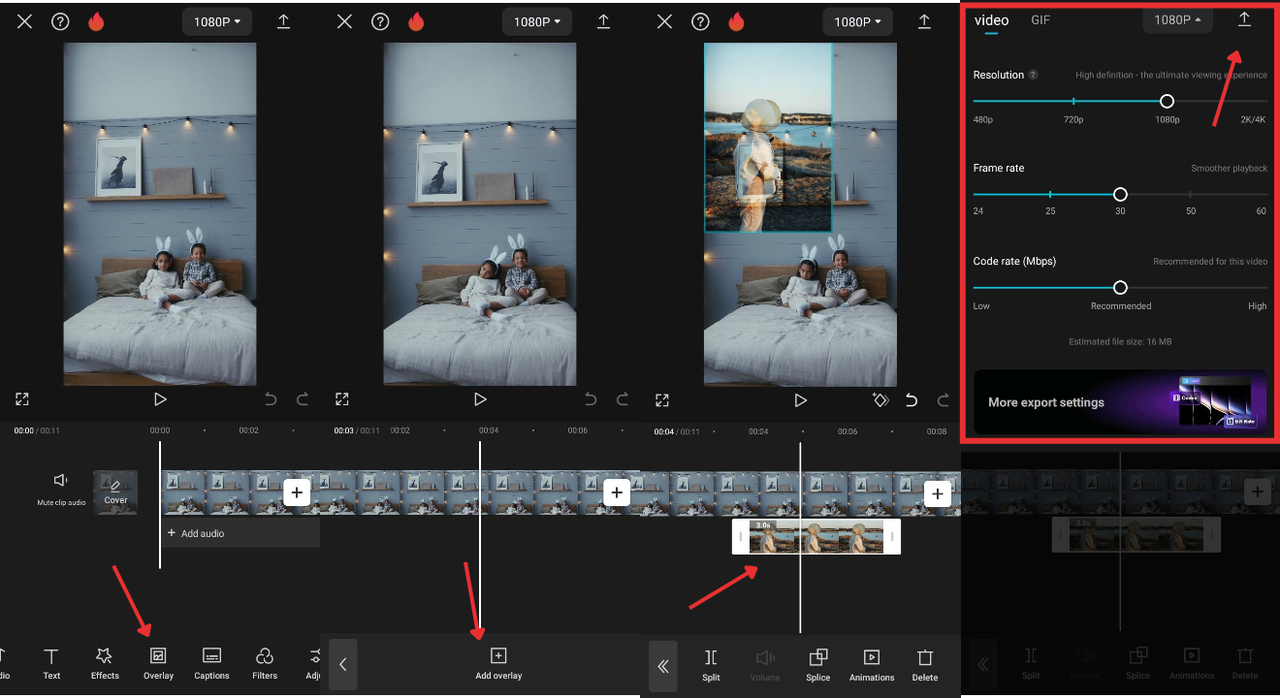
Overlaying Images Online with CapCut Web Version
Don’t want to download anything? No problem! CapCut also offers a web version that works right in your browser. It’s just as powerful as the mobile app and perfect for editing on a computer.
Here’s how to use CapCut Web to overlay pictures:
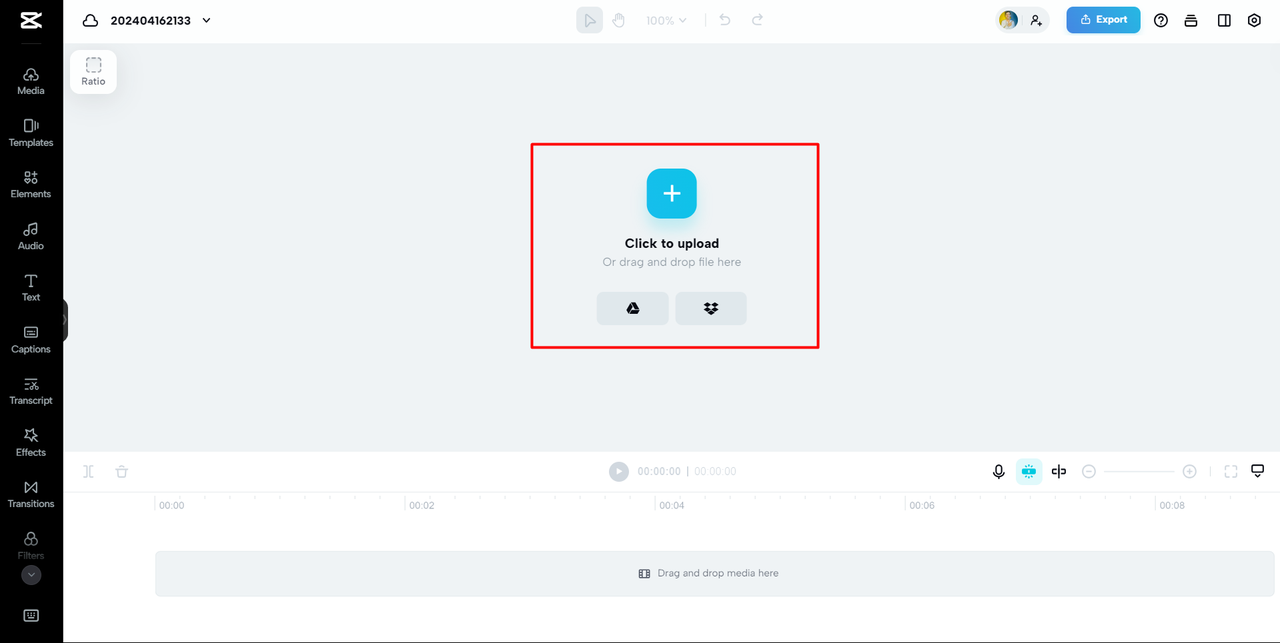
- Go to the CapCut website and start a new project.
- Upload your video and your overlay image.
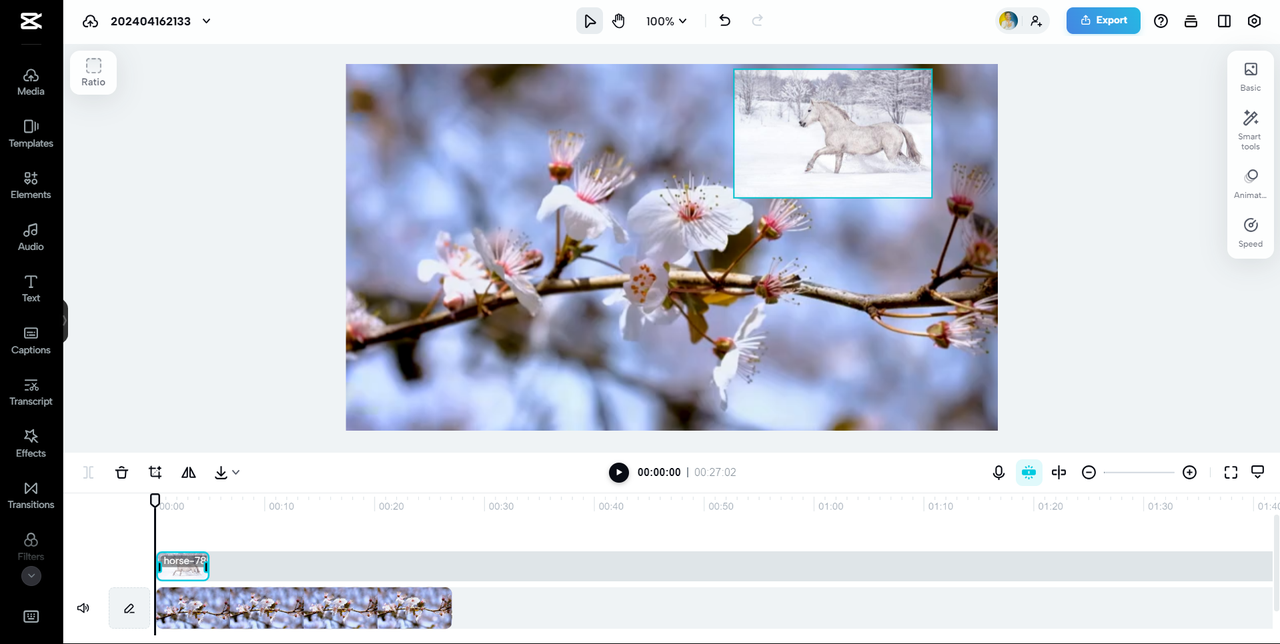
- Drag the image from your media library onto the timeline above your video.
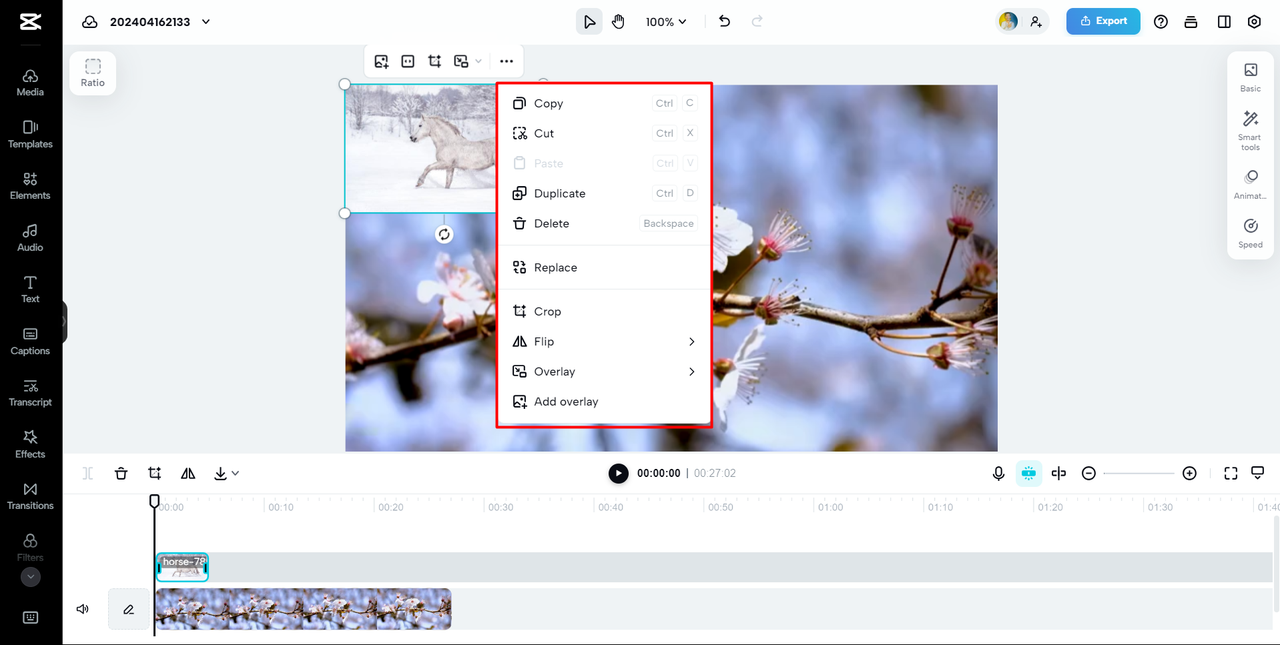
- Resize, rotate, or move it directly in the preview window.
- Use opacity and blend modes to make the overlay look natural.
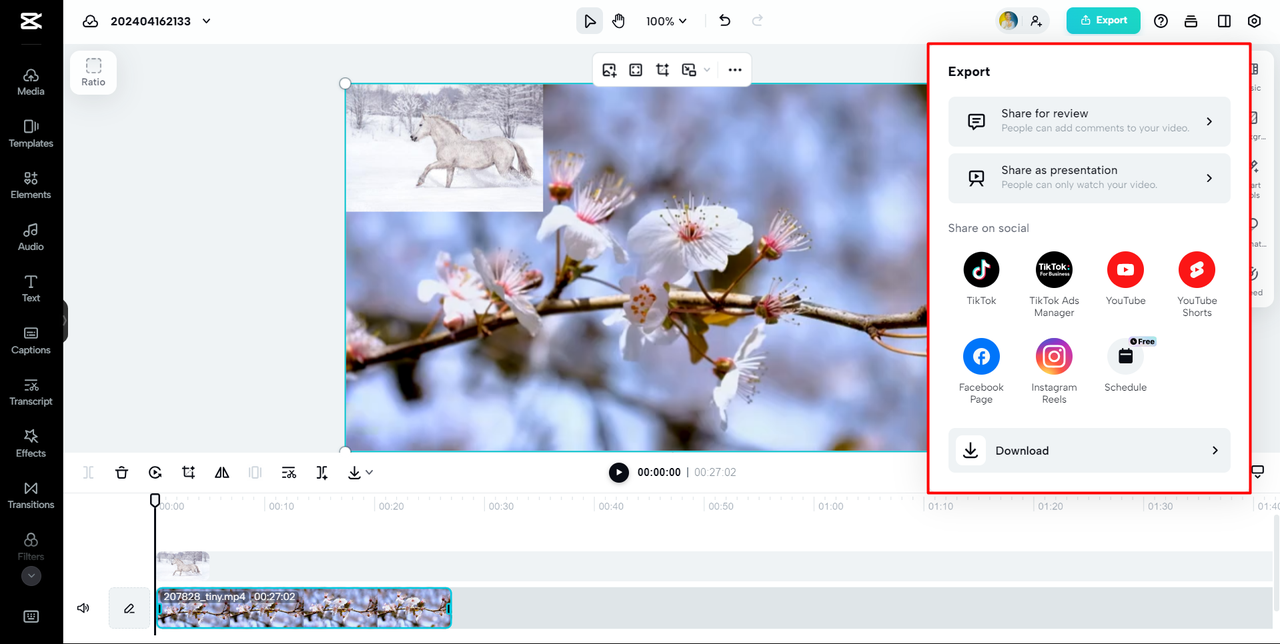
- Click export, select your quality, and download.
Pros and Cons of CapCut Web
Pros:
- No download required
- Clean and easy interface
- Full feature set similar to the app
- Free to use
Cons:
- Requires internet connection
- Login needed to save projects
CapCut — Your all-in-one video & photo editing powerhouse! Experience AI auto-editing, realistic effects, a huge template library, and AI audio transformation. Easily create professional masterpieces and social media viral hits. Available on Desktop, Web, and Mobile App.

Why Choose CapCut for Overlaying Images?
You might be wondering—why are we talking so much about CapCut? Because it truly makes overlaying images simple, fun, and accessible. Whether you’re on your phone or computer, you get professional-level tools for free.
Learning how to add picture on CapCut takes minutes, and you can immediately start making videos that stand out. The capcut overlay image tool is flexible—you can add multiple images, animate them, and blend them smoothly into your videos.
Plus, CapCut is always updating, so there’s always something new to play with.
CapCut — Your all-in-one video & photo editing powerhouse! Experience AI auto-editing, realistic effects, a huge template library, and AI audio transformation. Easily create professional masterpieces and social media viral hits. Available on Desktop, Web, and Mobile App.
Frequently Asked Questions
Can I add more than one image overlay in a video?
Absolutely! In CapCut, just tap “Overlay” again after adding your first image and select another one. You can repeat this as many times as you want. Each overlay can be customized separately.
What blending options does CapCut offer?
CapCut includes blend modes like Screen, Multiply, Overlay, and more. These change how your image interacts with the video—making it brighter, darker, or blending colors for cool effects.
How long can an overlay stay on screen?
There’s no time limit! You can make an overlay last the whole video or just a few seconds. Just drag the clip edges on the timeline to adjust.
Will the video quality be good after exporting?
Yes! CapCut uses high-quality compression so your video stays sharp. You can also choose your preferred resolution and bitrate before exporting.
Wrapping Up
Overlaying images is a small touch that can make a big difference in your videos. It adds personality, tells better stories, and keeps your audience hooked. With tools like CapCut, it’s easier than ever to get started.
We’ve looked at three ways to do it: CapCut mobile, iMovie for iOS, and CapCut online. Each has its perks, but CapCut is our top pick because it’s free, powerful, and easy to use.
So what are you waiting for? If you’ve been wanting to learn how to add pictures in CapCut, now’s the time. Give it a try—you might surprise yourself with what you create!
Some images courtesy of CapCut.

