TOOL HUNTER
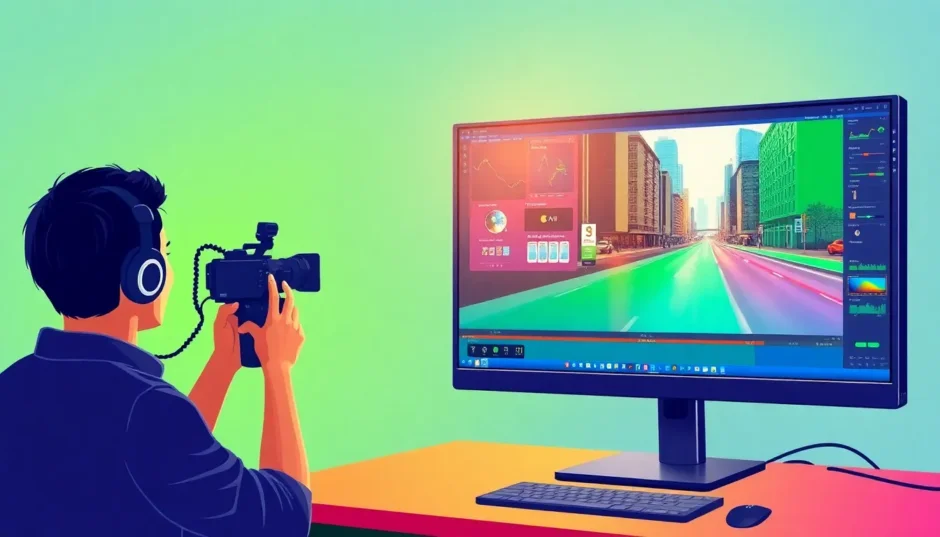

Ever watched a weather forecast and wondered how the presenter seems to stand right in front of a moving weather map? Or maybe you’ve seen a movie with incredible fantasy backgrounds and thought, “How on earth did they do that?” Well, the secret behind a lot of these effects is something called chroma keying—most people just call it green screen.
It’s that nifty trick where you film someone against a bright green (or sometimes blue) backdrop, and then in editing, you make that solid color disappear—replacing it with whatever you want. A beach, a spaceship, a cartoon world… honestly, whatever you dream up. It sounds like something only pros can do, but these days, with the right software, it’s totally something you can try yourself.
In this guide, I’ll take you through how to green screen in Premiere Pro, one step at a time. And because not everyone wants to pay for fancy software, I’ll also introduce you to a really great free alternative—CapCut. It’s super user-friendly and perfect if you’re just getting started.
Why should you use green screen in videos?
Before we jump into the how-to, let’s chat about why green screen effects are such a big deal. It’s not just for big-budget movies—there are plenty of reasons you might want to use it too.
The biggest one is probably subject isolation. That’s just a fancy way of saying “making your subject pop by removing everything behind them.” It helps keep the focus exactly where you want it.
Then there’s background replacement. Imagine shooting a video in your room but making it look like you’re on a tropical beach. With a green screen and some editing, you can place yourself anywhere. Super handy for travel vlogs, music videos, or even spicing up a virtual meeting!
Chroma key also unlocks tons of creative options. You can build scenes that would be way too expensive or downright impossible to film in real life. Always wanted to be in a sci-fi movie? Now you can (kind of).
It’s also a huge time and money saver. Big studios use green screens to avoid building massive sets or traveling all over the world. But even for smaller projects, it speeds up editing and gives everything a more pro look.
And lastly, it’s a budget-friendly shortcut to high production value. No need to fly to Paris to shoot a Paris scene—just use a green screen and a good image.
How to use green screen in Premiere Pro: step-by-step
Adobe Premiere Pro is one of the top professional editing tools out there, and it comes with powerful features for green screen work. If you want to learn how to use green screen in Premiere Pro, just follow these steps.
Start by opening Premiere Pro and importing your clips. Go to File > Import and choose the video you shot against the green background. Don’t forget to also import the background image or video you want to use instead.
Create a new sequence and place your background clip on Track 1. Then, drag your green screen footage onto Track 2, right above it.
Now for the fun part: applying the green screen effect. Go to the Effects panel and type “Ultra Key.” Drag and drop that effect onto your green screen clip on Track 2.
Once applied, head over to the Effect Controls panel. You’ll see an eyedropper tool next to “Key Color.” Click it, then click on a green part of your video in the preview window. Most of the green should vanish right then!
You might still see some green around the edges or slight shadows. No worries—just play with the Tolerance and Edge Softness sliders under the Ultra Key effect until everything looks clean and natural.
After that, feel free to add music, text, or anything else. Once you’re happy, export your video via File > Export > Media.
Getting the hang of how to use a green screen in Premiere might take a little practice, but it’s a skill that’s seriously worth learning.
CapCut — Your all-in-one video & photo editing powerhouse! Experience AI auto-editing, realistic effects, a huge template library, and AI audio transformation. Easily create professional masterpieces and social media viral hits. Available on Desktop, Web, and Mobile App.

A free and powerful alternative: CapCut video editor
Don’t get me wrong—Premiere Pro is amazing. But it’s also pricey and can feel overwhelming when you’re new. If you’re after a free and simpler alternative, I strongly recommend trying out CapCut.
CapCut is a free editing tool that’s gotten really popular over the past few years. It’s jampacked with features, including an incredibly straightforward green screen tool. Whether you’re just starting out or you’ve been editing for a while, CapCut is both easy to use and powerful.
One of its coolest features is that you can record green screen videos right inside the app—no separate camera or software needed. Perfect for influencers, teachers, or anyone who wants to make videos fast.
The chroma key feature is also a breeze. With one click, the green background is gone. You can then tweak the strength and shadows to blend your subject perfectly into the new scene.
And yes, it’s totally free. You get access to templates, trimming, cropping, voice changers, text-to-speech, and more—no subscription needed.
Another awesome tool is the AI-powered automatic background remover. Super handy if you’re in a rush or if your green screen isn’t perfectly lit.
CapCut also includes masking features, so you can hide or remove unwanted elements, or even create fun effects like making it seem like someone is disappearing or cloning themselves.
Plus, you’ll find loads of transitions and effects to make your videos more dynamic—from light leaks and distortions to retro and glitch effects.
How to edit green screen videos using CapCut
Ready to try it? Here’s how to do green screen editing with CapCut.
First, download CapCut for free and install it. Open the app and sign up with your email, Facebook, TikTok, or Google account.
Click “Create new video” and upload your green screen video and your chosen background from your computer.
Drag your background clip to the timeline first, then place your green screen video above it. Make sure they’re the same length if you want the background to last the whole time.
Select the green screen clip. On the right, you’ll see editing tools—click “Chroma key,” use the color picker to select the green in your video, and watch it vanish.
Use the Strength and Shadow sliders to clean up the edges and make everything look natural.
You can also use the auto background removal if you prefer—especially useful if your backdrop isn’t perfectly green or blue.
Once you’re happy, feel free to add music, text, or other effects. When you’re done, hit “Export,” choose your settings, and save the video to your device or share it straight to social media.
CapCut — Your all-in-one video & photo editing powerhouse! Experience AI auto-editing, realistic effects, a huge template library, and AI audio transformation. Easily create professional masterpieces and social media viral hits. Available on Desktop, Web, and Mobile App.
Wrapping up
So there you have it—now you know how to green screen in Premiere Pro, plus you’ve got a solid free alternative in CapCut. Premiere is powerful, but it costs money and has a learning curve. CapCut is free, intuitive, and still very capable.
If you’re new to video editing or just want a simpler way to use green screen effects, I highly recommend giving CapCut a shot. You get most of the same features without the price tag or complexity.
Whichever you choose, learning how to use green screen in Premiere Pro or a tool like CapCut can seriously upgrade your video projects. It’s fun, creative, and opens up a whole new world of possibilities.
Frequently Asked Questions
Is chroma key only for green?
Not at all! You can use chroma key with any solid color. Green and blue are most common because they’re furthest from human skin tones. CapCut makes it easy to work with any color.
How do I remove the background from a video in Premiere Pro?
You can use the Ultra Key effect under the Keying menu. But if you want something simpler, CapCut can remove backgrounds automatically with one click.
How do I use the chroma key in Premiere Pro?
Apply the Ultra Key effect to your green screen clip, use the eyedropper to select the green, and adjust the settings until it looks clean. It might take some practice. For a simpler experience, try CapCut.
Some images courtesy of CapCut.