TOOL HUNTER

If you’re serious about creating content that stands out, learning how to upload 4K video to YouTube is absolutely essential. High-quality 4K videos not only look incredibly sharp and professional but also help you attract more viewers and keep them watching longer. As more people watch videos on large screens like smart TVs, uploading 4K content has become more important than ever for content creators who want to grow their channels.
In this complete guide, we’ll cover everything you need to know about uploading 4K videos to YouTube. You’ll discover why 4K matters, what settings to use for the best quality, and step-by-step instructions for uploading from both computers and mobile devices. We’ll also introduce you to an amazing editing tool that can help make your videos look absolutely professional before you share them with the world.
Is 4K Uploading Supported on YouTube?
Yes, YouTube completely supports uploading 4K videos! The platform has been equipped to handle 4K content for several years now, and millions of creators regularly upload 4K videos without any issues. The key to making sure your video looks its absolute best is following YouTube’s recommended settings, which help maintain your video’s quality throughout the upload process.
When preparing your video for uploading 4K to YouTube, these are the settings you’ll want to use:
- File format: MP4
- Video codec: H.264
- Audio codec: AAC-LC
- Resolution: 3840×2160 pixels
- Frame rate: Same as your original recording
- Bitrate: 35-45 Mbps for standard 4K, 44-56 Mbps for HDR content
- Audio bitrate: 128 kbps (Mono), 384 kbps (Stereo), 512 kbps (5.1 surround sound)
These specific settings help preserve all the fine details and sharpness that make 4K video so impressive. Using the right formats and codecs also ensures that your video will play smoothly without any technical problems. By sticking to these guidelines, you can make sure your 4K YouTube upload looks professional and really stands out from lower-resolution content.
Why You Should Be Uploading 4K Videos
There are so many great reasons to start uploading 4K videos to YouTube. First and foremost, 4K content looks absolutely stunning on large screens like modern smart TVs. As more people watch YouTube on their big-screen TVs rather than just phones or computers, having high-resolution content becomes increasingly important for keeping viewers engaged.
Another huge advantage is that 4K videos tend to attract more viewers naturally. People are instinctively drawn to high-quality content, and when they see that little “4K” badge next to your video title, they’re more likely to click and watch. This can significantly help you grow your audience and increase overall engagement with your channel.
YouTube’s algorithm also seems to favor higher-resolution videos in its search rankings and recommendations. If you want your content to be discovered more easily, uploading in 4K might give you that extra edge over competitors who are still uploading in lower resolutions. Plus, as technology continues to advance, 4K is quickly becoming the new standard rather than a luxury option. By uploading 4K videos now, you’re essentially future-proofing your content library.
So if you’ve been wondering how to get a 4K video on YouTube to perform well, just remember that quality truly matters. Viewers appreciate clear, crisp videos that look great on whatever device they’re using, and YouTube’s recommendation system appears to appreciate them too.
How to Upload 4K Videos from Your Computer
Uploading 4K videos to YouTube from your computer is actually a pretty straightforward process. Just follow these simple steps, and you’ll have your video online in no time at all.
First, you need to export your video in 4K resolution from whatever editing software you’re using. Make sure to save your video in MP4 format with the H.264 video codec and AAC audio codec, as these are what YouTube recommends for the best results.
Next, take a moment to double-check your file settings before you start the upload process. Confirm that the resolution is actually 3840×2160 and that the frame rate matches whatever you used when recording. A higher bitrate—around 35-45 Mbps for standard 4K videos—will help maintain quality during compression. For audio, a bitrate of at least 320 kbps is recommended for good sound quality.
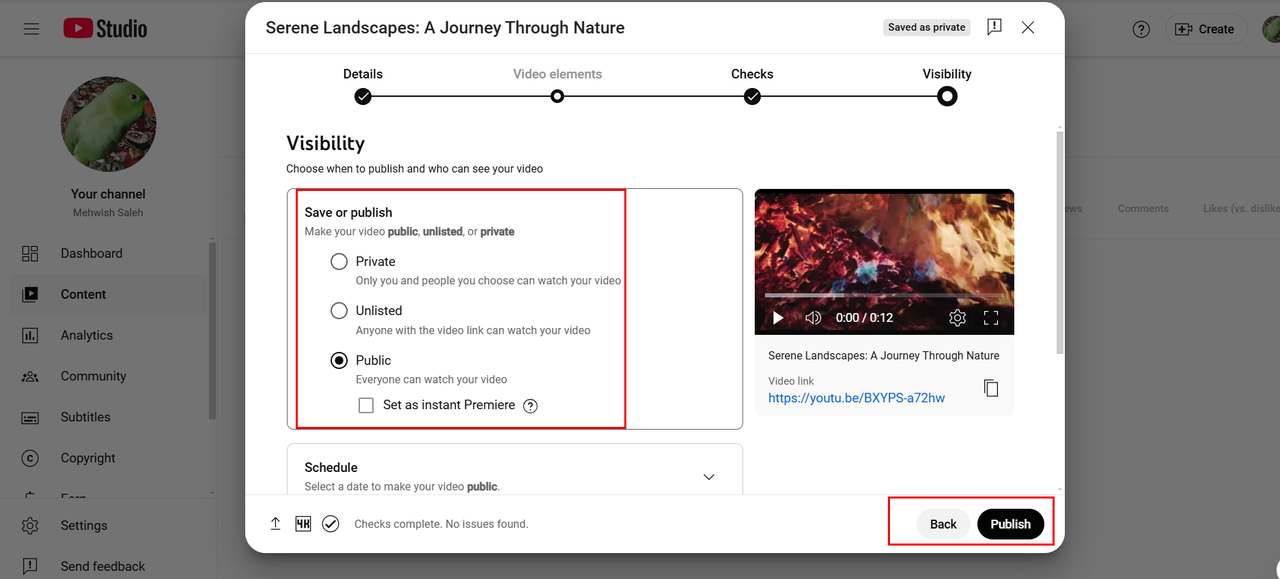
Now, open up YouTube in your web browser and sign into your account. Click on the “Create” button at the top right corner of the screen (it looks like a little camera icon), then select “Upload Video” from the dropdown menu that appears.
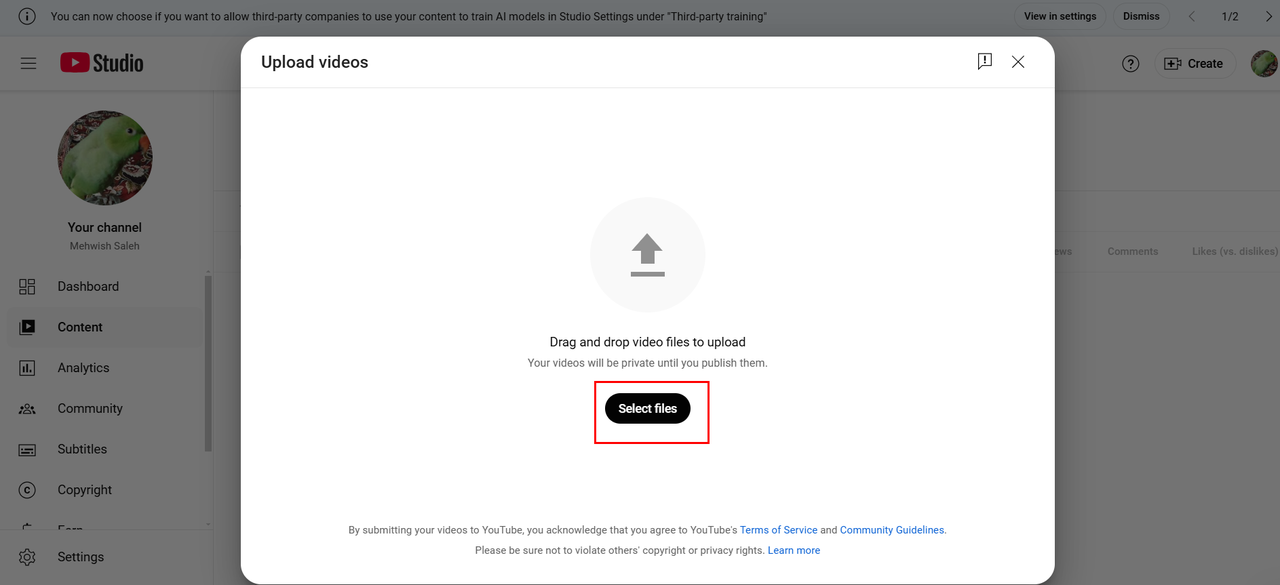
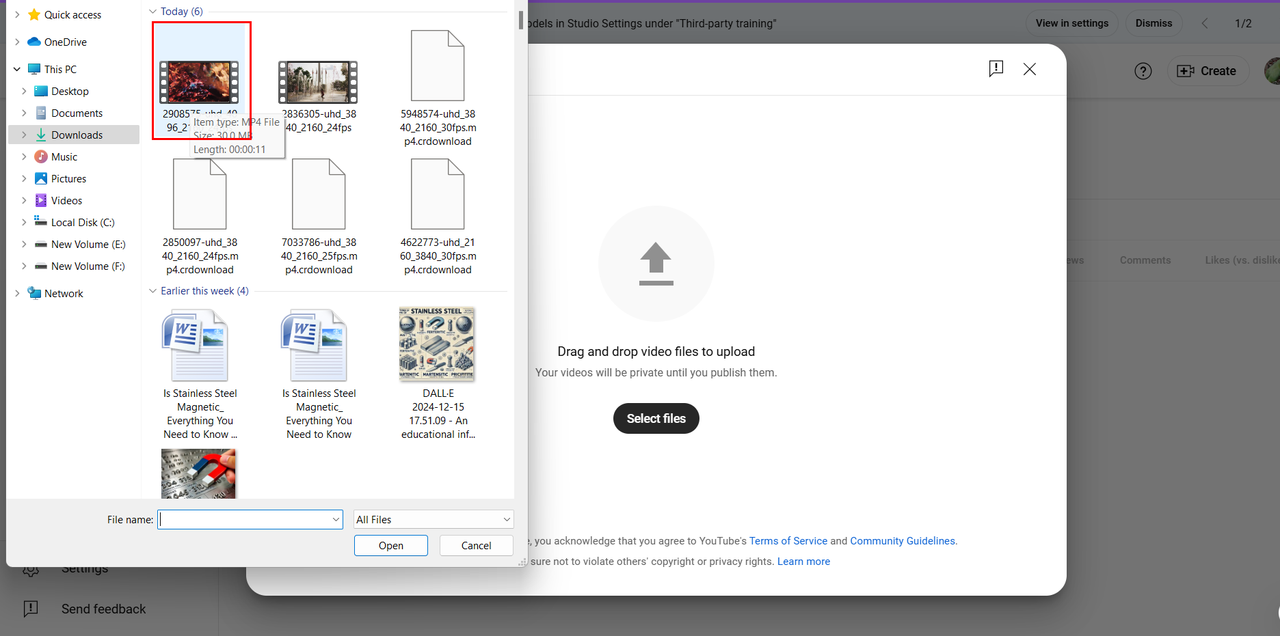
Choose the 4K video file from wherever you saved it on your computer and click “Open.” The upload process will begin automatically, and you’ll see a progress bar showing how much has been uploaded so far.
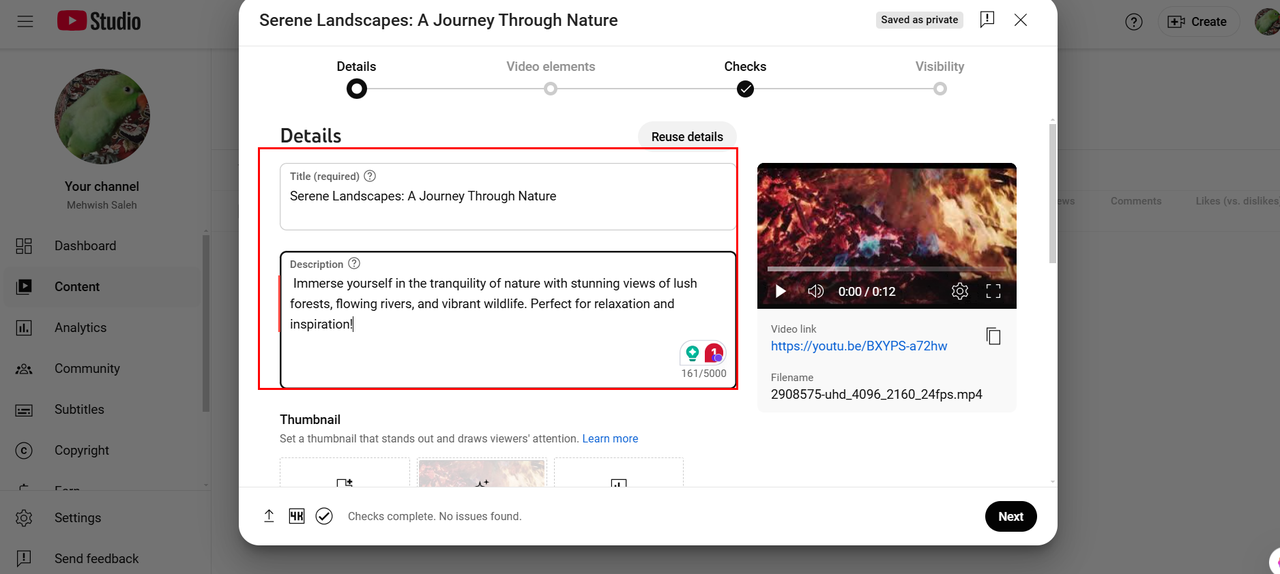
While your video is uploading, you can start adding a title, description, and tags. Make sure your title is attention-grabbing and includes relevant keywords that will help people find your video when they search for content like yours.
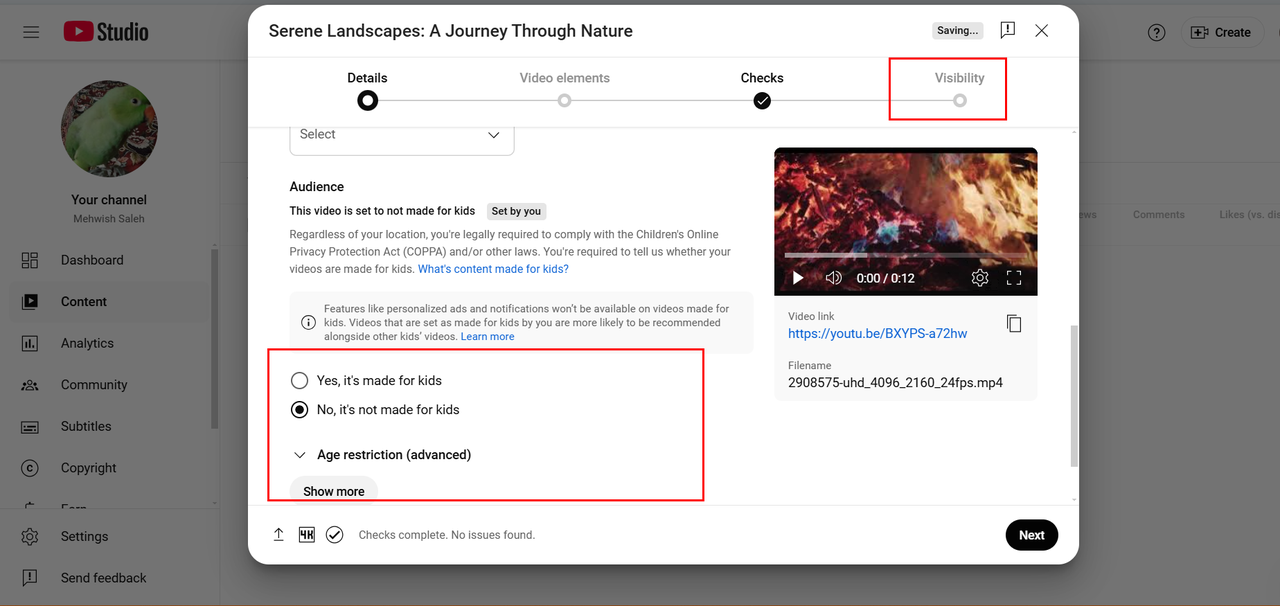
After that, you’ll want to set your audience and visibility preferences. You can choose whether your video is made for kids or not, and decide if it should be public (anyone can find and watch it), unlisted (only people with the link can watch), or private (only you can watch it).
Finally, click “Publish” to finish uploading your video to YouTube. Keep your browser window open until both the upload and processing are completely finished. It might take some time for YouTube to process your video in 4K, especially if it’s a longer video, so be patient and don’t close that browser tab!
And that’s all there is to it! You’ve just learned how to upload 4K video to YouTube from your computer.
Uploading 4K Videos from Mobile Devices
If you prefer using your phone for everything, you’ll be happy to know that you can also upload 4K videos to YouTube directly from your iPhone or Android device. The process is just as straightforward and can be done in just a few taps.
First, make sure you have the YouTube app installed on your phone. You can download it from the App Store if you have an iPhone, or from Google Play Store if you have an Android device. Open up the app and sign into your YouTube account.
Tap on your profile icon at the bottom right of the screen, then look for and tap on “Settings” to access the upload settings.
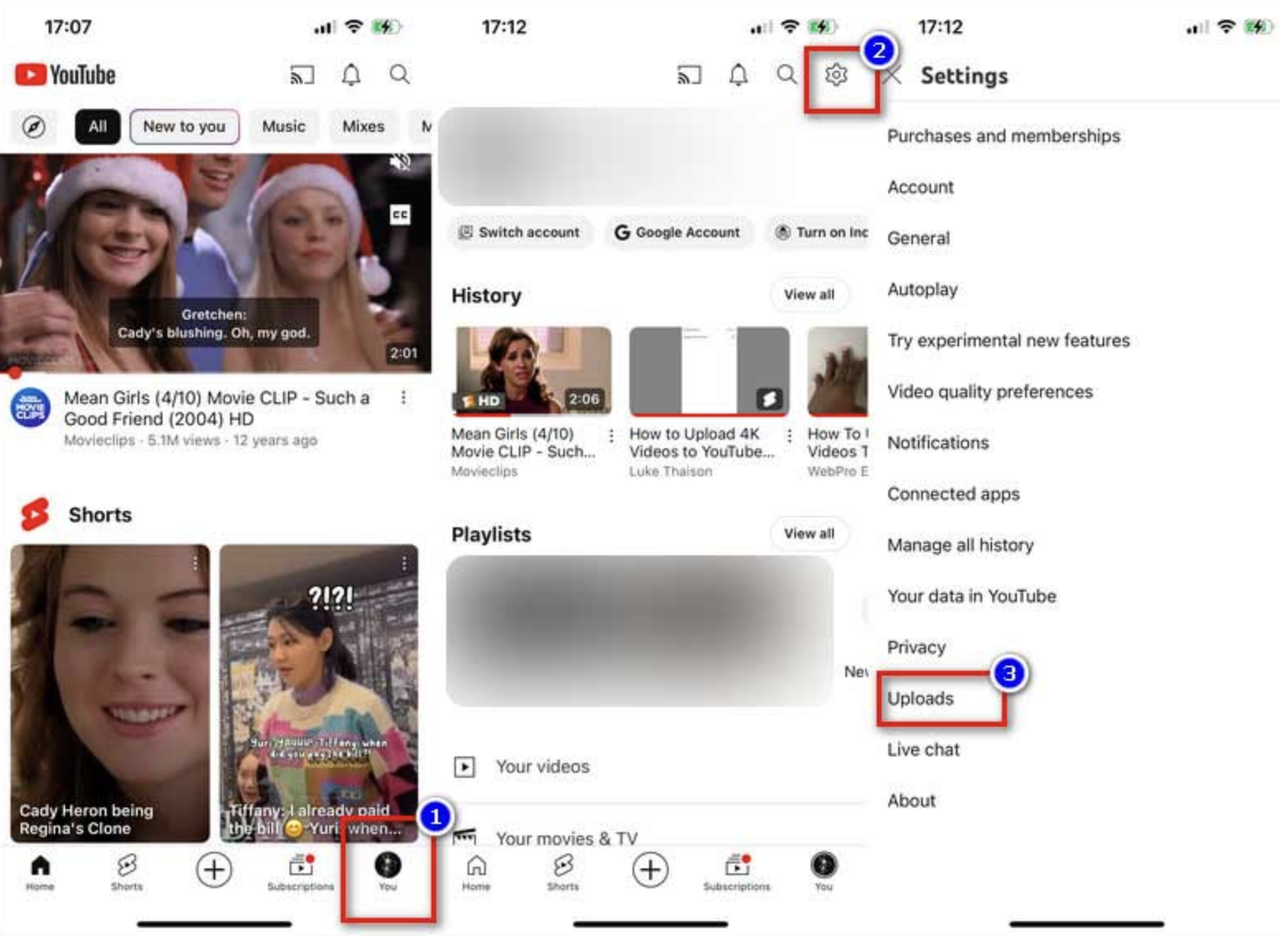
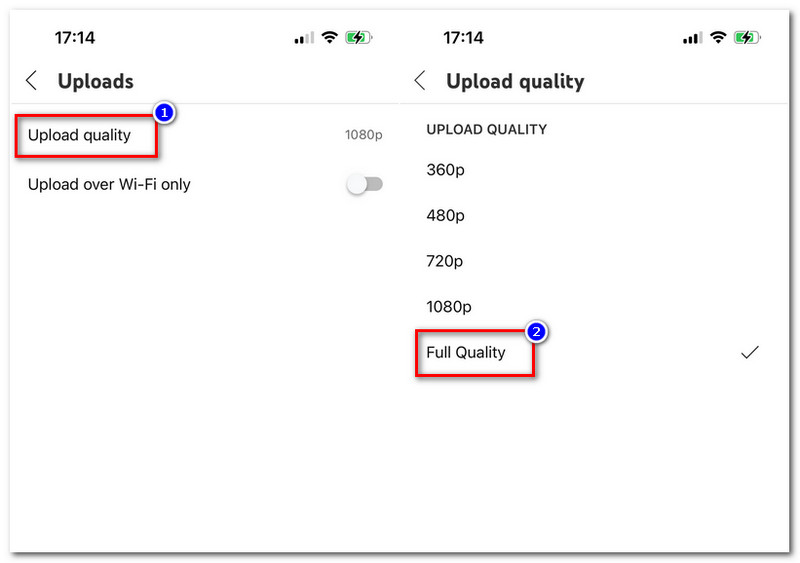
In the settings menu, select “Uploads” and make absolutely sure to choose “Full Quality” for your uploads. This ensures that your 4K video uploads to YouTube in its original resolution without any unnecessary compression that might reduce quality.
Now, tap the “+” icon that you’ll see on the screen to create a new upload. Select the 4K video you want to upload from your phone’s photo gallery or wherever you have it saved.
Add a title and description for your video right there on your phone. Try to keep it engaging and relevant to attract viewers. Once you’re done with that, choose your audience settings (whether it’s for kids or not) and finally tap “Upload Video” to start the process.
It’s important to note that uploading 4K video to YouTube from a mobile device requires a pretty stable internet connection. If your connection is weak or keeps dropping out, the upload might take much longer or could even get interrupted, which would mean you’d have to start over again.
CapCut — Your all-in-one video & photo editing powerhouse! Experience AI auto-editing, realistic effects, a huge template library, and AI audio transformation. Easily create professional masterpieces and social media viral hits. Available on Desktop, Web, and Mobile App.

Editing Your 4K Videos Before Uploading
Before you upload 4K YouTube videos, it’s always a good idea to edit them first to make sure they look their absolute best. This is where having a good video editor comes in really handy. There’s this great tool called CapCut that’s perfect for this job—it’s completely free and was specifically designed for editing high-resolution videos like 4K content.
With CapCut, you can do all sorts of editing magic like trimming your clips, adjusting colors, adding cool filters, and including smooth transitions or audio effects. It also gives you complete control over resolution settings, so your video stays sharp and clear throughout the entire editing process.
One of the really cool features of CapCut is that it offers these ready-to-use YouTube video templates. These templates make it super easy to create professional-looking videos quickly, even if you’re not an editing expert. You can also design custom thumbnails that will make your videos more appealing and clickable when people are browsing through YouTube.
CapCut even has these smart AI tools that can automatically generate stickers and text for your videos. This saves you a ton of time and adds a creative touch to your content without much effort. Another super helpful feature is auto-captions, which generates accurate subtitles for your videos automatically, making them more accessible to everyone.
Step-by-Step 4K Video Editing
Editing your videos with CapCut is surprisingly easy, even if you’ve never edited video before. First, you’ll need to download and install the software on your computer—it’s available for both Windows and Mac.
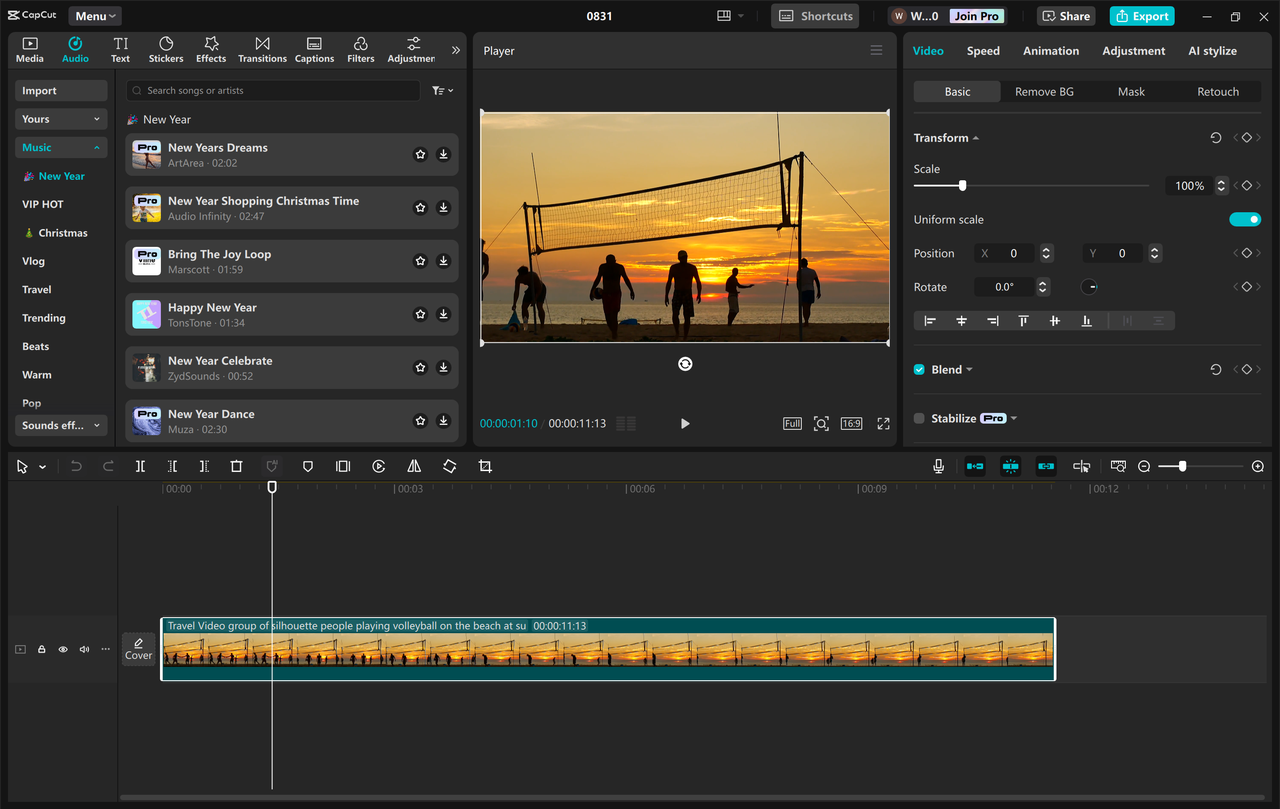
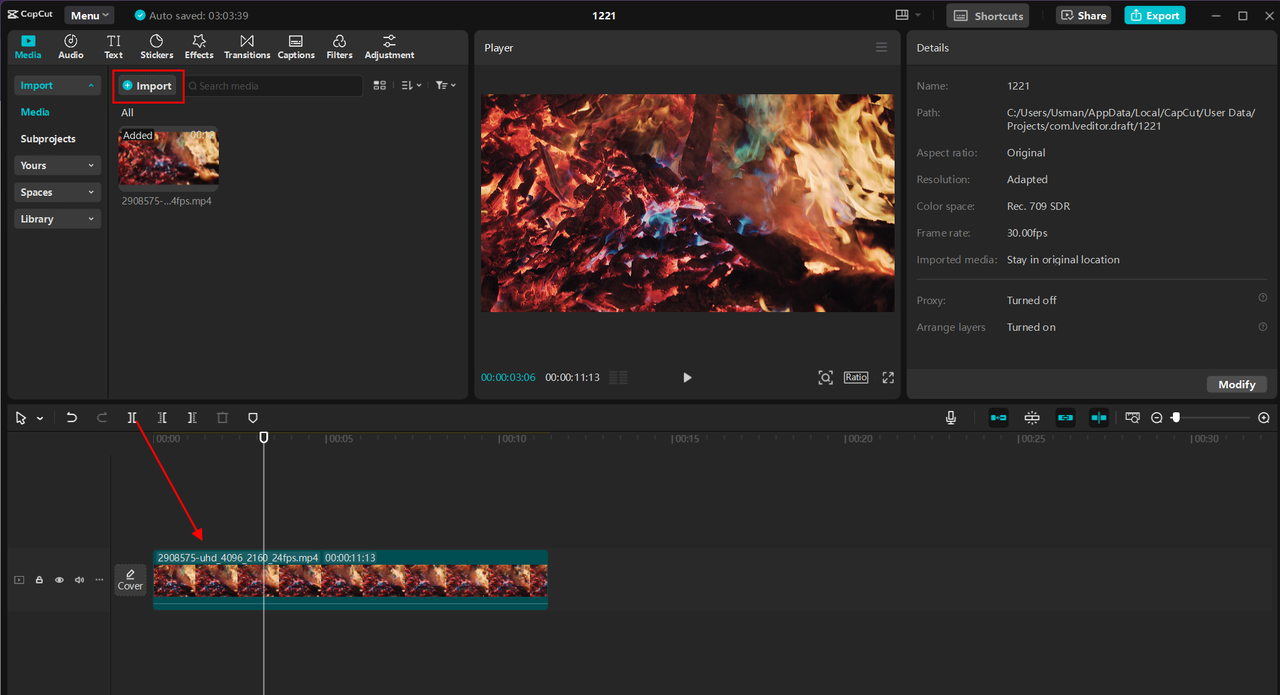
Once installed, open up CapCut and start a new project. Import your 4K video from your device or even from cloud storage if that’s where you keep your files.
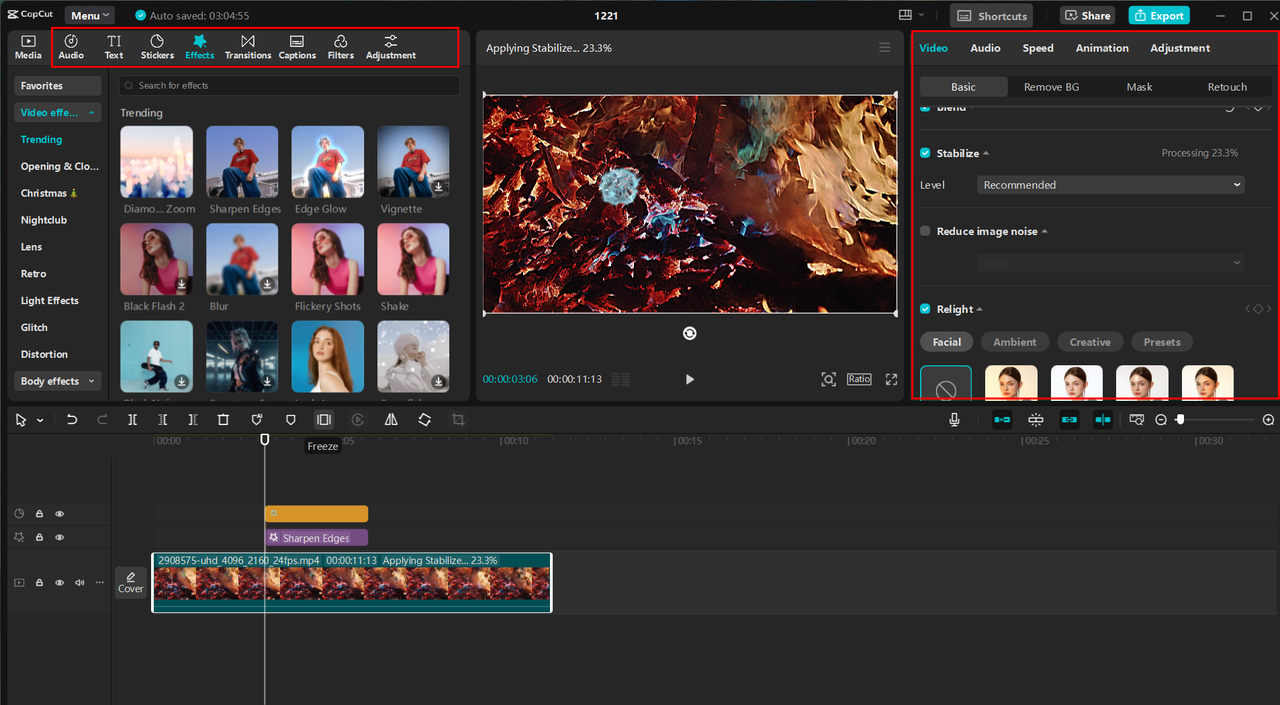
Once your video is in the timeline, you can start editing. Use the stabilization feature to smooth out any shaky footage if your camera was moving around a lot. You can also freeze frames to highlight important moments or particularly interesting parts of your video.
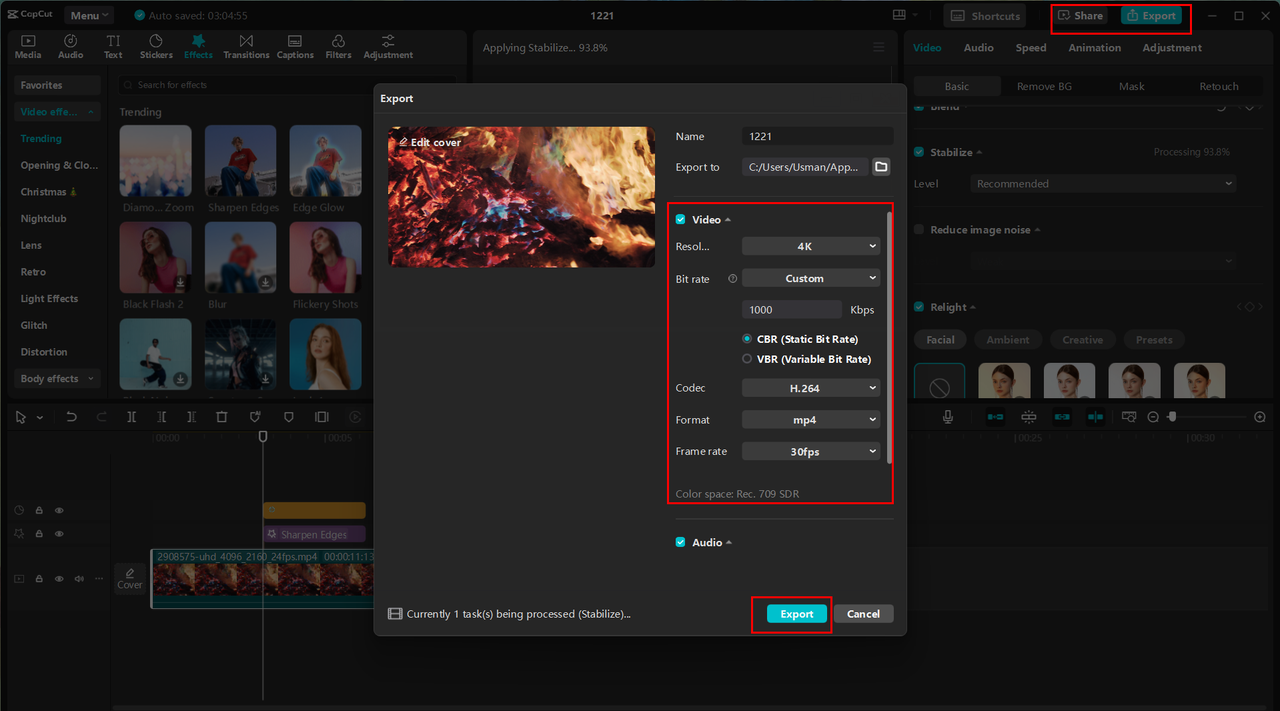
Add stickers, text, cool effects, and smooth transitions to make your video more engaging and professional-looking. Make sure to set your output resolution to 3840×2160 to maintain that beautiful 4K quality throughout the editing process.
When you’re completely done editing, just click the “Export” button to save your video. You can then upload it directly to YouTube or save it to your computer for uploading later.
Using CapCut ensures that your video is polished and ready for upload. This extra step can make a huge difference in how your content is received by viewers and can really help your channel stand out from the crowd.
CapCut — Your all-in-one video & photo editing powerhouse! Experience AI auto-editing, realistic effects, a huge template library, and AI audio transformation. Easily create professional masterpieces and social media viral hits. Available on Desktop, Web, and Mobile App.
Wrapping Up
Learning how to upload 4K video to YouTube is honestly one of the most valuable skills you can develop as a content creator today. High-resolution videos don’t just look better—they actually help you attract and retain more viewers, which is exactly what every creator wants. By following the steps we’ve outlined in this guide, you can ensure that your videos are uploaded in the best possible quality every single time.
Remember to always use the right settings, like MP4 format and the correct bitrate, to maintain clarity and sharpness. Taking the time to properly edit your videos with tools like CapCut can also significantly enhance their overall quality and professional appearance.
Whether you’re uploading from a PC or a mobile device, the process is pretty simple once you know what you’re doing. So why not start uploading 4K videos to YouTube today? Your audience will definitely thank you for the improved viewing experience, and your channel will benefit from looking more professional and high-quality.
Frequently Asked Questions
What’s the best resolution and settings for uploading 4K videos to YouTube?For the absolute best results, you’ll want to use MP4 format with H.264 video codec and AAC-LC audio codec. The ideal resolution is 3840×2160 with a standard 16:9 aspect ratio. Choose a frame rate of 24, 30, or 60 fps to ensure the best playback quality. Using editing tools like CapCut can help you export your video with these perfect settings while maintaining that beautiful 4K quality.
Why doesn’t my 4K video show up in 4K on YouTube after uploading?If your video isn’t showing in 4K, it’s probably because YouTube is still processing it (which can take a while for 4K content) or you might have used lower bitrate settings during upload. Make sure your video uploads with the proper settings, including the correct resolution and adequate bitrate. Using tools like CapCut can help optimize your video before uploading to guarantee it displays correctly in 4K.
How can I make sure my videos upload in true 4K quality every time?To ensure your video uploads in perfect 4K quality, always double-check the resolution, frame rate, and bitrate settings before uploading. Use MP4 format, H.264 codec, and AAC-LC for audio. CapCut can help you export your video in the best possible quality, ensuring smooth uploading and maximizing that gorgeous 4K resolution for YouTube.
Some images courtesy of CapCut