TOOL HUNTER

Have you ever seen a video where text, graphics, or special effects perfectly follow a moving object or person? That’s camera tracking in action! It’s the magic that lets you attach things like animated captions, blur effects, or even fire to moving elements in a scene. You can also use it to hide or blur things that are moving, like a license plate or someone’s face.
It might sound complicated, but with modern tools, it’s actually pretty doable—even if you’re just getting started. Whether you’re into content creation, social media, or just having fun with video, learning camera tracking can seriously level up your edits.
So, if you’re wondering what camera tracking is, how it works, and what tools can help you pull it off easily, you’re in the right place. Let’s jump in!
What Is Motion Camera Tracking?
Camera tracking—also known as motion tracking—is a technique used in video editing to replicate the movement of an object throughout a clip. That object could be a person, a car, an animal, a ball—really anything that moves!
The software analyzes the video frame by frame, identifying how the object shifts in position, scale, or rotation. Based on that movement, it creates a motion path. Once you have that path, you can attach other elements—like text, images, or visual effects—and make them follow that exact same route.
Imagine watching a soccer game where a glowing circle smoothly follows the ball across the field. Or a vlog where your Instagram handle sticks to your jacket as you walk. That’s motion tracking doing its thing!
It’s not just for fancy effects, either. You can use camera tracking to subtly censor moving objects, stabilize shots, or even insert digital elements into real-world footage.
How to Do Motion Tracking in CapCut
If you’re looking for a tool that’s both powerful and beginner-friendly, CapCut’s desktop video editor is a fantastic option. Whether you’re editing for YouTube, TikTok, school projects, or just for fun, CapCut makes motion tracking simple and accessible.
With CapCut, you can track faces, hands, bodies, objects—you name it. It’s built to be intuitive, so you don’t need to be a pro to get great results. Plus, it’s not just a one-trick pony: CapCut is a full-featured video editor with tons of extra tools to help you make your videos look polished and professional.
Key Features of CapCut Desktop Editor
CapCut comes loaded with helpful features that make video editing smoother and more creative:
- A huge built-in media library with stock videos, music, sound effects, filters, and transitions.
- All the essential editing tools like trimming, cutting, cropping, rotating, and flipping clips.
- Advanced features like masking, chroma key, and transcript-based editing for precision control.
- AI-powered tools for background removal, smooth slow motion, skin retouching, and more.
- Direct social sharing—export your video right to TikTok or YouTube without leaving the app.
It’s totally free to download, and it works on both Windows and Mac.
Step-by-Step Guide to CapCut Camera Tracking
Ready to try motion tracking in CapCut? Here’s how it works:
Download and InstallStart by downloading the CapCut desktop editor from the official website. It’s free and easy to install.
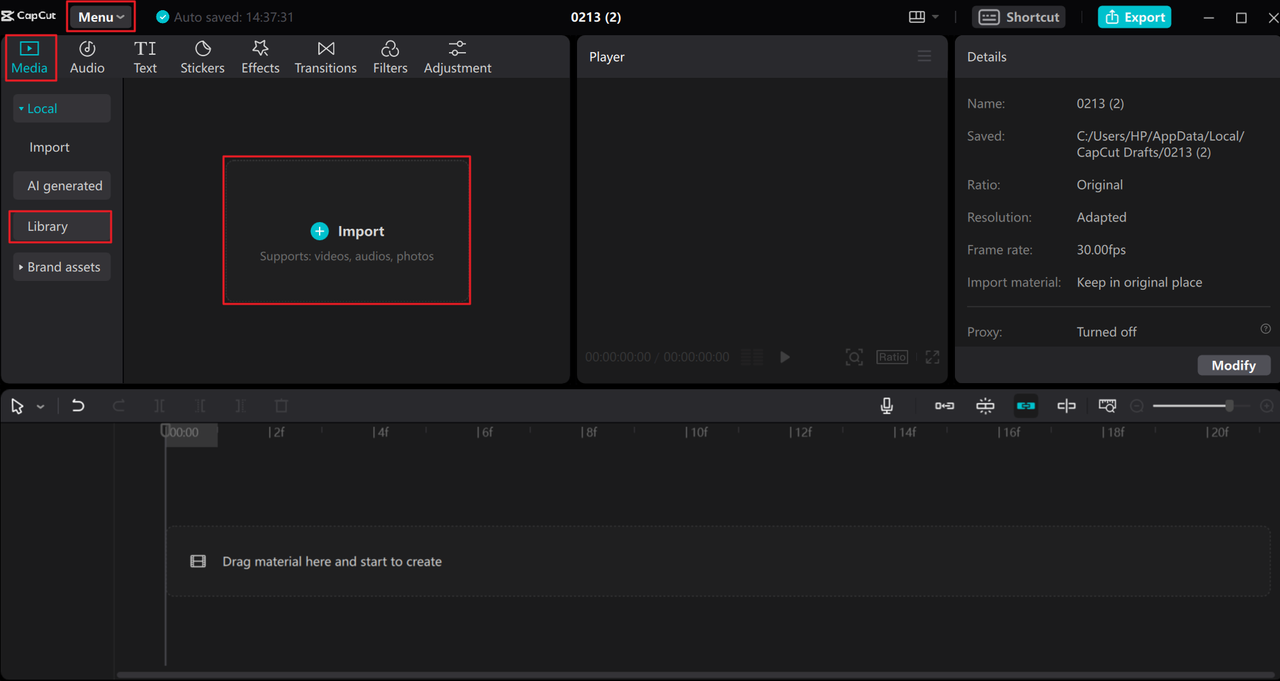
Import Your VideoOpen CapCut and create a new project. Import your video by dragging it into the editor or clicking the Import button. You can also use free stock videos from CapCut’s built-in library if you don’t have your own footage yet.
Duplicate the ClipDrag your video to the timeline. Right-click the clip and select “Copy,” then paste it onto a new track above or below the original. This gives you a layer to work with for tracking.
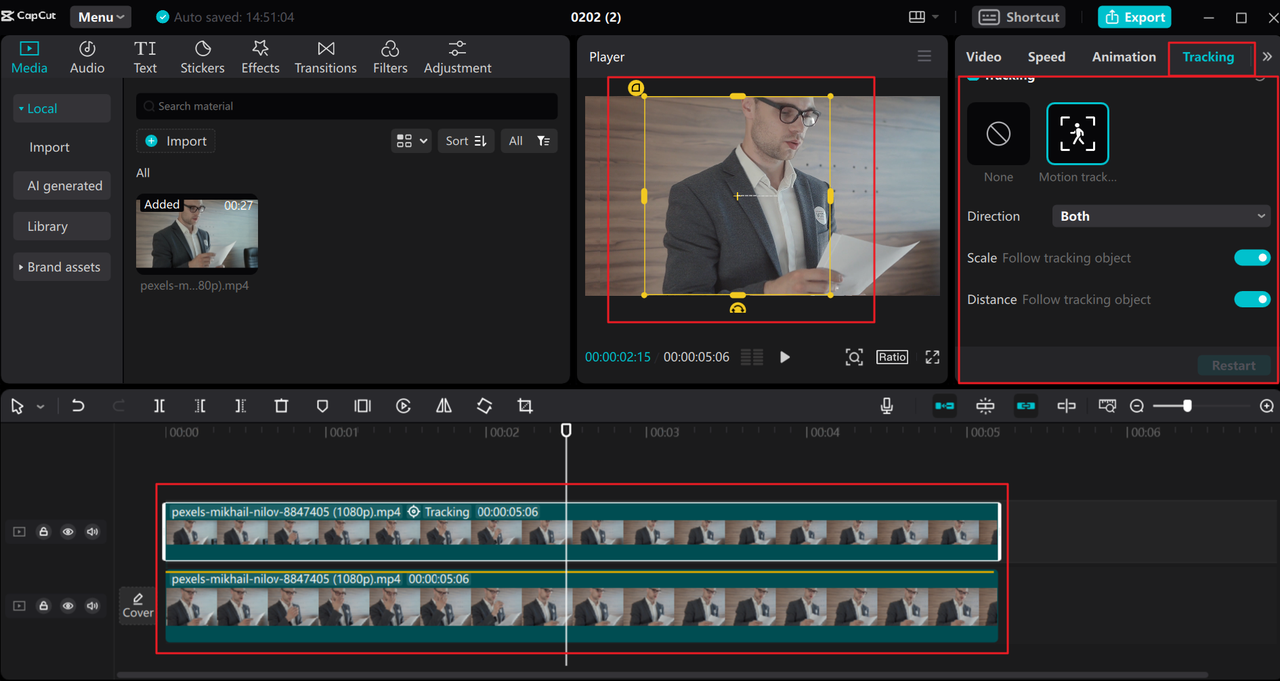
Enable Motion TrackingGo to the right-side panel and click on “Tracking,” then select “Motion Tracking.” You can choose the tracking direction—forward, backward, or both—and adjust settings like scale and distance if needed.
Set the Tracking AreaA yellow bounding box will appear in the preview window. Adjust it so it snugly fits around the object you want to track. This tells CapCut what to follow.
Start TrackingHit the “Start” button. CapCut will analyze the motion frame by frame. This might take a little while depending on the length of your clip and the complexity of the movement.
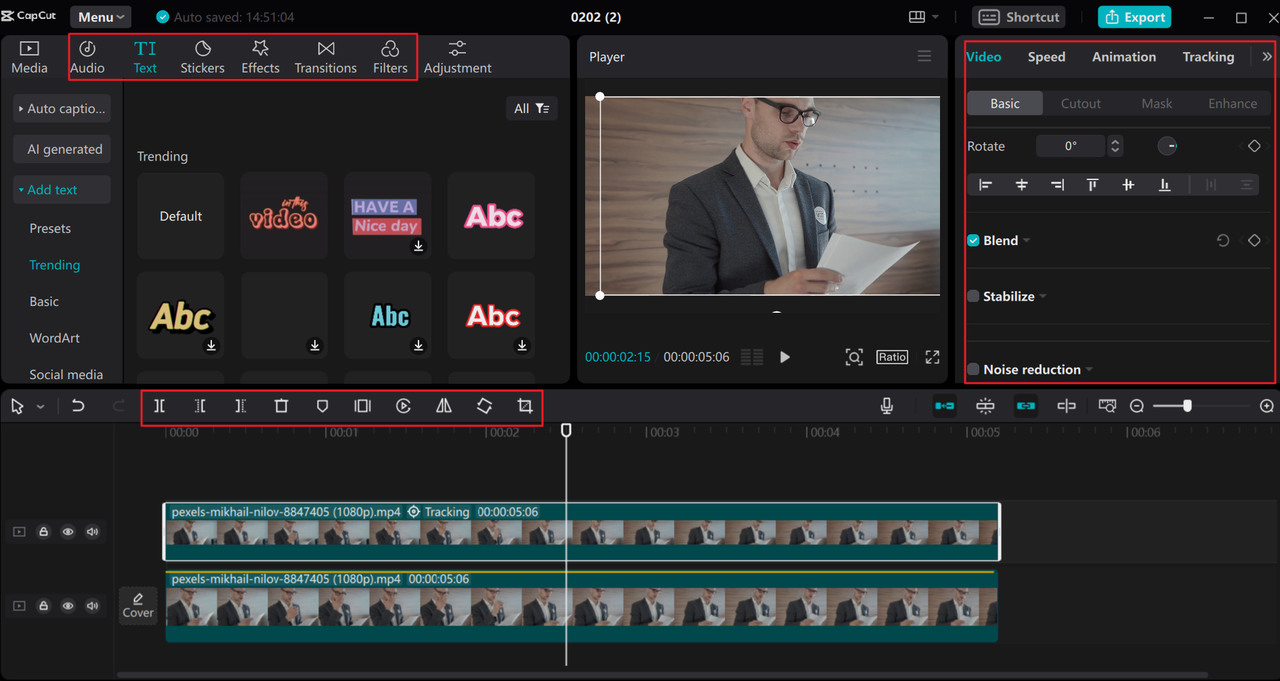
- Refine and EditOnce tracking is complete, you can add text, stickers, effects, or other elements that will now follow the motion path. You can also continue editing your video with CapCut’s other tools—trim clips, apply filters, add music, or use AI effects.
- Export Your VideoWhen you’re happy with the result, click “Export” in the top-right corner. You can customize your output settings, including resolution (up to 4K), format, frame rate, and bitrate. CapCut also lets you run a copyright check and export directly to social platforms.

CapCut — Your all-in-one video & photo editing powerhouse! Experience AI auto-editing, realistic effects, a huge template library, and AI audio transformation. Easily create professional masterpieces and social media viral hits. Available on Desktop, Web, and Mobile App.

And that’s it! Whether you’re learning how to do motion tracking in CapCut or just experimenting with motion track CapCut features, the process is straightforward and user-friendly.
How to Track the Camera in After Effects
Adobe After Effects is a professional-grade tool widely used in the film and video industry. It offers powerful motion tracking capabilities, including 3D camera tracking, point tracking, and more. It’s especially useful for complex projects where high accuracy is needed.
That said, After Effects has a steeper learning curve and is part of Adobe’s subscription-based Creative Cloud suite.
Here’s a basic rundown of how to use camera tracking in After Effects:
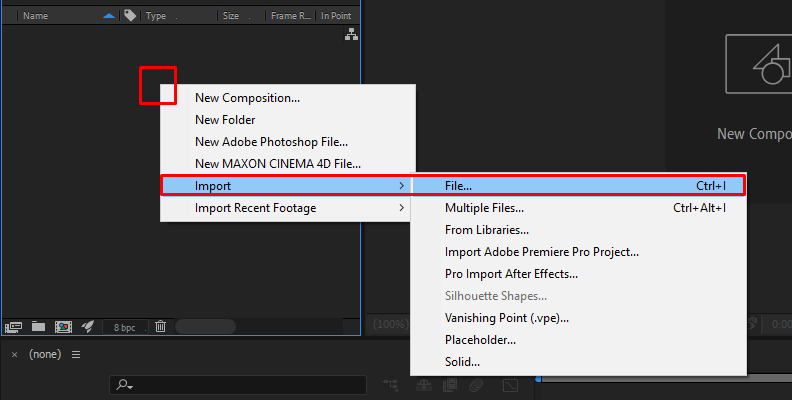
- Import Your FootageOpen After Effects and import your video file via File > Import > File, or simply drag and drop it into the project panel.
Create a CompositionDrag the video into the timeline to create a new composition.
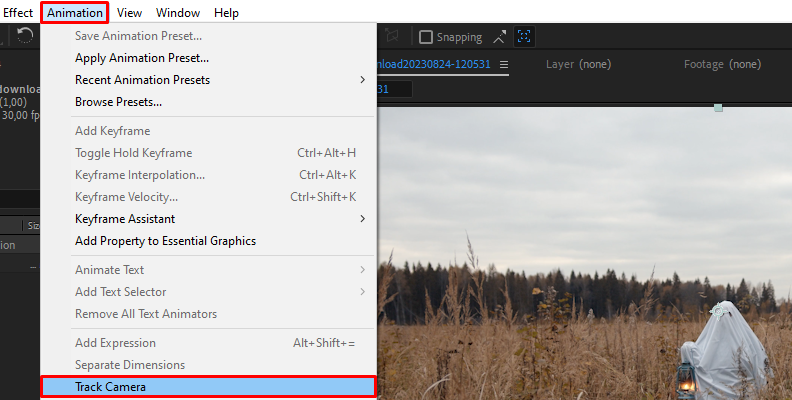
Apply the Camera TrackerSelect the video layer, then go to Animation > Track Camera. After Effects will analyze the video and generate a set of tracking points.
Adjust Tracking PointsYou can select specific tracking points to define the motion path more accurately. This is helpful when tracking complex movements or specific objects.
Create a Null Object or attach ElementsRight-click on the tracking points and choose “Create Null and Camera” to generate a null object that follows the motion. You can then parent other layers—like text, shapes, or effects—to this null.
- Fine-Tune and ExportMake adjustments as needed, then export your composition via File > Export > Add to Render Queue. Customize output settings and render your final video.

After Effects is incredibly powerful, but it may be overkill for simple projects. If you’re new to motion graphics, you might find CapCut’s camera tracking features more than enough.
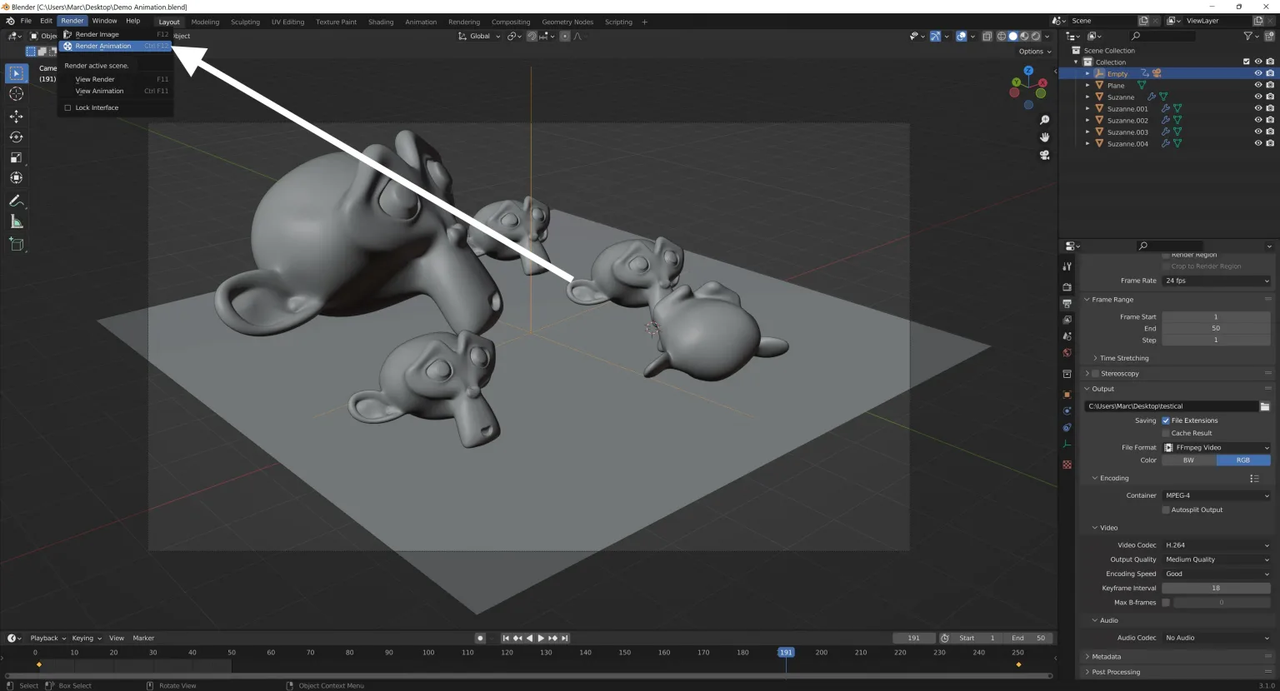
How to Perform Blender 3D Camera Tracking
Blender is a free, open-source 3D creation suite that also includes video editing and motion tracking tools. It’s especially popular among indie filmmakers and 3D artists thanks to its robust feature set and $0 price tag.
While Blender is extremely capable, its interface can be intimidating for beginners. Still, if you’re interested in integrating 3D elements into live-action footage, Blender’s camera tracking is a great skill to learn.
Here’s a simplified overview:
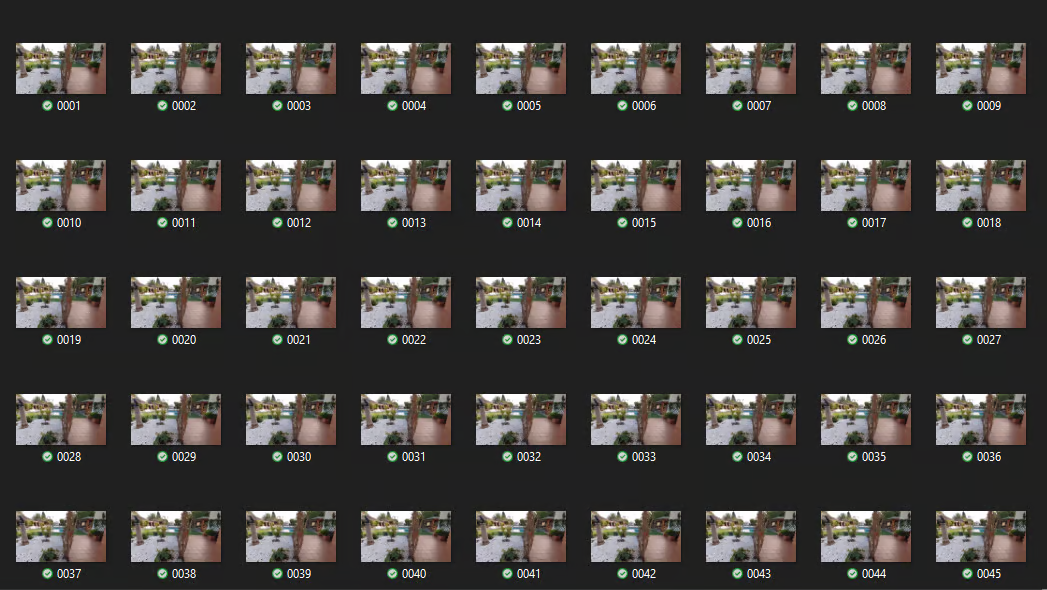
Convert Video to Image SequenceSince Blender works best with image sequences for tracking, you may need to convert your video first. You can do this right inside Blender using the Video Sequencer editor.
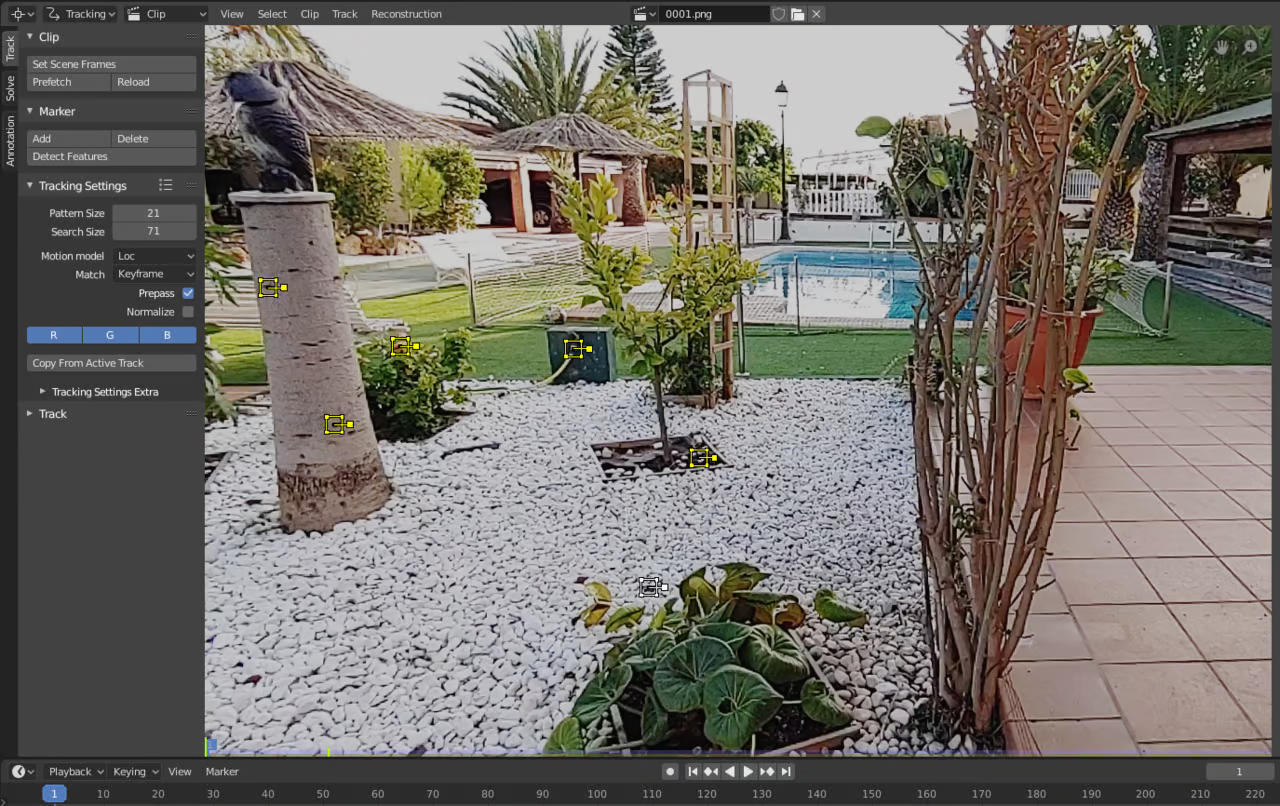
Open the Movie Clip EditorSwitch to the Movie Clip Editor workspace and import your image sequence or video.
Set Tracking PointsIn the Tracking tab, add tracking markers by holding Ctrl + Right-Click on key areas of your footage. You’ll want at least 8–12 well-distributed points for good results.
Solve the Camera MotionClick the “Solve Camera Motion” button. Blender will calculate the camera’s movement in 3D space based on the tracking markers.
Set Up Your 3D SceneOnce solved, you can introduce 3D objects into your scene. They will automatically align with the tracked camera movement.
- Adjust and RenderTweak your 3D elements, materials, and lighting, then render the final sequence.
Blender is an amazing tool—especially for 3D integration—but it requires patience and practice. For most everyday tracking tasks, CapCut camera tracking is faster and easier.
Conclusion
So, which camera tracking software is right for you?
If you’re just getting started or want a tool that’s easy and fun to use, CapCut is an excellent choice. It offers powerful motion tracking in a simple interface, along with a full set of video editing features. You can achieve great results with CapCut tracking without a steep learning curve.
If you’re working on high-end visual effects or 3D projects, Adobe After Effects or Blender might be worth the effort. They offer deeper control and professional-grade results—but they also require more time and skill.
For most creators, CapCut delivers the best balance of simplicity and functionality. It’s free, user-friendly, and more than capable of handling most motion tracking tasks—whether you’re making content for social media, school, or just for fun.
CapCut — Your all-in-one video & photo editing powerhouse! Experience AI auto-editing, realistic effects, a huge template library, and AI audio transformation. Easily create professional masterpieces and social media viral hits. Available on Desktop, Web, and Mobile App.
FAQs
How can I do camera tracking in CapCut?
It’s super simple! Open CapCut, import your video, duplicate the clip on the timeline, then go to Tracking > Motion Tracking. Adjust the tracking box around your subject and hit Start. That’s all it takes to get started with CapCut camera tracking.
What is the best camera tracking software?
For most people, CapCut is the best choice. It’s easy to use, packed with features, and completely free. Whether you’re learning how to do motion tracking in CapCut or using it for full video edits, it’s both accessible and powerful.
How do I do 3D camera tracking?
3D camera tracking involves estimating the movement of the camera in three-dimensional space. Both CapCut and more advanced tools like After Effects and Blender offer 3D tracking features. In CapCut, you can use motion tracking to attach 3D-like effects to moving objects easily.
Some images courtesy of CapCut.