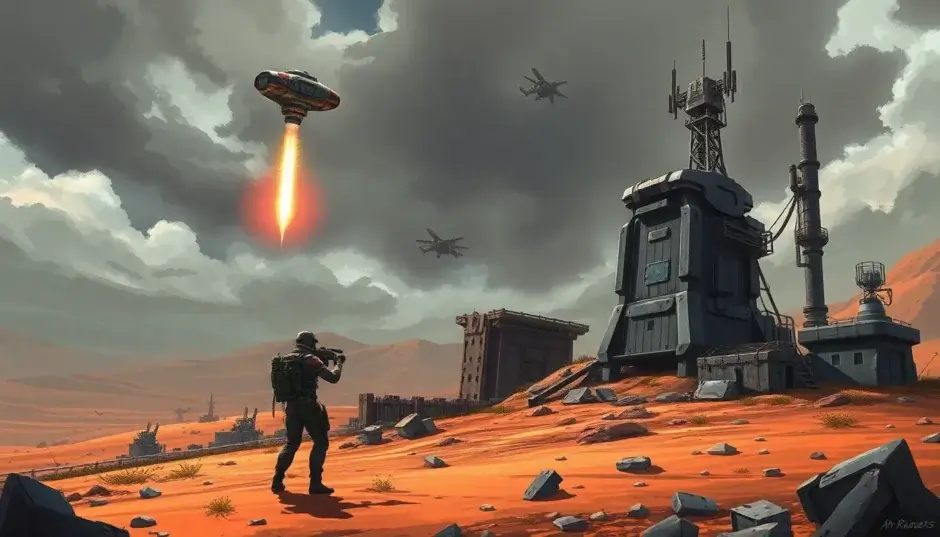
Summary: Locating the best supply drop locations in ARC Raiders is key to completing quests like ‘A Better Use’ and re-arming effectively. This guide details how to use Supply Call Stations across Dam Battlegrounds, Buried City, and Spaceport to secure vital supplies and gear up for survival against the ARC machines.
Welcome, Raiders, to the harsh reality of planet Argos. Survival here hinges on more than just firepower; it demands knowing where to find those crucial resources when things get desperate. If you’re hustling for supplies or facing the ‘A Better Use’ quest objective, then understanding the supply drop locations in ARC Raiders is non-negotiable. These aren’t just random drops; they rely on finding and activating specific Supply Call Stations scattered across the various maps. Finding a Call Station is often the easy part; securing the drop that follows is where the real Raider skills come into play.
This breakdown will cover everything you need to know about these vital resupply points, including the mechanics of calling them in and mapping out the known supply drop locations in ARC Raiders for maximum efficiency.
Understanding Supply Drops and Call Stations
In the world of ARC Raiders, staying topped up on ammo, healing items, and crafting materials can be the difference between a successful extraction and becoming scrap metal for the machines. While exploring and looting random containers is a staple, the ARC Raiders Supply Drop system offers a focused way to restock.
Supply Drops are specialized loot crates summoned using Call Stations. These stations are essentially small antennas you can interact with on the map. When you activate one, you initiate a call for aid—though it’s not exactly discreet.
The Supply Drop Process: Flares and Risk
Using a Call Station engages a specific sequence:
- Interaction: Approach the small antenna structure and activate the panel at its base.
- The Flare Signal: A prominent flare (sometimes described as red or yellow) shoots into the sky, clearly marking your position to every Raider and, more importantly, every ARC machine within earshot.
- The Wait: There is a necessary delay—often cited as around 45 seconds—before the Supply Drop canister lands near your location.
- Claiming the Goods: Once the pod lands, you must breach the container to collect the randomized loot, which typically consists of consumables, ammunition, and basic supplies.
It’s important to note that Supply Drops generally don’t contain extremely rare loot, so if you have high-tier gear already, you might avoid them unless you desperately need a basic top-up. However, for quests like “A Better Use,” finding and looting one of these drops is mandatory.
The major drawback of utilizing supply drop locations in ARC Raiders is the lack of stealth. The flare and the landing noise act as a dinner bell, often attracting hostile ARC patrols or opportunistic enemy Raiders desperate for the same resources. You need cover, awareness, and ideally, a plan for immediate defense or a swift escape.
Locating Supply Call Stations Across ARC Raiders Maps
The key to maximizing your chances of calling in a successful supply drop in ARC Raiders is knowing where to look. While the exact spawn behavior can sometimes feel inconsistent (some sources suggest they aren’t guaranteed to activate every match), the locations for Signal Call Stations are generally fixed points on each map. Knowing these choke points allows you to plan your route and potential defensive positions.
We have specific location intel for the primary maps available for Raiders.
Dam Battlegrounds Supply Drop Locations
The Dam Battlegrounds is often the first map players encounter, and it features a significant number of potential resupply zones. As many guides point out, these supply drop locations in ARC Raiders tend to be concentrated toward the center of the map, which naturally means higher player density and more potential conflict with both machines and other players.
If you are tackling the “A Better Use” quest on this map, prioritizing these areas is wise:
- One station is situated south of the Water Treatment Control area.
- Keep an eye out for two separate stations located to the south of the Loading Bay.
- Look east of the Control Tower, often near where Leapers might roam.
- There is a spot deep within the jungle section, situated between Small Creek and Testing Annex.
- Check near the Raider cache to the west of the Red Lakes.
- The Hydrophonic Dome Complex seems to house two potential supply drop locations in ARC Raiders.
- The Power Generation complex is another hotspot, featuring two potential locations: one specifically in Power Control (south of the Underpass) and another somewhere inside the main complex structure.
Remember, while these are the known Call Station spots, you still need to check if the station is active when you arrive.
Buried City Supply Drop Locations
The Buried City is generally smaller than Dam Battlegrounds, meaning the options for calling in a supply drop are slightly more limited, but the high-density areas still make these supply drop locations in ARC Raiders points of interest.
For Raiders seeking the objective on the Buried City map:
- One station is located in the West Village, inside the southern complex marked with distinct yellow indicators.
- A central spot involves being beside the highway, often requiring a climb to the top of a building.
- Head east on the map near the cluster of buried structures for another potential call site.
- Finally, look south of the New District, close to where Security might be patrolling.
Using these known supply drop locations in ARC Raiders on Buried City will help reduce wasted time searching open areas.
Spaceport Supply Drop Locations
The Spaceport map presents its own unique layout challenges for locating those vital communication arrays. Information on the supply drop locations in ARC Raiders for this map is still being gathered, but key areas have been identified where these Call Stations can be found.
Raiders traversing the Spaceport should investigate the general vicinity of:
- Areas surrounding the main landing pads or exposed flat zones.
- Key structural hubs that offer cover or elevation advantages nearby.
As development continues, specific waypoints for all known supply drop locations in ARC Raiders are continually being mapped and updated.
Mastering the “A Better Use” Quest with Supply Drops
One of the primary reasons players seek out these supply drop locations in ARC Raiders early on is to complete the introductory mission given by Tian Wen, often called “A Better Use.” This quest tasks the Raider with specifically requesting and looting a supply drop.
To successfully complete this objective efficiently:
- Loadout Choice: Since this is a quest objective that doesn’t intrinsically require high-end combat gear, it’s wise to deploy utilizing a free or basic loadout. You want to complete the task without risking your carefully curated primary setup.
- Locate and Activate: Find an active Call Station (using the map locations above as a guide). Interact with it to fire the flare.
- Secure the Drop Site: You must stay within range for the duration of the drop process (approximately 45 seconds). Use this time to rapidly survey the incoming drop zone for immediate threats, both machine and player-based. Having nearby cover is crucial while you wait.
- Loot Confirmation: Once the canister lands, head over and breach it open. While the quest only mandates interaction, looting is highly recommended as drops often contain valuable consumables like healing kits, shield regen packs, ammunition, or even useful low-to-mid-tier weapons. Some players have noted finding items like the Wolfpack Grenade here, signaling good early-game finds.
- Extract: After looting, locate the nearest safe extraction zone and successfully depart the deployment area to confirm the quest completion with Tian Wen.
Completing “A Better Use” grants tangible rewards that aid early progression, such as weapon attachments like Extended Light Mag I, Compensator I, and Stable Stock I. These are excellent foundational upgrades for improving weapon handling. Knowing precise supply drop locations in ARC Raiders cuts down significantly on the time spent chasing ghosts for this objective.
Strategy: Risk vs. Reward at Supply Drop Locations
The mechanism for calling a Supply Drop is inherently risky across all supply drop locations in ARC Raiders because of its visibility and auditory footprint. It’s not just the flare; the sound signature of the drop sequence alerts every entity nearby.
Experienced Raiders balance this risk by employing tactical calling procedures:
- Remote Calling: If possible, try to call in a drop far from major points of interest or known high-traffic player routes. Utilizing the more remote supply drop locations in ARC Raiders can offer a buffer.
- Clearing the Vicinity: Engage and eliminate any proximate threats (either ARC patrols or nearby enemy squads) before initiating the call sequence. This ensures you have a moment of relative safety during the charging time.
- Defensive Positioning: Always ensure you have solid cover within a few steps of the Call Station. When the canister lands, you want immediate ballistic protection while you open it.
- Team Tactics (Co-op Play): If playing in a squad, assign one Raider to secure the immediate area while the other interacts with the Call Station. This dedicated security watch is vital against flanking players drawn by the signal.
While it can be tempting to avoid these supply drop locations in ARC Raiders when the action is hot, ignoring them means relying solely on random ground loot, which is far less efficient for critical resupply. Making a calculated call for supplies is a core skill to developing mastery in the field.
Map Specifics: Fixed Call Station Locations
The reliability of the supply drop locations in ARC Raiders stems from the fact that several Call Stations appear to be fixed anchors on the map geometry, unlike some dynamic loot spawns. While the game may only activate a subset of these in any given match, knowing the blueprint of where they can be is half the battle.
For Dam Battlegrounds, referencing the dense cluster of supply drop locations in ARC Raiders in the central region means preparing for engagements—whether they come from the AI or human opposition. If you’re focusing purely on quest completion and avoiding conflict, aiming for stations closer to the fringes of the map might be safer, provided they are accessible.
Similarly, knowing the limited distribution on Buried City allows you to plan a serpentine path through the ruins, hitting the known spots quickly before moving towards extraction. This meticulous planning around known supply drop locations in Arc Raiders is what separates successful Raiders from those who get picked clean.
In summary, mastering the map layouts and understanding the high-risk, high-reward nature of these points are essential. Keep track of these supply drop locations in ARC Raiders, particularly for those initial quest completions, and you’ll find your inventory much healthier as you push deeper into hostile territory.
Some information regarding specific call station counts and quest details is synthesized from community guides and early access observations.
 TOOL HUNTER


