TOOL HUNTER
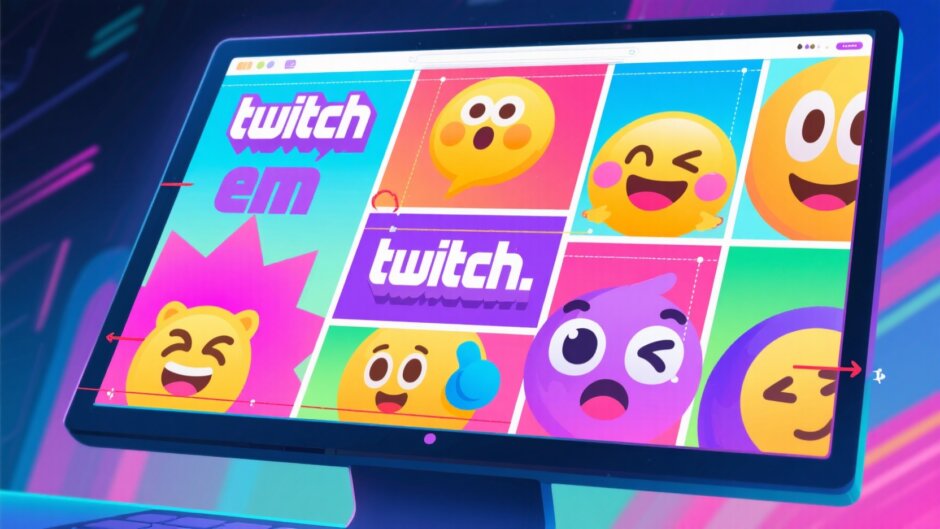

If you’re into Twitch streaming or just enjoy hanging out in communities, you’ve definitely noticed those fun little pictures everyone uses in the chat. Yep, those are emotes! They’re basically like digital stickers that let people show their reactions, share jokes, and express feelings in real time. But here’s the thing: getting your emotes to look perfect can be kind of tricky. That’s where a solid Twitch emotes resizer comes into play.
A good Twitch emote resizer helps you tweak the size and quality of your emotes so they appear crisp and professional. Whether you’re a streamer building your brand or a viewer who loves to participate, having clear and properly sized emotes makes the whole chat experience a lot more enjoyable.
In this guide, we’re going to cover all the essentials of resizing Twitch emotes. We’ll talk about standard Twitch emotes size, how to use a Twitch emotes resizer tool effectively, and share some tips to help your creations stand out. Ready to jump in?
Why a Twitch Emote Resizer is a Must-Have
Emotes are a huge part of what makes Twitch so engaging and unique. They help build community vibes and let people communicate in a visual, often hilarious way. But if your emotes are too small, too large, or come out blurry, they might not get the love they deserve.
That’s exactly why a Twitch emotes resizer is so useful. It ensures your emotes meet Twitch’s guidelines and look fantastic in chat. Even if you’re not a design pro, the right tool makes resizing emotes quick and simple.
A reliable Twitch emote resizer also helps maintain image quality. Nobody likes a pixelated or awkwardly stretched emote! So whether you’re making one emote or a whole set, a resizer is your go-to buddy.
Getting to Know Twitch Emotes Size Requirements
Before you start resizing, it’s super important to know the recommended Twitch emotes size. Twitch has specific rules for dimensions and format, and sticking to these will make sure your emotes look great and work smoothly.
The ideal size for Twitch emotes falls between 112 x 112 pixels and 4096 x 4096 pixels. This range gives you enough flexibility to design emotes that are both clear and detailed. Go outside these bounds, and Twitch might not accept your upload.
Another big point is the file type. Twitch requires emotes to be in PNG format. Why? Because PNGs support transparency, meaning your emotes can have a clean background without any ugly white boxes. This makes them look pro and blend nicely into the chat environment.
So when you’re using a Twitch emotes resizer, always target these sizes and stick with PNG. Your emotes will not only meet the platform’s standards but will also look their very best.
How to Use a Twitch Emote Resizer: A Simple Step-by-Step
Alright, let’s get into the actual process of resizing your emotes. We’ll use CapCut as an example of a solid Twitch emotes resizer, but many other tools function in a similar way.
Step 1: Sign Up and Upload Your Image
First things first, you need to create an account on CapCut. You can sign up easily using your Google, Facebook, TikTok, or other social accounts. It’s totally free and only takes a moment.
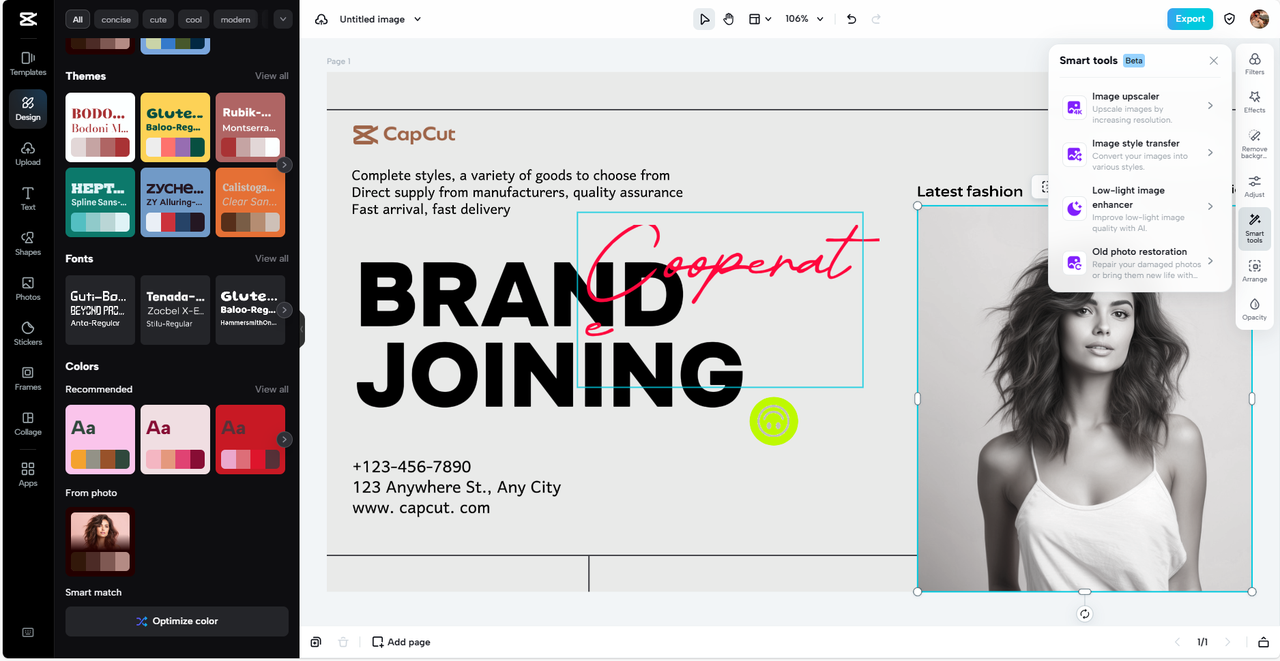
Once you’re logged in, hit “Create new image” to start a fresh project. Then, upload the image you want to turn into an emote. You can drag and drop the file or upload it from your computer or cloud storage.
Step 2: Resize Your Emote
After your image is uploaded, click on it to select. Look for the “Resize” button (usually looks like a square with arrows). Click it, and a window will pop up where you can type in your custom dimensions.
Enter your desired Twitch emotes size—remember, keep it between 112×112 and 4096×4096 pixels. Hit “Resize,” and your emote will adjust right away.
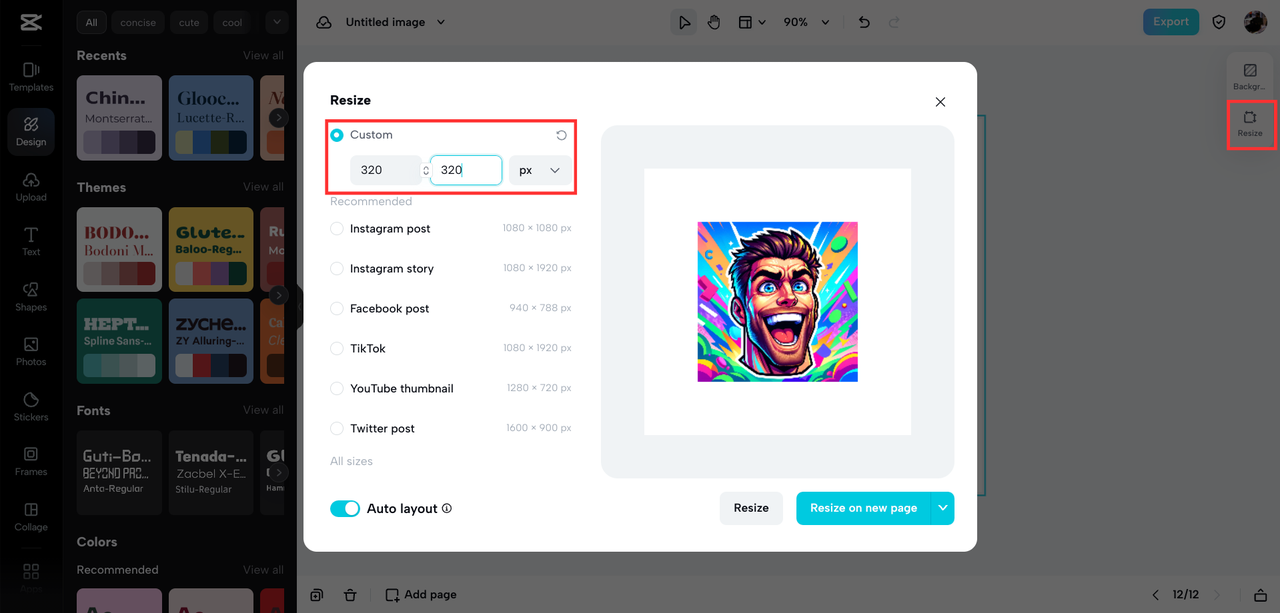
Using a tool like this makes finding the perfect emote size a breeze, and you won’t lose any quality in the process.
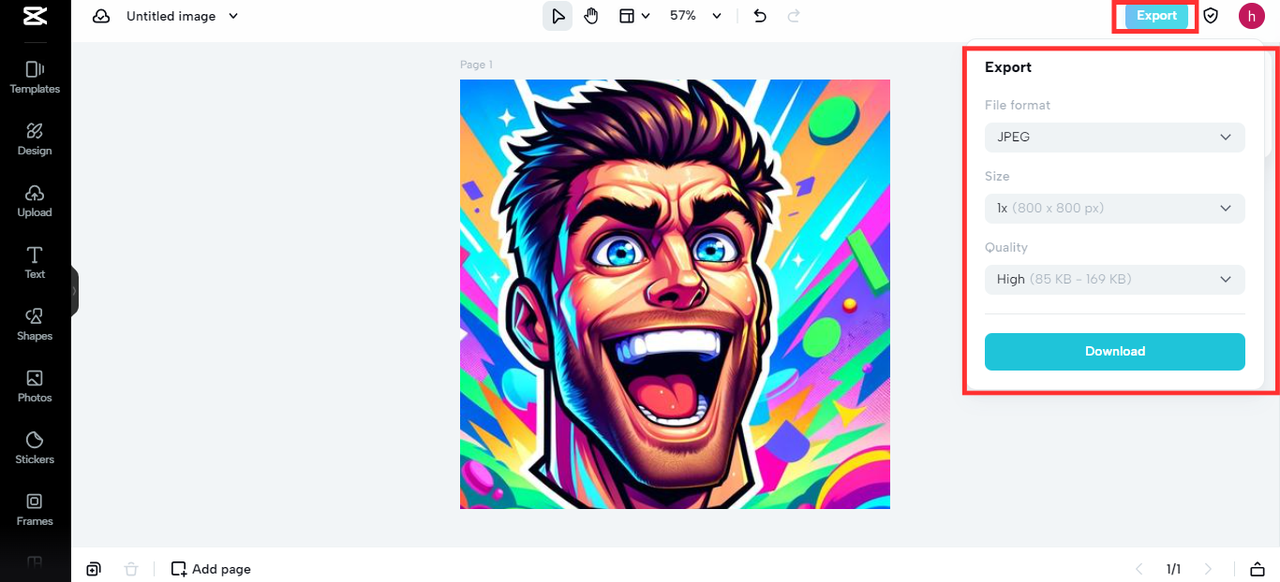
Step 3: Export and Download
Once your emote is resized, it’s time to save it. Click the “Export” button and select PNG as your file format to keep that clean, transparent background. Then, just click “Download” to save the emote to your device. Now you’re all set to upload it to Twitch!
Making Your Emotes Pop with Extra Touches
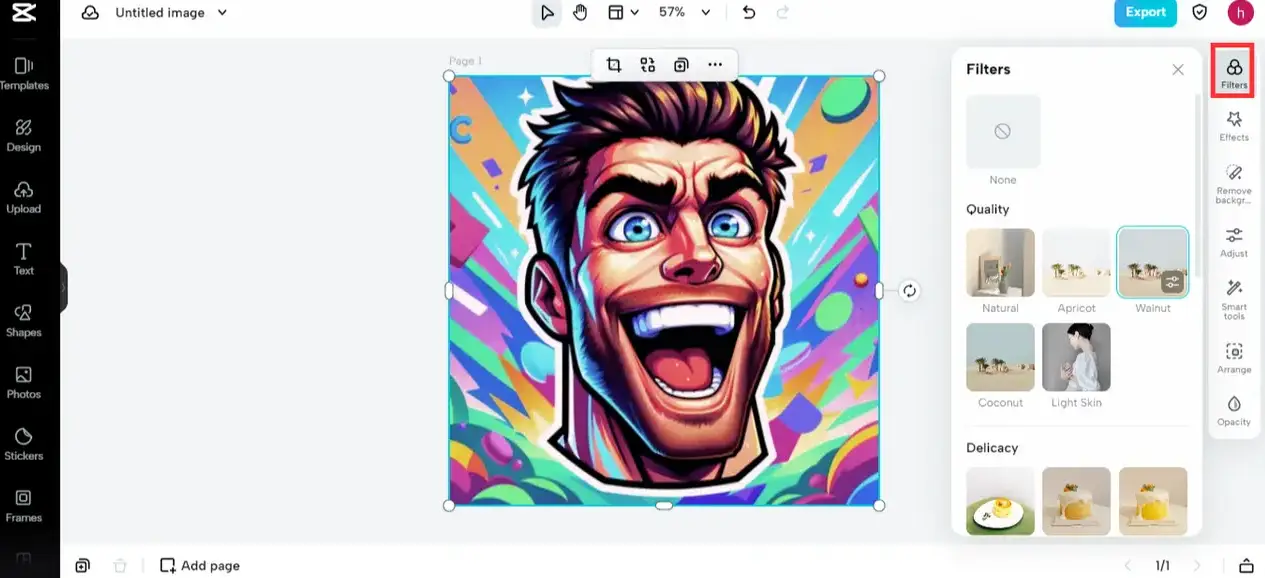
Resizing is just the beginning. If you want your emotes to really stand out, you can play around with extra features in your Twitch emotes resizer. CapCut, for instance, offers plenty of cool options.
Apply Filters and Effects
Filters can totally change the vibe of your emote with one click. You can make it look retro, bright, dramatic—you name it. Using effects like “Sharpen” can also give your emote a cleaner, more professional look.
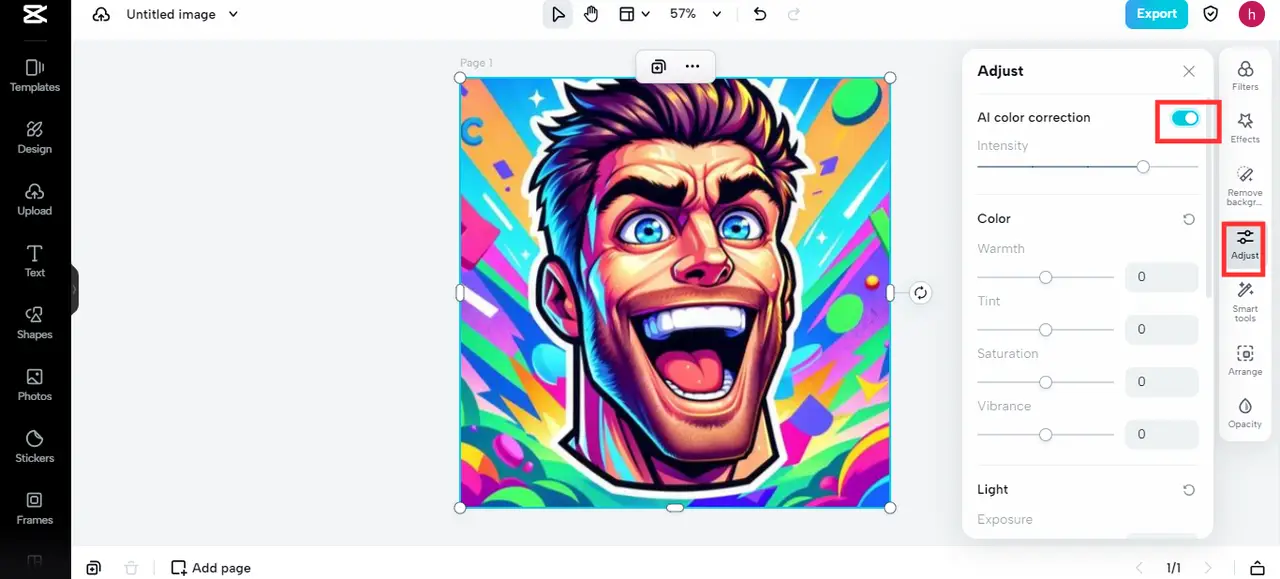
Tweak the Colors
Getting your colors just right can make your emote way more eye-catching. Color correction tools let you adjust brightness, saturation, and hue so your emote stands out even in a busy chat.
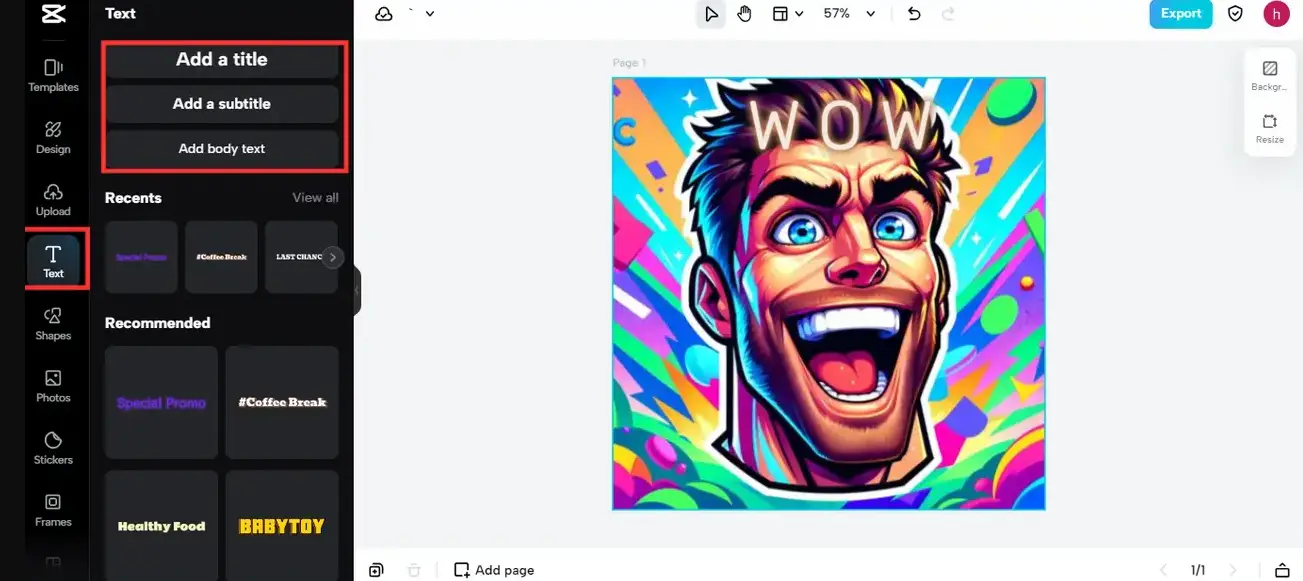
Add Personalization with Text and Stickers
Sometimes a little text or a fun sticker can make your emote unique. Throw in your channel name, a funny line, or a cute graphic to give it more personality.
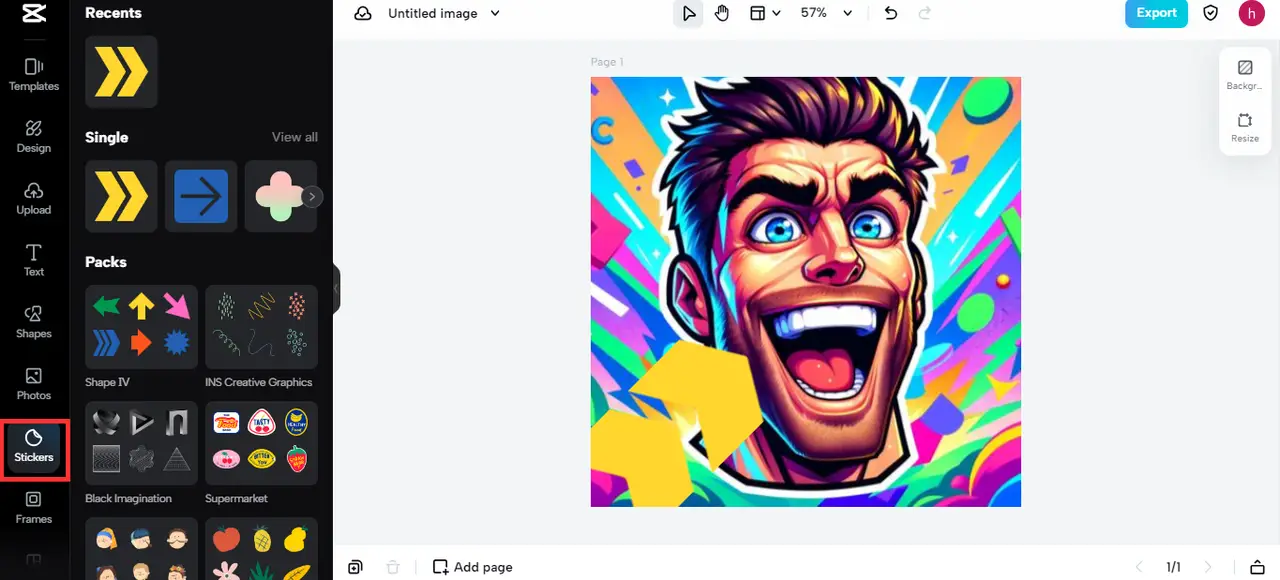
Why CapCut is a Standout Twitch Emotes Resizer
CapCut isn’t just a basic Twitch emote resizer—it’s a full editing suite that’s free and user-friendly. Whether you’re new to design or have some experience, CapCut has all the tools you need to create awesome emotes.
You can resize, crop, add effects, and do way more. Plus, since it’s online, you can access it from anywhere without downloading anything. That makes it a super convenient option for streamers who want to quickly create or tweak their emotes.
So if you’re looking for a dependable Twitch emotes resizer, CapCut is definitely worth a try.
CapCut — Your all-in-one video & photo editing powerhouse! Experience AI auto-editing, realistic effects, a huge template library, and AI audio transformation. Easily create professional masterpieces and social media viral hits. Available on Desktop, Web, and Mobile App.

Wrapping It Up
Emotes are a fun and essential part of the Twitch experience, and having the right size and quality makes a huge difference. Using a tool like CapCut as your Twitch emotes resizer helps you create emotes that not only meet Twitch’s rules but also look amazing in chat.
Always remember to check the recommended Twitch emotes size and use PNG format for best results. With a bit of practice, you’ll be making awesome emotes that your community will absolutely love.
So what are you waiting for? Grab a Twitch emotes resizer and start making those emotes pop!
CapCut — Your all-in-one video & photo editing powerhouse! Experience AI auto-editing, realistic effects, a huge template library, and AI audio transformation. Easily create professional masterpieces and social media viral hits. Available on Desktop, Web, and Mobile App.
Frequently Asked Questions
How can I resize emotes for Twitch?
You can use a tool like CapCut as your Twitch emote resizer. Just upload your image, plug in your custom size (anywhere from 112×112 to 4096×4096 pixels), and hit resize. It’s really that straightforward!
What’s the best size for Twitch emotes?
The best size for Twitch emotes is between 112 x 112 and 4096 x 4096 pixels. Staying within this range ensures your emotes are clear and compliant with Twitch’s requirements.
Are Twitch emotes resizer tools free?
Yes! Many tools, including CapCut, offer free Twitch emotes resizer features. You can resize, edit, and download your emotes without spending a dime.
Why do my emotes get blurry after resizing?
If your emotes are turning out blurry, you might be resizing outside the recommended dimensions. Always use a quality Twitch emotes resizer and stick to Twitch’s size guidelines to keep things sharp.
How many emotes can I upload to Twitch?
The number of emotes you can upload depends on your Twitch level. Affiliate streamers get up to 5 emotes, while Partners can upload more. Check Twitch’s official site for the most current info.
Some images sourced from CapCut.