TOOL HUNTER

Whether you’re just getting started or you’ve been creating videos for years, learning how to make backwards videos YouTube viewers love can seriously level up your content. It’s one of those skills that sounds simple but can totally change how people see your work. YouTube is massive, right? And standing out means doing something different. Reversing your clips isn’t just a fun trick—it can make your storytelling more engaging, more surprising, and way more memorable.
Why should you reverse videos on YouTube?
Reversing a video isn’t just about playing it backwards. It’s about creating something that makes people stop and watch. Think about a flower blooming in reverse, or water flowing upwards. Moments like that catch attention. When you reverse video on YouTube, you open up a whole new way to show things—whether it’s for comedy, drama, education, or just pure creativity. Lots of creators are now using this trick, and it’s easier than you might think to get started.
Tips for making great reverse videos on YouTube
If you want to make reverse videos on YouTube that actually look good, there are a few things you should keep in mind. You don’t need to be a pro editor to pull this off, but a little planning goes a long way.
First off, pick tools that are actually made for this. A lot of apps and software claim they can reverse video YouTube content, but not all of them do it smoothly. You want something that keeps the quality high and doesn’t make the motion look choppy. That’s where CapCut comes in—more on that later.
Also, think ahead when you film. If you already know you’re going to reverse a clip, you can shoot with that in mind. For example, if you’re filming someone throwing a ball, imagine how it’ll look when the ball flies back into their hand. Little details like that can make your reversed footage way more satisfying to watch.
Don’t forget about speed. Sometimes reversing a video works better when it’s slowed down. Other times, speeding it up a little can make it funnier or more dramatic. Play around with it until it feels right.
Sound matters too. When you reverse a video, the audio usually gets messed up unless you adjust it. You might need to remove the original sound and add new music or effects that match the backwards motion. A good soundtrack can make your reverse video on YouTube feel polished and intentional.
And lastly, smooth transitions help a lot. If your video has cuts or jumps, reversing it might make those even more obvious. Using crossfades or other transitions can help everything flow better, even when played in reverse.
How CapCut makes it easy to reverse videos YouTube creators love
Okay, let’s talk about the tool itself. If you’re looking for a free, powerful, and easy way to reverse videos on YouTube, CapCut is a solid choice. It’s not overcomplicated, and you don’t need any technical skills to use it. With just a few clicks, you can turn a normal clip into something totally unexpected.
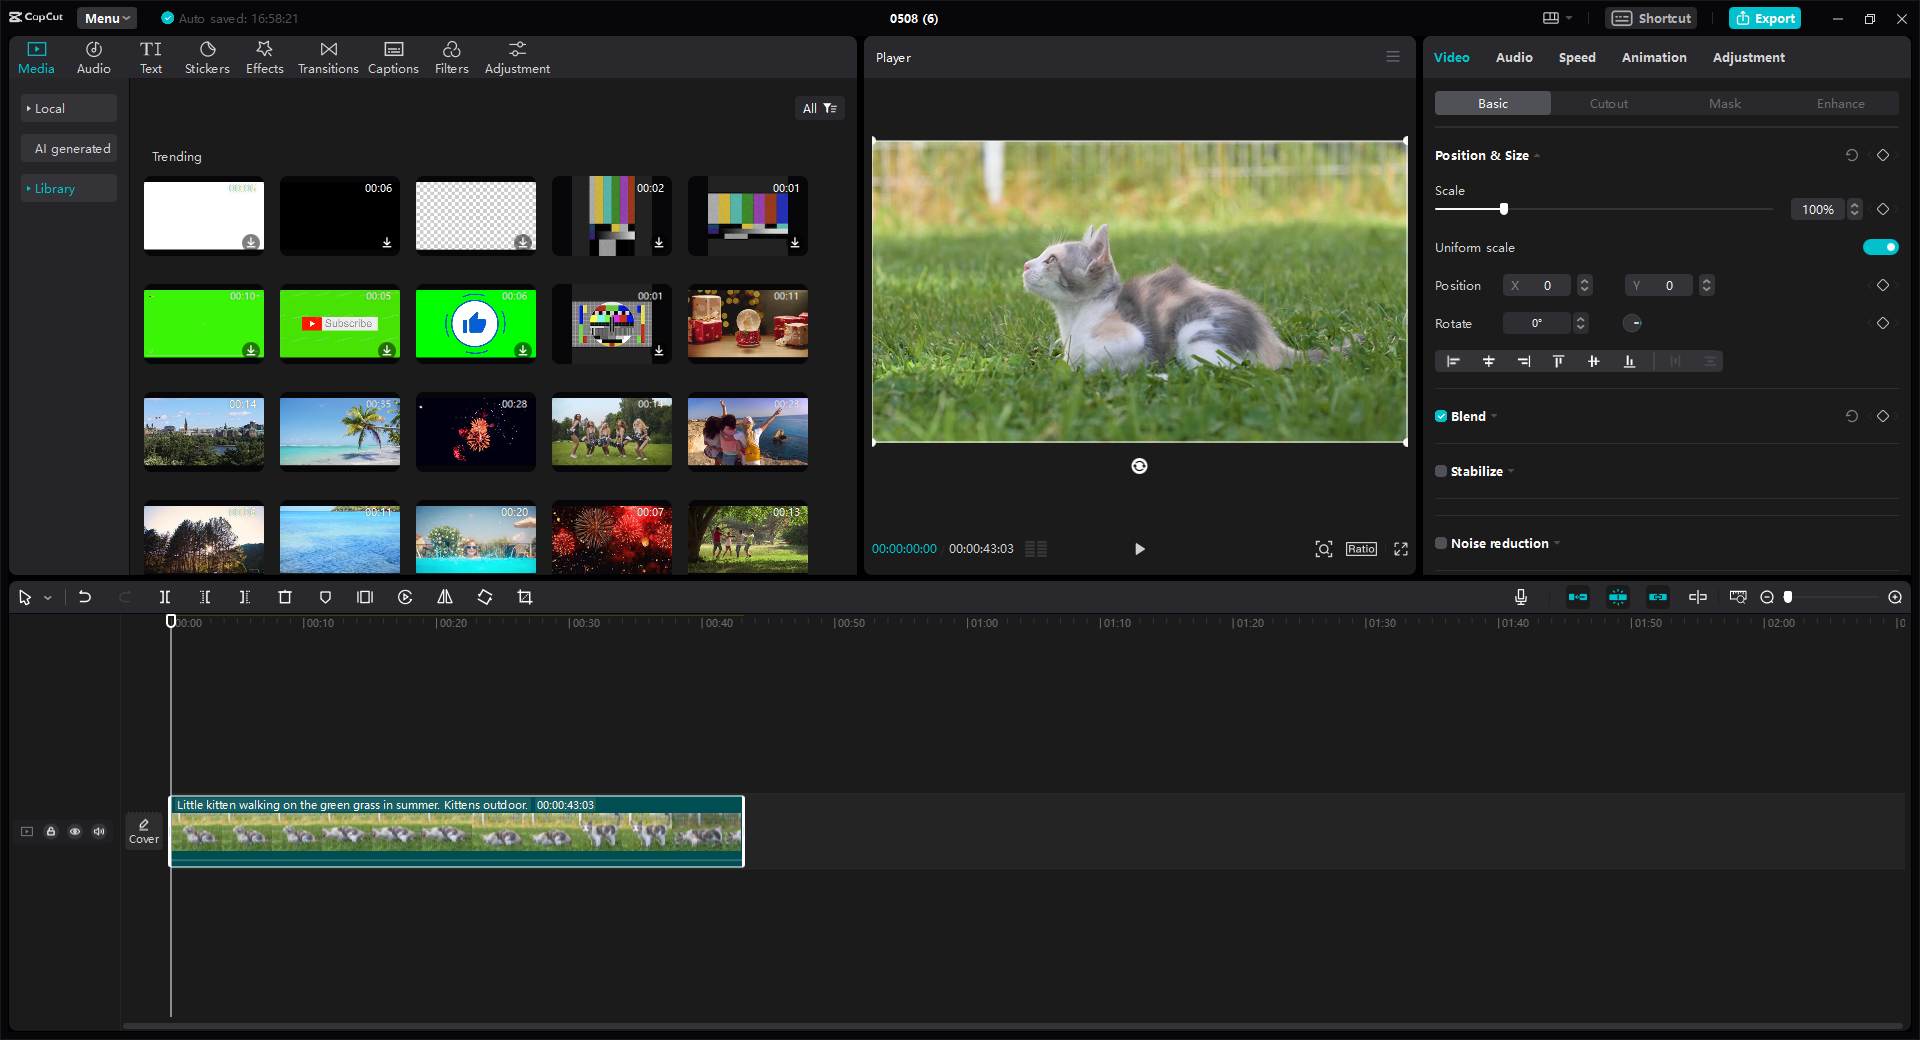
One of the best things about CapCut is that it uses AI to help with editing. That means it can handle a lot of the boring stuff for you—like cleaning up backgrounds, enhancing faces, or even suggesting edits. It also offers cloud storage, so you can work on your projects from different devices without losing progress.
Even with all these features, the interface stays simple. You won’t get lost in menus or confusing options. Everything is drag-and-drop, and the reverse button is right there when you need it. Plus, it’s completely free, which is great if you’re just experimenting with backwards videos YouTube style.
CapCut also comes with a huge library of extra stuff—effects, music, stickers, and templates. So even after you reverse your video, you can add cool text, transitions, or sound effects to make it even better.
CapCut — Your all-in-one video & photo editing powerhouse! Experience AI auto-editing, realistic effects, a huge template library, and AI audio transformation. Easily create professional masterpieces and social media viral hits. Available on Desktop, Web, and Mobile App.

Step-by-step: How to reverse a YouTube video with CapCut
Let’s walk through the process. It’s straightforward, and you can do it in just a few minutes.
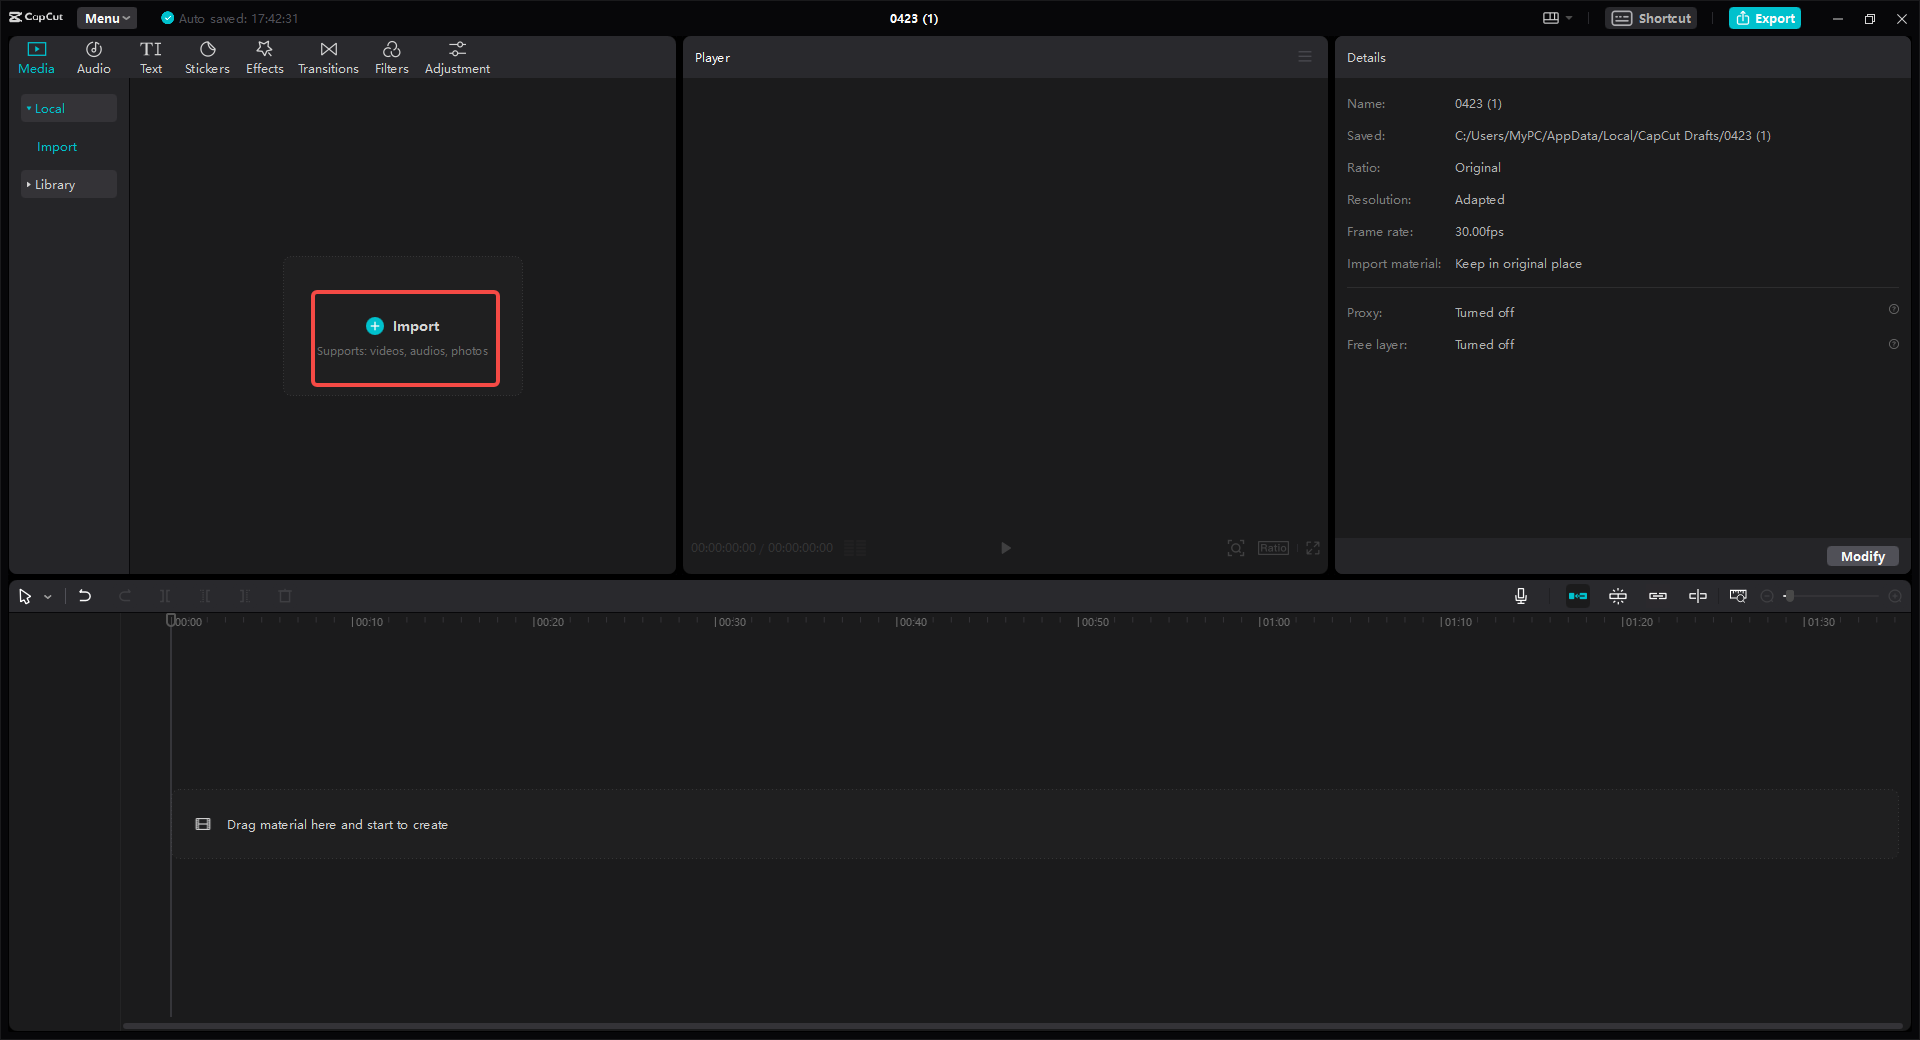
First, download and install CapCut. It’s available for desktop and mobile, so you can use whatever you’re comfortable with.
Once you open it, import your video. You can drag and drop the file right into the workspace or click the import button to browse your folders.
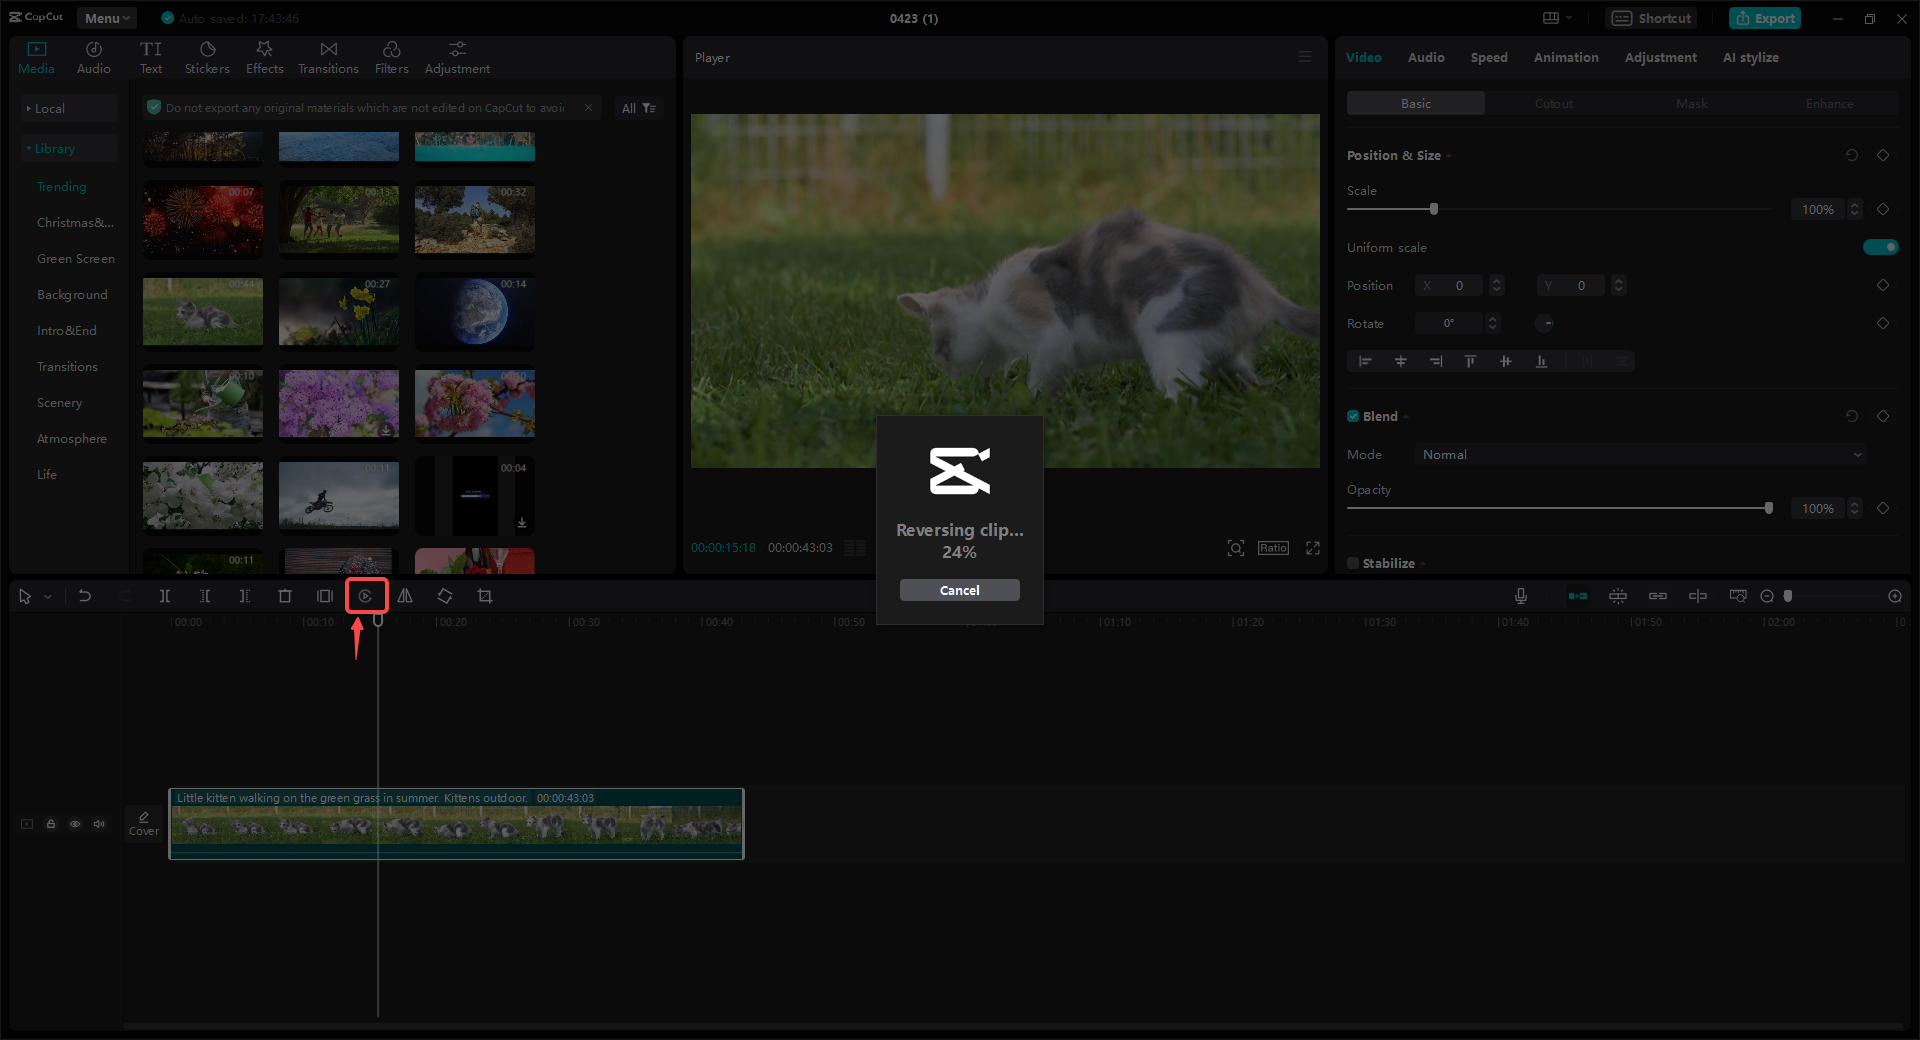
Now, drag your video down to the timeline. If you want to reverse the whole thing, just leave it as is. If you only want part of it reversed, cut the clip first so you’re only selecting the section you need.
Here’s the fun part—click on the clip in the timeline, and look for the reverse button. It usually looks like a circular arrow. Click it, and CapCut will instantly reverse your video. You can play it back right away to see how it looks.
While you’re there, you can also explore other edits. Maybe add some text, a filter, or a transition to make the reversed part blend smoothly. CapCut has tons of options to play with.
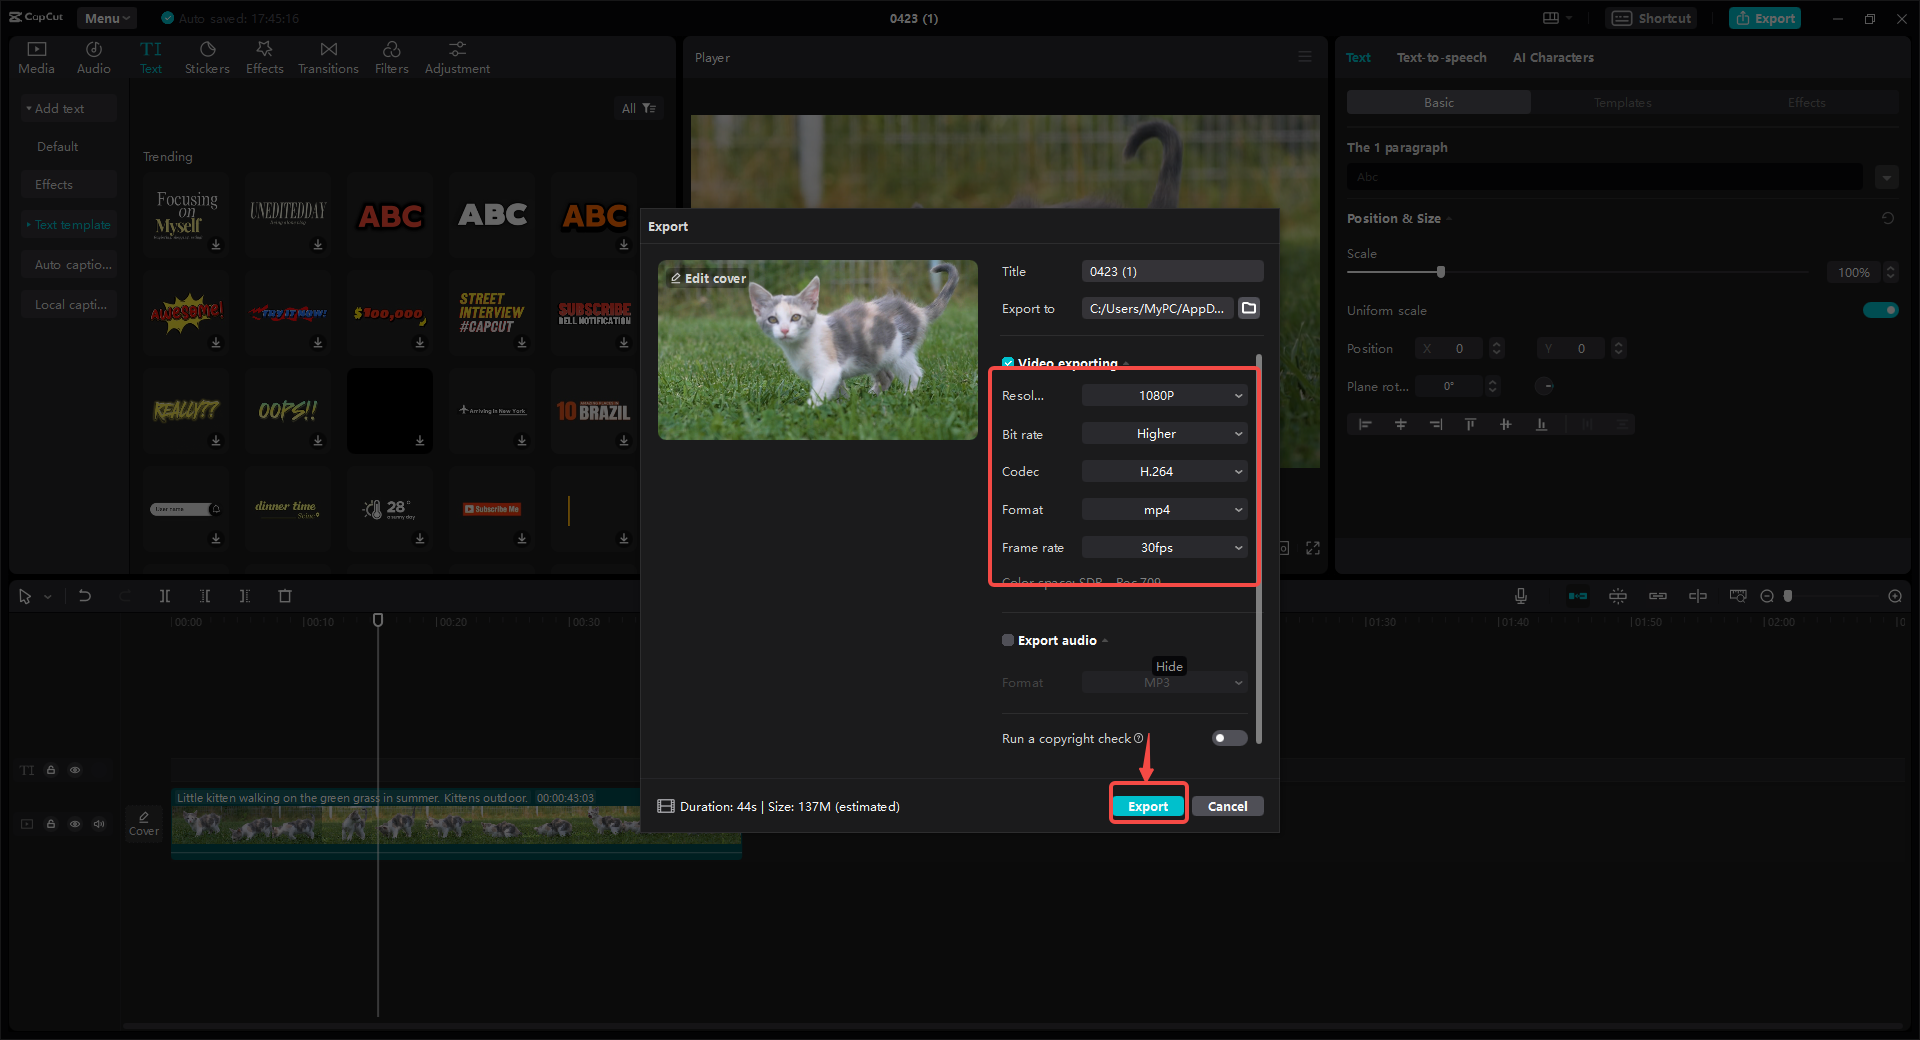
When you’re happy with how it looks, hit the export button. Choose your quality settings, and save the video to your device. Now you’ve got a reversed video ready to upload!
Why reversing videos is worth trying
Reversing videos might seem like a small thing, but it can make a big difference in your content. It’s a simple way to add creativity without needing expensive equipment or advanced skills. Whether you’re making funny clips, educational content, or just want to experiment, learning how to reverse video on YouTube is a useful skill to have.
Plus, with tools like CapCut, it’s easier than ever. You don’t have to spend hours editing—just a few clicks and you’re done. So why not give it a try? Your next video could be the one that stands out because you flipped it backwards.
CapCut — Your all-in-one video & photo editing powerhouse! Experience AI auto-editing, realistic effects, a huge template library, and AI audio transformation. Easily create professional masterpieces and social media viral hits. Available on Desktop, Web, and Mobile App.
Frequently Asked Questions
Can I use CapCut to reverse videos from YouTube?
Yes, but you need to download the YouTube video to your device first. Once you have the file, you can import it into CapCut and reverse it easily.
Is it hard to reverse a video?
Not at all. With CapCut, it’s just one click. You don’t need any previous editing experience.
Does reversing a video lower its quality?
If you use a good tool like CapCut, the quality should stay high. Always export in HD if you can.
Can I reverse only part of a video?
Yes, you can. Just cut the clip where you want the reversed section to start and end, then apply the reverse effect to that part.
Is CapCut really free?
Yes, it’s completely free to use, with no watermarks or hidden fees.
Some images used are from CapCut.