TOOL HUNTER

Ever wondered how to make your images pop by removing distracting backgrounds? Learning how to remove background of PNG files can completely transform your creative projects, making your pictures stand out with crisp, clean visuals. PNG images are fantastic because they maintain high quality while allowing you to eliminate unwanted background elements.
When you master this technique, you can place your subject against any backdrop you choose. This opens up endless possibilities for creating stunning designs, combining elements in innovative ways, and giving your projects a professional edge. By the end of this guide, you’ll not only know exactly how to create transparent PNGs but also discover creative ways to use them effectively.
Whether you’re a design enthusiast, marketing professional, or student looking to enhance your presentations, this guide is for you. We’ll walk you through creating transparent PNGs using just three simple steps with CapCut.
Table of Contents
- Discover the Simple Way to Remove Backgrounds from PNG Files
- Why Removing PNG Backgrounds Matters
- Complete Guide to Remove Background from PNG Using CapCut
- Unleash Your Creativity: CapCut Online Features and PNG Magic
- The Significant Benefits of Removing PNG Backgrounds
- Understanding PNG Transparency
- Conclusion
- Frequently Asked Questions
Discover the Simple Way to Remove Backgrounds from PNG Files
Let me introduce you to CapCut, an incredibly user-friendly online tool that makes removing backgrounds from PNG images a breeze. With CapCut’s intuitive interface, you can separate your main subject from its background with just a few clicks.
This innovative tool utilizes smart AI technology to automatically identify and isolate the most important parts of your photograph. It works exceptionally well with images that already have plain or transparent backgrounds, efficiently removing all unwanted elements so only your subject remains. This simplicity is exactly why so many people search for capcut how to remove background techniques online.
CapCut — Your all-in-one video & photo editing powerhouse! Experience AI auto-editing, realistic effects, a huge template library, and AI audio transformation. Easily create professional masterpieces and social media viral hits. Available on Desktop, Web, and Mobile App.

Why Removing PNG Backgrounds Matters
Eliminating backgrounds from PNG images can significantly impact various creative scenarios. Whether you’re designing event posters, building websites, or simply enhancing personal photos, transparent backgrounds allow your main subject to shine while seamlessly blending with any new background you choose.
How CapCut Simplifies the Process
Imagine having a group photo that would be perfect for your school project, but the existing background doesn’t match your theme. CapCut’s background remover can solve this problem in just a few clicks. You can transform your presentations with perfectly matched backgrounds that enhance your message and strengthen your visual impact.
CapCut streamlines the entire process with its user-friendly design and powerful technology. Gone are the days of spending hours manually selecting objects or downloading complicated software. With CapCut, you can achieve professional-quality results in three straightforward steps. If you’ve been wondering how to remove background in png image efficiently, this tool provides the perfect solution.
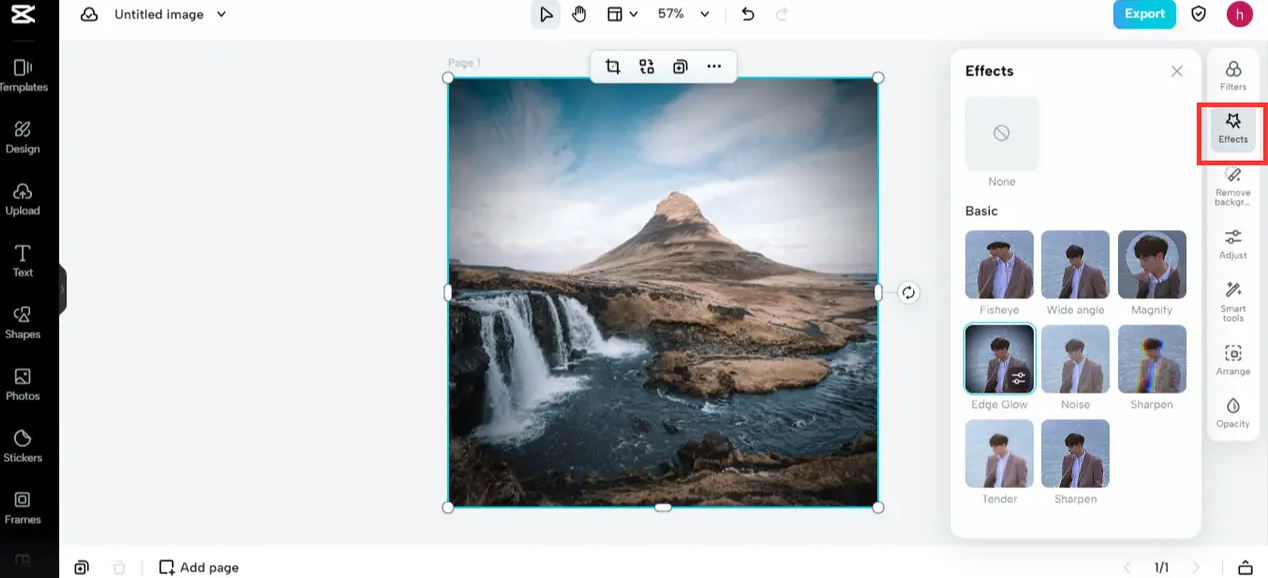
Complete Guide to Remove Background from PNG Using CapCut
Ready to create amazing transparent PNGs without any hassle? CapCut enables you to remove background of PNG files through three simple steps. Follow our comprehensive guide to gain complete control over your image editing process.
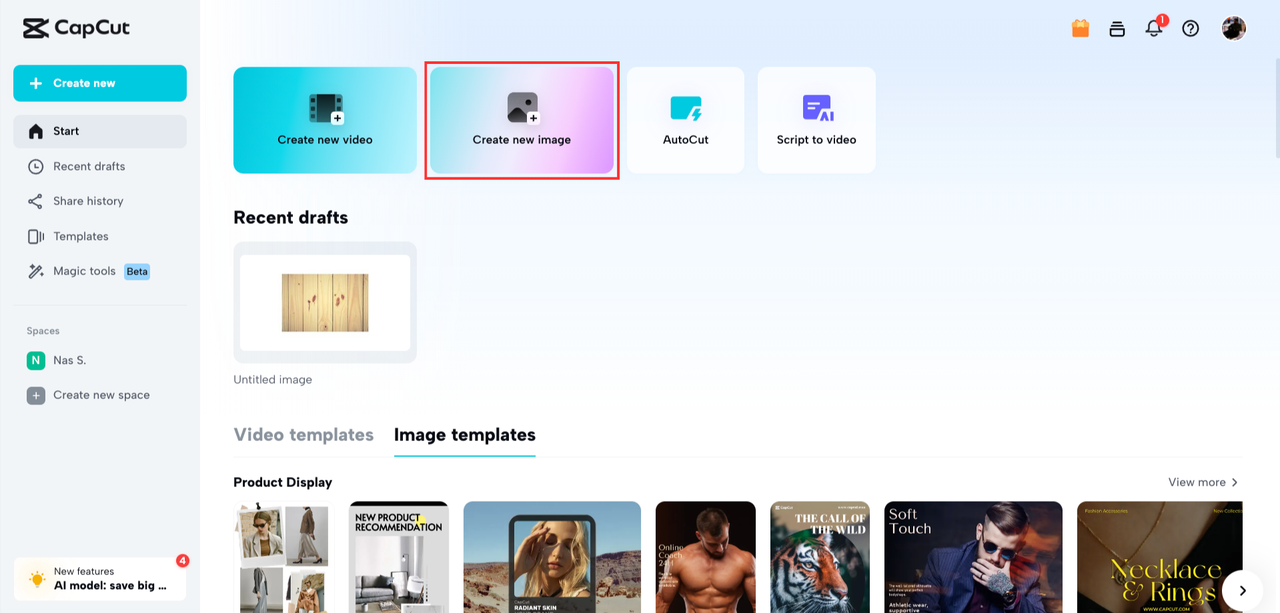
Step 1: Create Account and Upload Your Image
Begin by creating your CapCut account. You can quickly sign up using your Google account, QR code, TikTok, or Facebook credentials. Simply choose the method that works best for you.

After completing the signup process and reaching the main dashboard, locate the “Create New Image” button and click it to initiate a fresh project.
Now proceed to upload the PNG image you wish to edit. On the left side of your screen, you’ll find all your media assets. Click the “Upload” button to select your desired image.
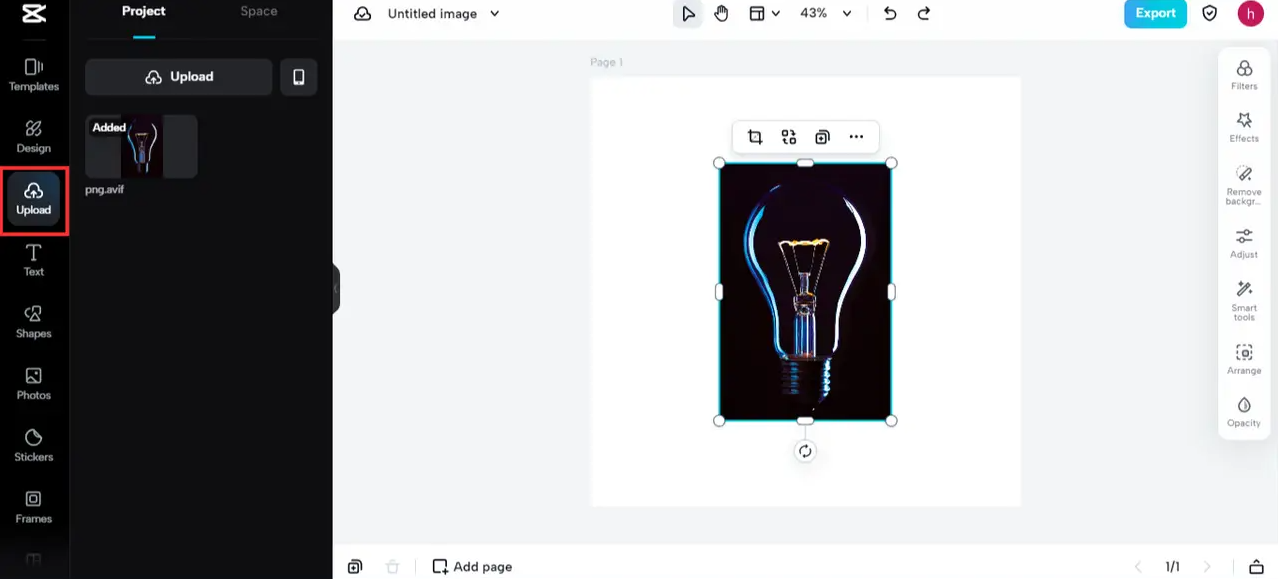
You can upload files directly from your computer, mobile device, Dropbox, MySpace, or Google Drive. For even greater convenience, simply drag and drop your image file directly onto the platform.
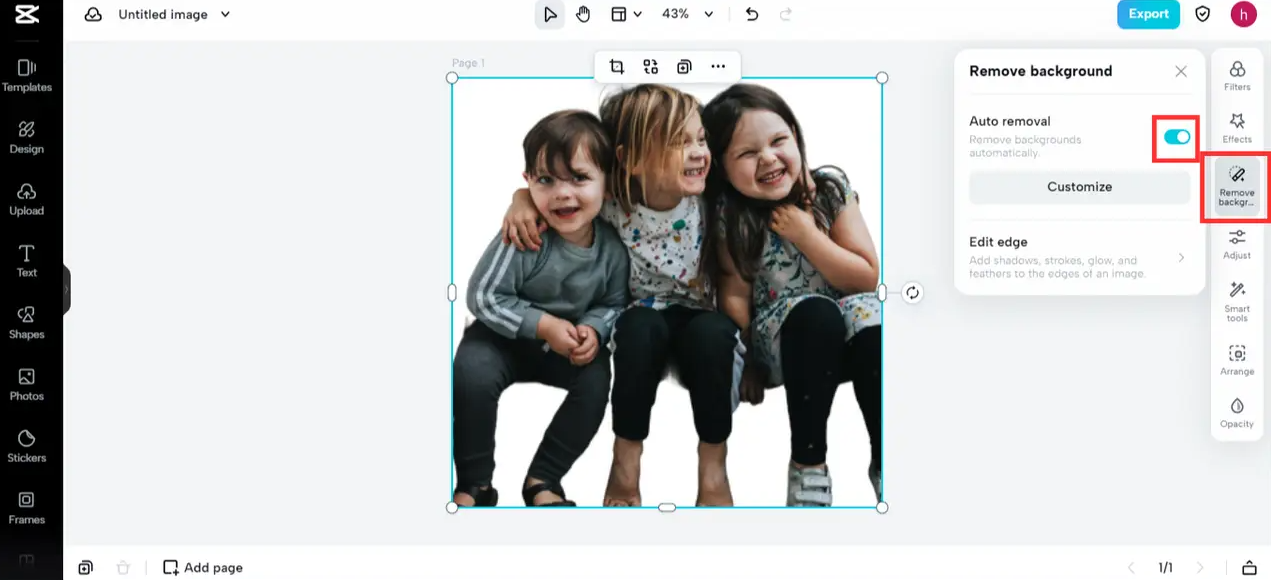
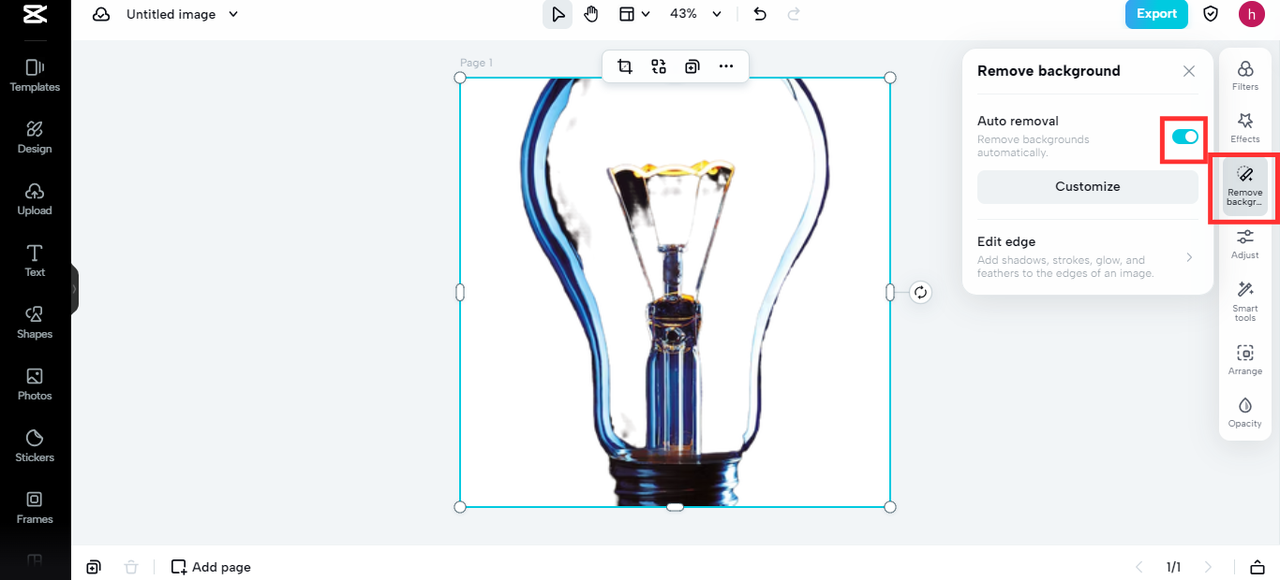
Step 2: Remove Image Background
With your PNG image now on CapCut’s canvas, it’s time to remove the background of PNG. Click on your uploaded image, and you’ll notice various editing tools appearing on the right side of your screen.
Among these editing options, you’ll find the “Remove Background” feature. Click this option and watch as CapCut automatically eliminates the unwanted background elements.
Step 3: Export and Download Your Edited Image
After completing your edits, navigate to the top right corner of the screen and click “Export.” Here you can select the optimal file format for your transparent PNG. CapCut offers multiple options including PNG, JPEG, and GIF, allowing you to customize your image according to specific requirements.
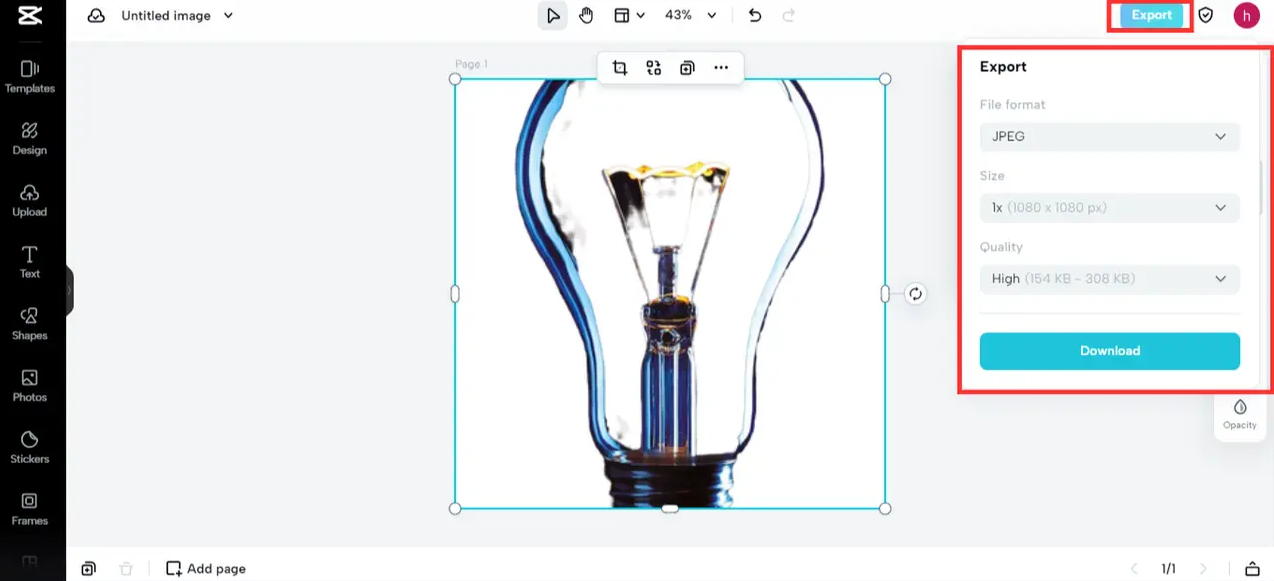
Download your edited image to your device, and congratulations! You now have a beautiful transparent PNG ready for use. CapCut automatically saves all your changes online, ensuring you can access them whenever needed.
Unleash Your Creativity: CapCut Online Features and PNG Magic
CapCut stands as the ultimate solution when you need to remove background of PNG efficiently. However, its capabilities extend far beyond basic background removal. The platform offers numerous advanced editing tools and an extensive library of media assets that can help unlock your creative potential.
Let’s explore how CapCut can assist you in removing backgrounds from PNG files while simultaneously enhancing your photographs.
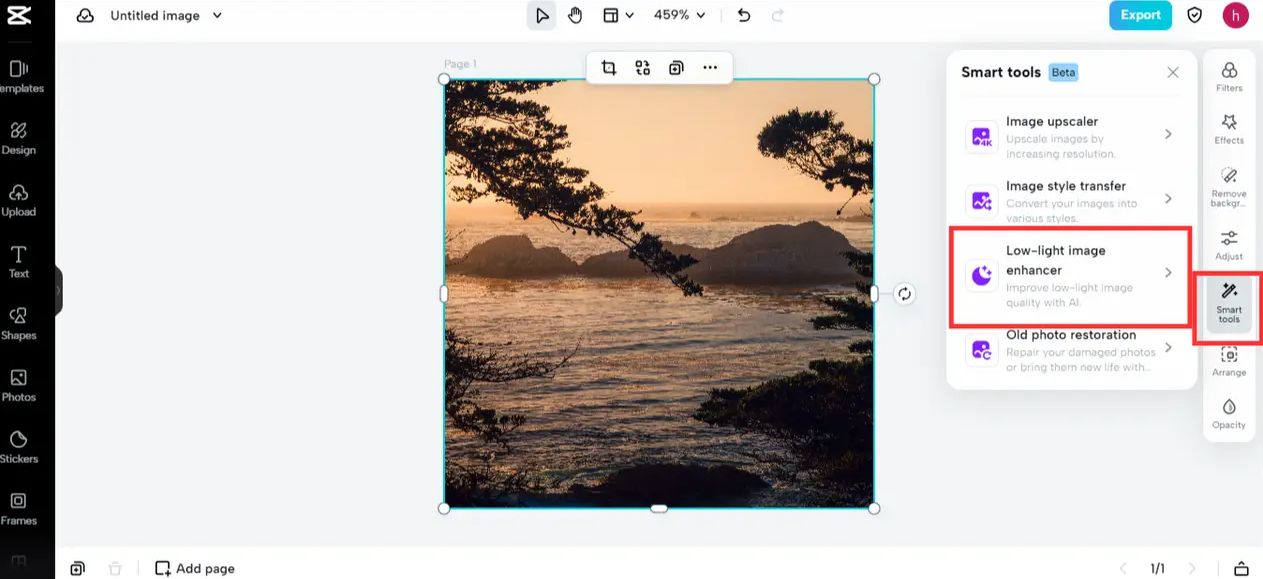
Enhance Low-Light Images
CapCut’s Low-Light Image Enhancement feature proves incredibly useful for improving images captured in dark conditions. Whether you took pictures at night or in poorly lit environments, this tool can dramatically improve their appearance. It intelligently brightens dark areas while enhancing details only where necessary.
Apply Creative Effects to Personal Photos
For travel photographs, you can instantly create magical, cinematic atmospheres by adding subtle light leaks, film grain overlays, or warm, faded, or dark color filters. These effects add texture and mood that deeply engage viewers. For fashion and food photography, effects like split screens provide artistic framing and dimensionality. Glitch and VHS effects offer retro, nostalgic vibes perfect for street style and vintage culinary shots.
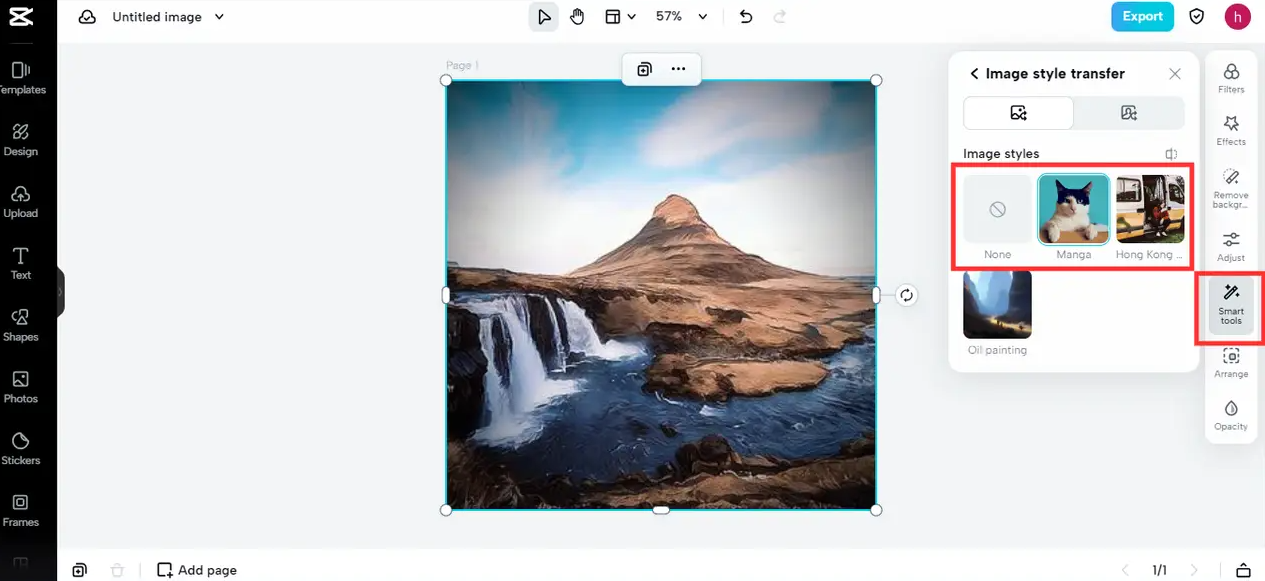
Transform Photos with Material Textures
CapCut’s image style transfer feature provides an easy method to give your photos unique, artistic appearances. You can make your images resemble prints on physical materials like paper, wood, or fabric. For instance, you can transform a photo to appear printed on aged, weathered paper, complete with rough natural texture, subtle blotches, streaks, and faded edges.
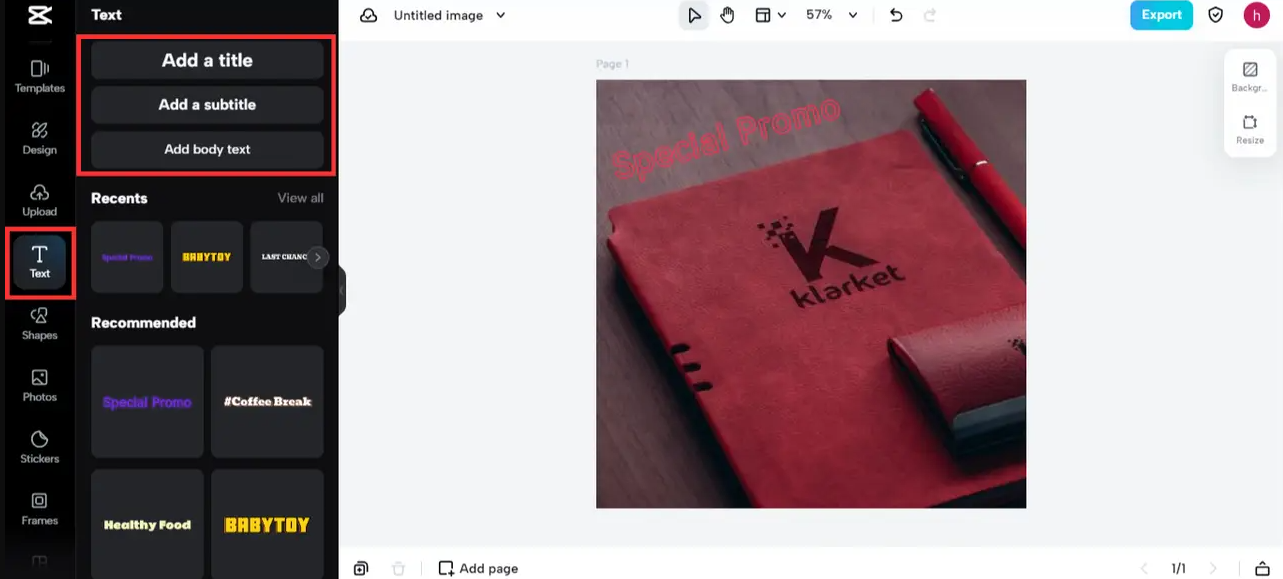
Design Eye-Catching Banners
Suppose you’re creating promotional banners and need to communicate an important message. CapCut’s Text Effects feature allows you to add text to images, creating attention-grabbing textual elements that engage your audience. Customize fonts, colors, and animations to make your message stand out and drive desired actions.
CapCut — Your all-in-one video & photo editing powerhouse! Experience AI auto-editing, realistic effects, a huge template library, and AI audio transformation. Easily create professional masterpieces and social media viral hits. Available on Desktop, Web, and Mobile App.
The Significant Benefits of Removing PNG Backgrounds
Removing backgrounds from PNG images represents more than just a technical skill—it unlocks endless creative possibilities. As someone experienced with visual technology, I’ve witnessed how this simple action can completely transform image presentations. Here’s why removing background on PNG images matters so much:
When backgrounds don’t distract viewers, the main subject of your PNG image commands full attention. This proves particularly crucial for e-commerce product photography, where products must stand out prominently.
Once you remove the background of a PNG, integrating the subject into various designs becomes effortless. Whether working with website banners or composite images, subjects blend smoothly without awkward background mismatches.
Designers appreciate the flexibility that background-free PNGs provide. These images work across multiple mediums and styles, making them essential tools in any designer’s toolkit.
Clean, background-free images project professionalism and refinement, vital qualities for branding and marketing materials. They communicate quality consciousness and attention to detail.
With tools like CapCut, the once tedious background removal process becomes quick and efficient, saving valuable time for creators and professionals with busy schedules.
Understanding PNG Transparency
Many people ask: can pngs be transparent? The answer is absolutely yes! PNG files support transparency, which explains their popularity in design work. However, not all PNGs automatically feature transparent backgrounds—sometimes you must remove the background yourself to create that transparency.
This is where CapCut proves immensely helpful. It simplifies the process to remove background on capcut and create those transparent PNGs everyone desires. Whether working with photographs, logos, or text elements, CapCut handles all scenarios effectively.
The best aspect is that you don’t need technical expertise to use CapCut. The platform designs itself for everyday users who simply want to enhance their images without learning complicated software.
Conclusion
With PNG files, you can create transparent images perfect for online sharing or design projects. CapCut makes the process even simpler by allowing background removal from photos with just a few taps. Its artificial intelligence automatically identifies and selects subjects, giving you complete control over your images. Best of all, CapCut remains free to use both online and through its mobile application.
If you want to remove background on PNG like a professional, register for CapCut today. Begin selecting subjects, refining edges, and exporting high-quality PNGs within minutes. So why wait? Remove backgrounds from your pictures and discover your creative potential with CapCut!
Frequently Asked Questions
How do I remove the background from a PNG image?
CapCut provides an exceptionally easy online solution for removing PNG backgrounds. To remove background on PNG using CapCut, simply upload your PNG image, select the “eraser” tool, and carefully trace around the image portion you want to retain. CapCut automatically detects edges and removes the background for you. For optimal results, ensure your image displays good contrast between foreground and background elements.
How do I remove the background from PNG text?
Open CapCut and import your PNG file containing text. Tap the layer and select the ‘Mask’ tool. Rather than manual erasure, tap ‘Auto’ to utilize CapCut’s AI for automatic background removal. The AI detects text edges and erases everything outside those boundaries, eliminating the need to painstakingly erase each letter individually.
Does PNG automatically eliminate backgrounds?
No, PNG files don’t automatically remove backgrounds. PNGs can possess either transparent or solid backgrounds. However, you can use CapCut to remove backgrounds from PNG images whenever necessary.
How do I remove white backgrounds from PNG logos?
You can remove white backgrounds from PNG logos using CapCut. It automatically detects logo edges and erases white backgrounds using AI technology. This eliminates the tedious task of manual background erasure. Simply review the masking and touch up any white spots the AI might have missed.
Some images sourced from CapCut