TOOL HUNTER

Have you ever found yourself struggling to play a QuickTime video on a non-Apple device? Or maybe you’ve wanted to share a video with friends who use Android or Windows, only to realize they can’t open your MOV file? If so, you’re not alone. Many people face this problem, and the solution is simpler than you might think: converting your QuickTime movies to MP4 format.
QuickTime is great—it’s got a clean interface, handles various media types smoothly, and delivers excellent video quality thanks to its H.264 encoding. But its biggest limitation is compatibility. While Apple devices handle MOV files effortlessly, other platforms often don’t. That’s where conversion comes in. By learning how to convert QuickTime movie to MP4, you open up a world of possibilities for sharing, editing, and enjoying your videos anywhere.
In this guide, we’ll walk through why converting makes sense and show you exactly how to change from QuickTime to MP4 using CapCut video editor. Whether you’re a total beginner or have some experience with video files, you’ll find the process straightforward and rewarding.
Why Convert QuickTime Video to MP4?
So, why go through the trouble of converting your videos? It turns out there are several compelling reasons to convert QuickTime video to MP4, and they all add up to better flexibility and usability.
First off, MP4 is like the universal language of video formats. While QuickTime MOV files might work perfectly on your Mac or iPhone, they often cause headaches on other devices. Have you ever tried playing a MOV file on an Android phone or a Windows computer? It’s not always smooth. But when you convert QuickTime movie to MP4, you create a file that plays nicely on practically everything—smartphones, tablets, gaming consoles, and media players alike.
Another huge advantage is how MP4 files work across different operating systems. It doesn’t matter if you’re using Windows, macOS, Android, or iOS—MP4 videos will perform consistently well. This cross-platform consistency means you can share videos with anyone without worrying about whether they have the right software or device to view them.
If you’re into sharing videos online, MP4 is definitely the way to go. When you convert QuickTime MOV videos to MP4, you’ll notice that uploads to platforms like YouTube, Instagram, or TikTok happen much faster. The videos also stream more smoothly for your viewers, which means better overall experience for your audience.
File size is another big factor. MP4 uses smart compression technology that shrinks file sizes without noticeable quality loss. This is perfect for saving storage space on your devices or for sharing videos over the internet where bandwidth might be limited. In today’s world where we’re always short on storage and dealing with data limits, this efficiency really matters.
The Best Tool to Convert QuickTime to MP4: CapCut Video Editor
Now that we understand why conversion is valuable, let’s talk about the best tool for the job. If you’re looking for an easy, reliable way to convert QuickTime movie to MP4, CapCut video editor is an excellent choice. It lets you transform MOV files into MP4 format with just a few clicks, and it works on virtually any device—web browsers, Mac, Windows, Android, and iOS.
What makes CapCut special is how it simplifies the conversion process while maintaining high quality. The interface is clean and intuitive, so even if you’ve never edited videos before, you’ll find your way around quickly. But CapCut is more than just a converter—it’s a creative platform that makes video editing enjoyable and accessible.
CapCut — Your all-in-one video & photo editing powerhouse! Experience AI auto-editing, realistic effects, a huge template library, and AI audio transformation. Easily create professional masterpieces and social media viral hits. Available on Desktop, Web, and Mobile App.

Awesome Features of CapCut’s Video Converter
CapCut isn’t just another basic video converter—it’s packed with features that solve common video editing challenges in smart ways. Let’s look at what makes it stand out.
Have you ever watched a video that seemed jumpy or uneven? That’s usually a frame rate issue. CapCut includes a free video frame rate converter that lets you adjust the frame rate of your QuickTime movie when you convert it to MP4. You can choose from 24 fps all the way up to 60 fps, giving you flexibility to match your video’s style and needs.
Some converters restrict how large your files can be, which is frustrating if you’re working with big video projects. CapCut removes this limitation entirely—you can convert QuickTime movie MOV to MP4 no matter how large your file is. This is perfect for professionals and enthusiasts working with high-quality footage.
Waiting around for conversions to finish is nobody’s idea of fun. CapCut uses high-performance conversion technology that works quickly and efficiently, saving you valuable time. This is especially helpful when you’re working against deadlines or just want to get your videos ready for sharing.
What’s really cool is that you don’t need to be a video editing expert to create professional-looking results. While converting your QuickTime movie to MP4, you can also make edits to your video. You can trim the length, crop the frame, add filters and stickers, split scenes, and even remove background noise—all with simple clicks. This is fantastic for content creators who want polished videos without spending hours learning complicated software.
In our multi-device world, being able to work anywhere is crucial. CapCut lets you access your projects from any device. You can start converting QuickTime to MP4 on your desktop and continue working on your phone later. This makes collaboration easy and lets you work on your videos wherever you are.
Step-by-Step: How to Convert QuickTime Movie to MP4 with CapCut
Ready to convert your videos? Here’s how simple it is to convert QuickTime movie to MP4 using CapCut.
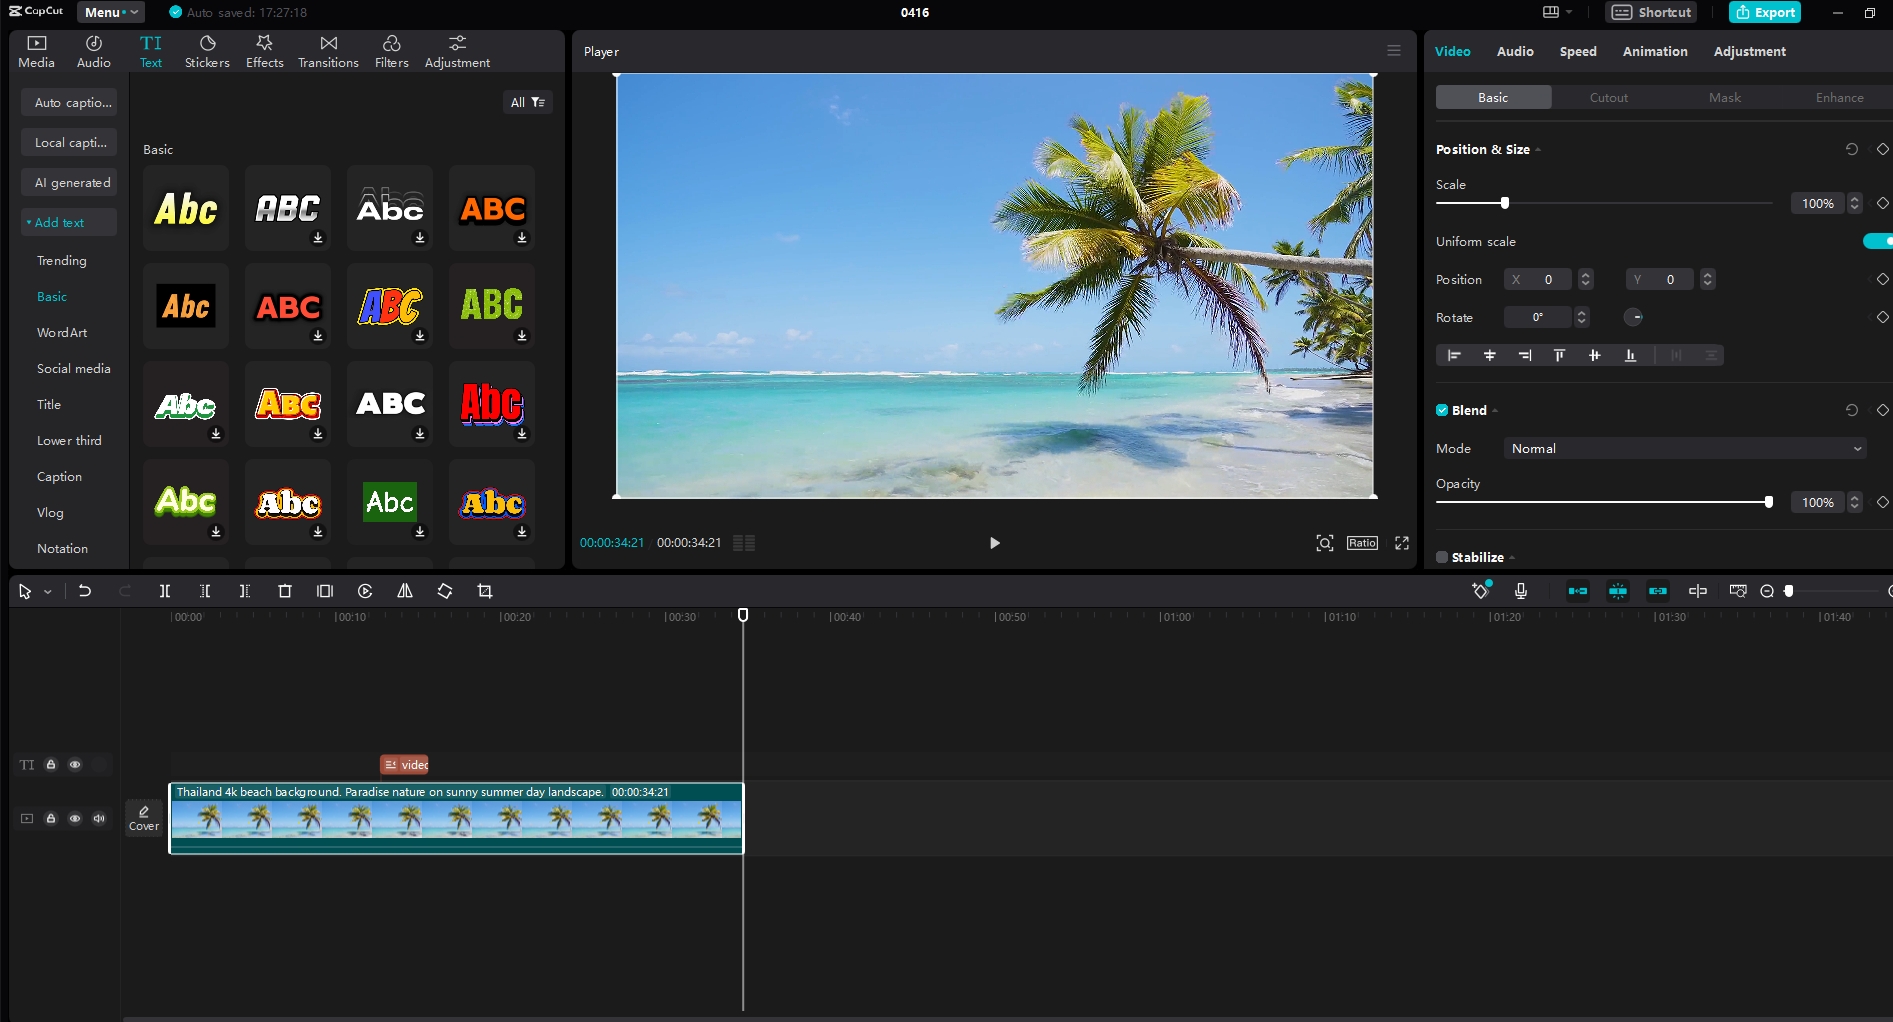
Start by opening CapCut video editor and creating a new project. Click the “Import” button in the media section and select the MOV file from your device. Once it’s imported, just drag and drop the video into the timeline area.
After importing, you can edit your video if you want to. CapCut offers tons of editing tools—effects, filters, stickers, and more. You can adjust the video length or split it into different scenes. If you’re happy with your video as-is, simply select the file and click the “Export” button in the top right corner. Then choose MP4 as your output format. That’s all it takes to change from QuickTime to MP4!
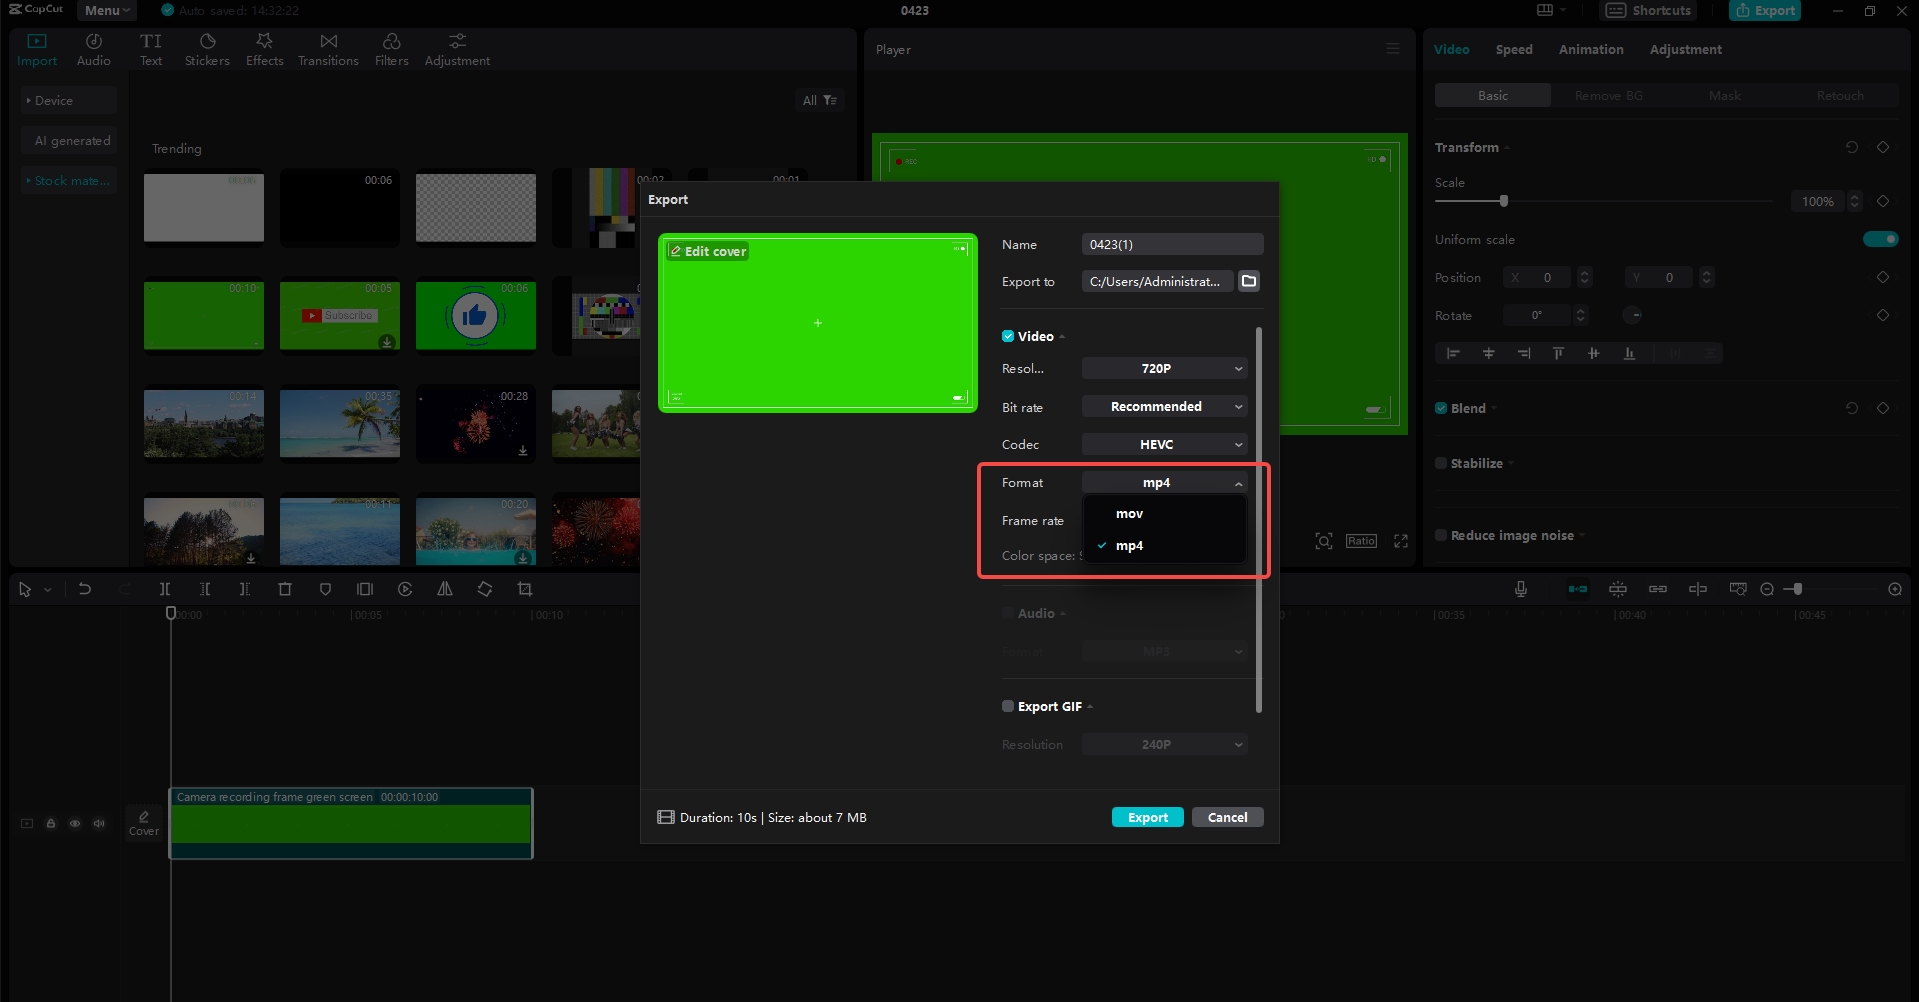
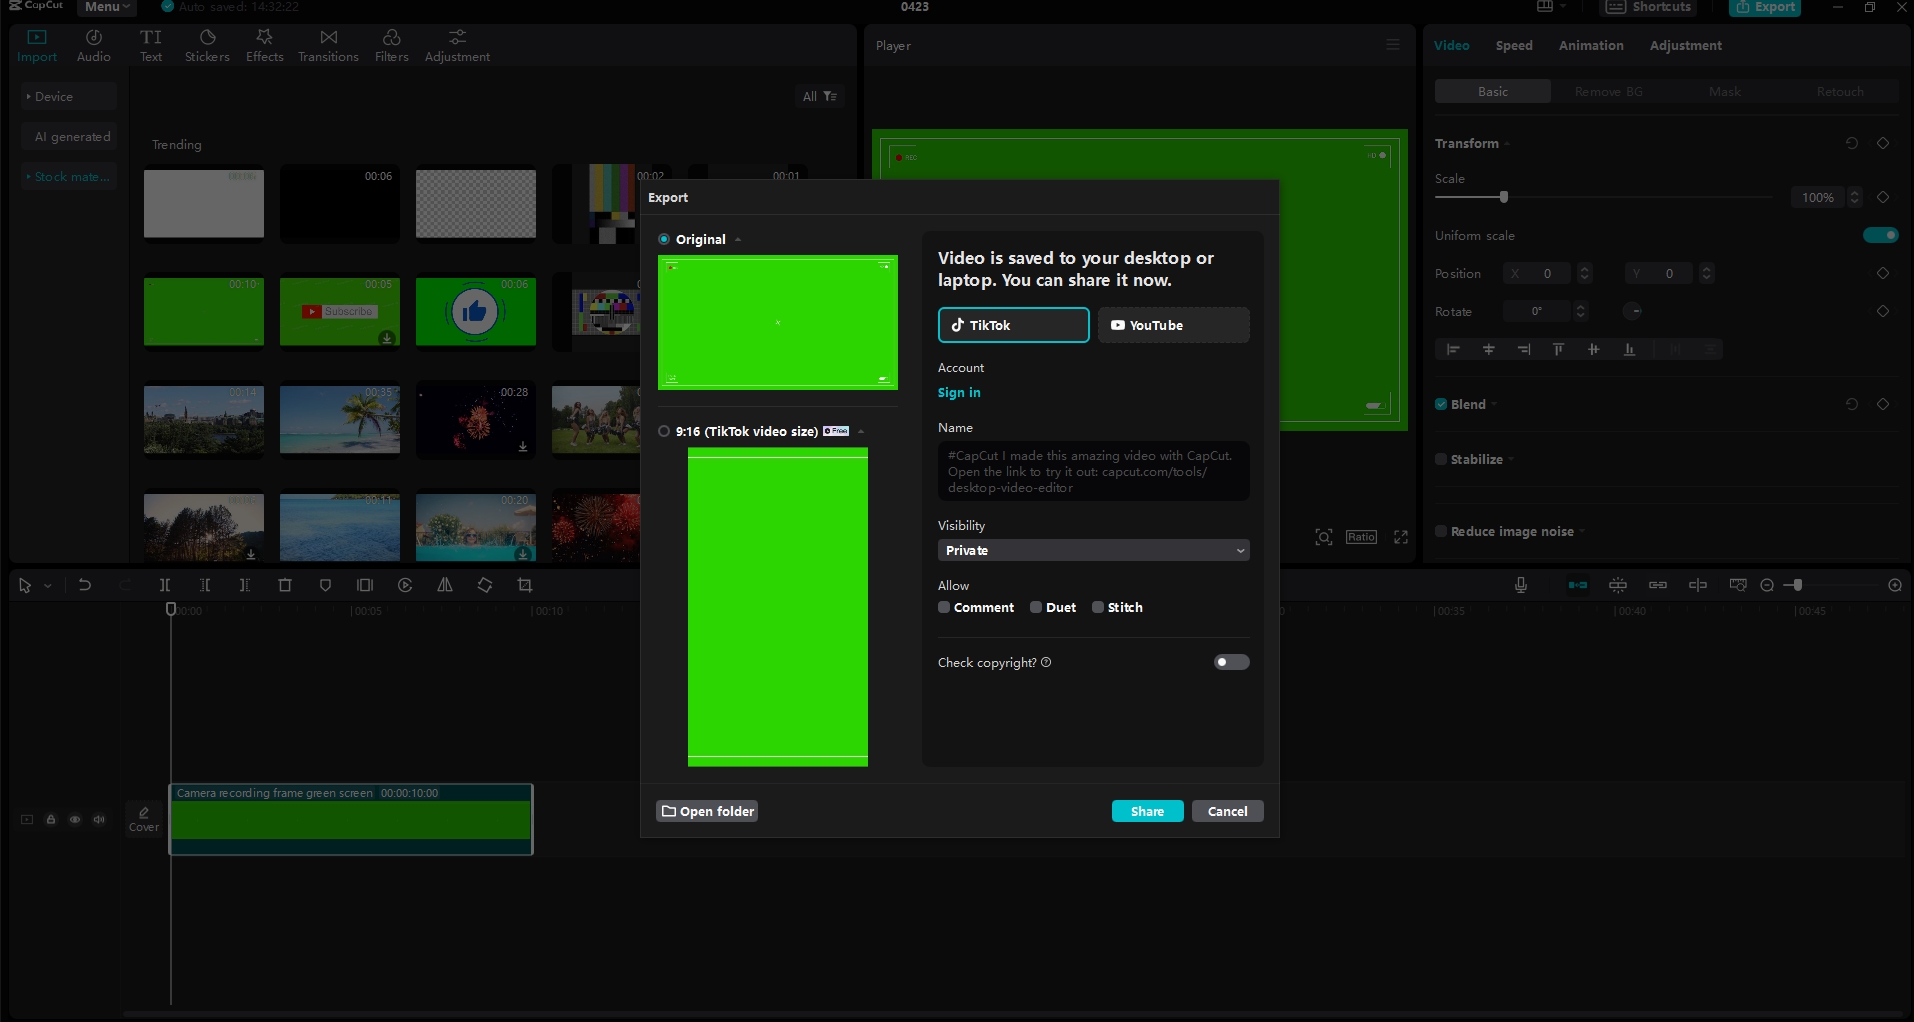
Once you’ve selected MP4, you can pick your preferred video resolution. Click “Export” again to save and convert your file. Now your video is in MP4 format and ready to share with the world! Upload it to social media, send it to friends, or use it in your projects.
Beyond Conversion: CapCut’s Full Creative Suite
Here’s where things get really interesting: CapCut is much more than just a MOV to MP4 converter. It’s actually a complete content creation platform that combines video editing, audio editing, and screen recording features into one powerful package.
The video editing capabilities are seriously impressive. You get professional features like keyframe animation and speed curve adjustments that give you precise control over your videos. There’s also a massive library of video effects, filters, and stock footage to make your content more engaging and dynamic. If you have shaky footage, the video stabilization tool can smooth it out beautifully.
Good audio can make or break a video, and CapCut’s audio editing tools are top-notch. You can add music tracks, include sound effects, or even use the Text-to-Speech feature to generate voiceovers. This helps you create more immersive and professional-sounding videos that keep viewers engaged.
Screen recording is another standout feature. Whether you’re creating tutorials, demonstrating software, or sharing gameplay, CapCut makes it easy to capture your screen smoothly. This adds another layer of versatility to an already powerful platform.
No matter what kind of content you create—social media clips, professional films, or personal projects—CapCut provides all the tools you need in one convenient place.
CapCut — Your all-in-one video & photo editing powerhouse! Experience AI auto-editing, realistic effects, a huge template library, and AI audio transformation. Easily create professional masterpieces and social media viral hits. Available on Desktop, Web, and Mobile App.
Wrapping Up
Converting QuickTime movie to MP4 doesn’t have to be complicated or technical. With CapCut, the process becomes quick, easy, and even enjoyable. But as we’ve seen, CapCut offers so much more than just conversion—it’s a comprehensive creative tool that helps you unlock your video editing potential.
From universal compatibility to efficient file compression, CapCut ensures a smooth and professional video creation experience from start to finish. Whether you’re just getting started with video editing or you’re an experienced creator, CapCut proves to be a reliable partner for all your digital media needs.
Why not give it a try? Experience the simplicity, flexibility, and creative possibilities that CapCut brings to your video projects. You might be surprised at how much you can accomplish!
Frequently Asked Questions
How can I convert QuickTime to MP4 without paying? You can convert QuickTime to MP4 for free using CapCut video editor. Simply create an account, import your QuickTime file, and export it as MP4. The process is straightforward and completely free.
Is it possible to convert a MOV file to MP4 on a Mac? Absolutely! CapCut works perfectly on Mac computers. If you need to change QuickTime movies to MP4 on your Mac, just use CapCut’s video editor. Upload your MOV file and convert it to MP4 without any issues.
What’s the best video editor for converting QuickTime movies to MP4? CapCut is definitely one of the top choices for changing QuickTime movie to MP4. It combines a user-friendly interface with powerful features that make the conversion process simple and efficient. Just import your QuickTime file, and you can convert it quickly while also having the option to edit if you want.
Some images courtesy of CapCut