TOOL HUNTER

Ever wondered how to capture exactly what’s happening on your iPhone screen? Whether you want to save a memorable video call, record your gaming achievements, or create helpful tutorials for friends, learning how to screen record on iPhone opens up a world of possibilities. It’s one of those features you might not think about until you really need it, and then you realize how incredibly useful it can be.
I remember when I first discovered screen recording on my iPhone – it felt like unlocking a secret superpower. Suddenly, I could save those funny moments from video chats, capture glitches to show tech support, and even create simple how-to videos for my less tech-savvy family members. The best part? You don’t need any special apps or technical skills to get started.
Table of Contents
- Why Screen Recording on iPhone Matters More Than You Think
- Getting Started with iPhone’s Built-in Screen Recording
- Taking Screen Recording to the Next Level with CapCut
- Exploring Other Screen Recording Options
- Understanding the Limits of Mobile Video Editing
- Bringing It All Together
- Answering Common Questions About iPhone Screen Recording
Why Screen Recording on iPhone Matters More Than You Think
We’re living in a digital age where sometimes apps and websites don’t let you download or save content directly. It’s frustrating when you come across a great tutorial, an important message, or a funny video that you want to keep but there’s no download button in sight. This is where knowing how to screen record on iPhone becomes your secret weapon.
Screen recording lets you capture anything that appears on your iPhone’s display. Whether it’s a tricky level in your favorite game that you want to show friends, a step-by-step process you need to remember, or evidence of a technical issue, screen recording has you covered. I’ve used it to record online classes, preserve memorable video calls with distant family, and even capture travel directions when I knew I’d lose signal later.
The convenience of having this feature built right into your iPhone means you’re always prepared to capture important moments. You never know when you’ll need to show someone exactly what you’re seeing on your screen, and with screen recording, you’re always ready.
Getting Started with iPhone’s Built-in Screen Recording
The great news is that every iPhone comes with screen recording capabilities built right in. You don’t need to download anything or pay for expensive apps. The feature is there, waiting for you to discover it.
Setting Up Screen Recording in Your Control Center
Before you can start recording, you need to make sure the screen recording button is accessible in your Control Center. Here’s how to set it up:
Open your Settings app and scroll down until you find “Control Center.” Tap on it, and you’ll see a list of available controls. Look for “Screen Recording” in the “More Controls” section – it has a little green plus icon next to it. Tap that plus sign, and the screen recording option will move up to your “Included Controls” list.
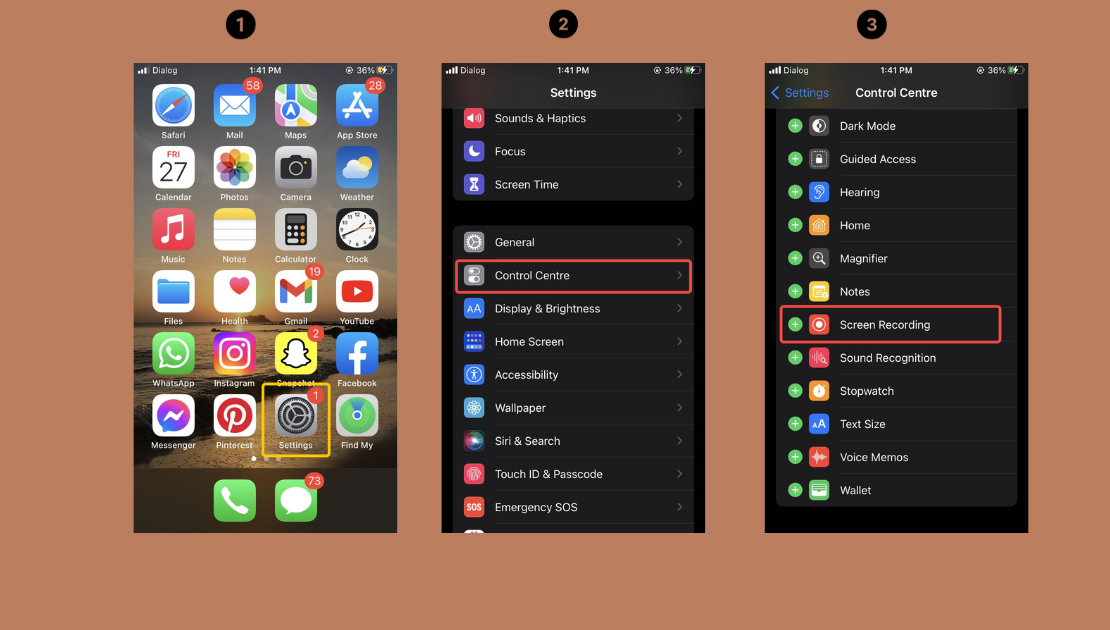
This process takes less than a minute, and you only have to do it once. After that, the screen recording button will always be available in your Control Center whenever you need it.
How to Actually Record Your Screen
Now for the fun part – actually recording your screen! Swipe down from the top-right corner of your screen (or swipe up from the bottom if you have an older iPhone model) to open Control Center. You’ll see the screen recording button – it looks like a solid circle inside another circle.
When you tap it, you’ll get a three-second countdown, giving you time to get to the screen you want to record. The recording starts automatically, and you’ll see a red indicator at the top of your screen letting you know you’re being recorded. To stop recording, just tap that red indicator or go back to Control Center and tap the recording button again.

I love how intuitive this process is. The first time I tried it, I was worried I’d mess something up, but it’s actually designed to be super user-friendly. The three-second countdown is perfect for getting yourself ready, and the red indicator is always visible so you never forget you’re recording.
What to Do After Recording
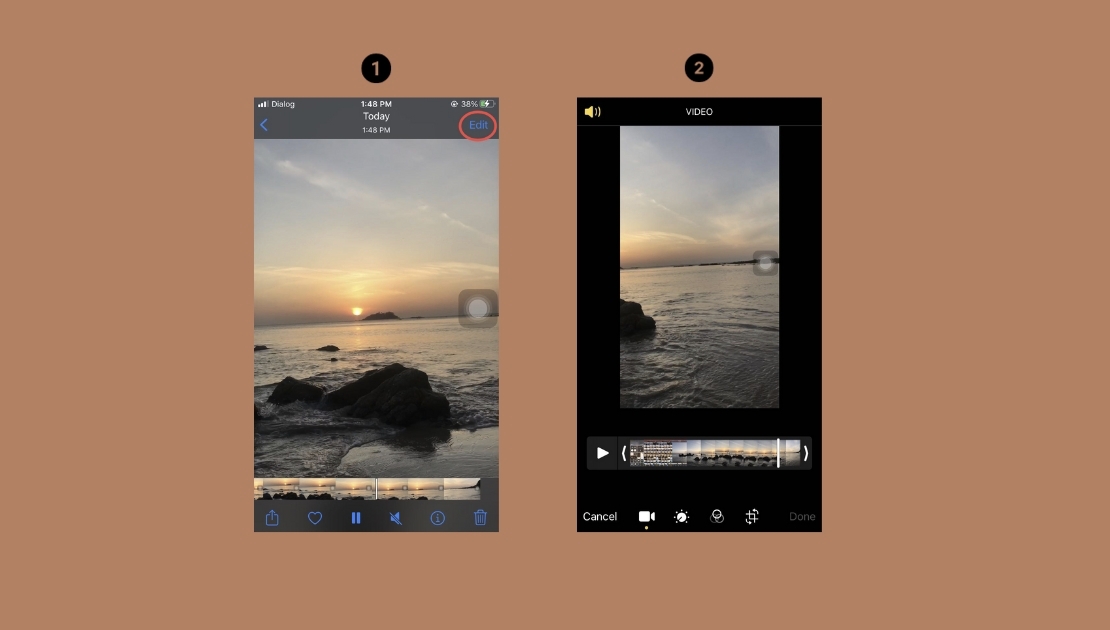
Once you stop recording, your video automatically saves to your Photos app. You can find it in your Camera Roll or Recents album, just like any other video or photo you take with your iPhone.
When you open the recording, you’ll find some basic editing tools available. You can trim the beginning or end of your video, add text annotations, or even draw on the screen to highlight important parts. While these editing features aren’t super advanced, they’re perfect for quick touch-ups before sharing your recording.
I often use these basic editing tools to cut out the parts where I’m fumbling to start the recording or where I accidentally captured something I didn’t mean to. It’s surprising how much a simple trim can improve your screen recordings.
Taking Screen Recording to the Next Level with CapCut
While the built-in screen recording feature is great for quick captures, sometimes you need more advanced capabilities. This is where CapCut comes in – it’s an online video editor that includes screen recording features, and it works right in your web browser.
CapCut is perfect for when you need higher quality recordings, more editing options, or better ways to manage your screen captures. What I love about CapCut is how it combines screen recording with professional-level editing tools in one package.
The interface is designed to be user-friendly, so even if you’ve never edited videos before, you’ll find it approachable and easy to navigate. The recording quality is excellent, capturing both video and audio clearly, and you can customize settings like resolution and frame rate to suit your needs.
After recording, you can jump right into editing with tools that let you trim, crop, add music, insert text, create transitions, and apply special effects. It’s like having a mini production studio right in your browser.
CapCut — Your all-in-one video & photo editing powerhouse! Experience AI auto-editing, realistic effects, a huge template library, and AI audio transformation. Easily create professional masterpieces and social media viral hits. Available on Desktop, Web, and Mobile App.

Step-by-Step Guide to Using CapCut’s Screen Recorder
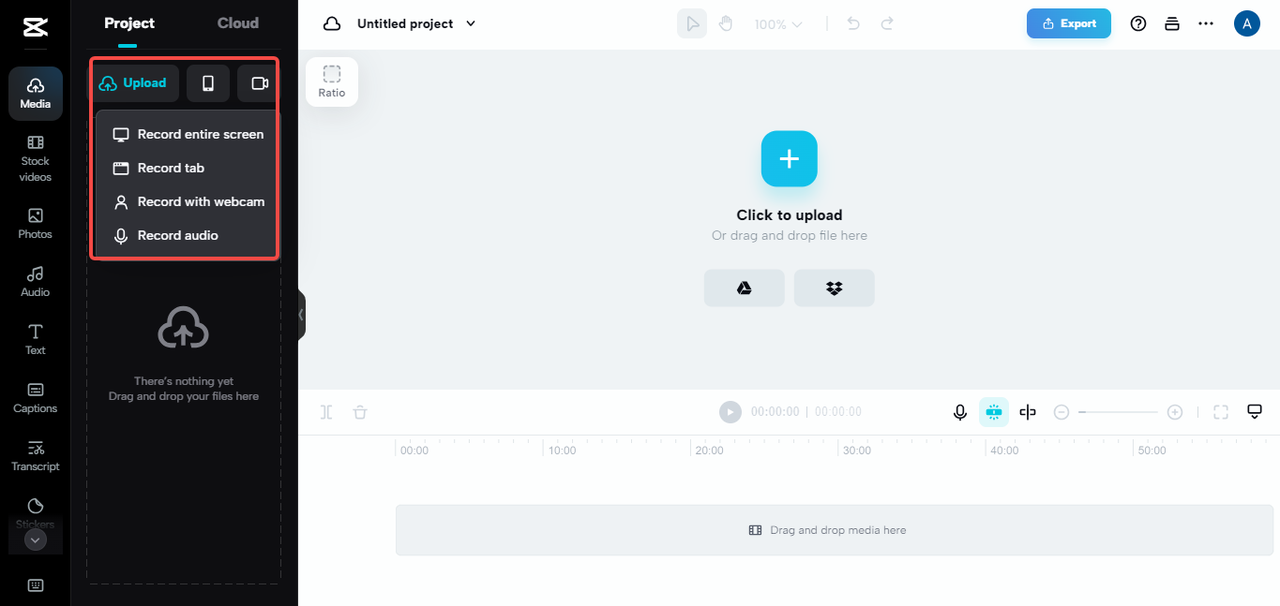
Using CapCut to record your screen is straightforward. Open the CapCut online video editor in your web browser, and you’ll see a “Record” button on the left panel. Clicking this gives you options to record a specific browser tab or your entire screen.
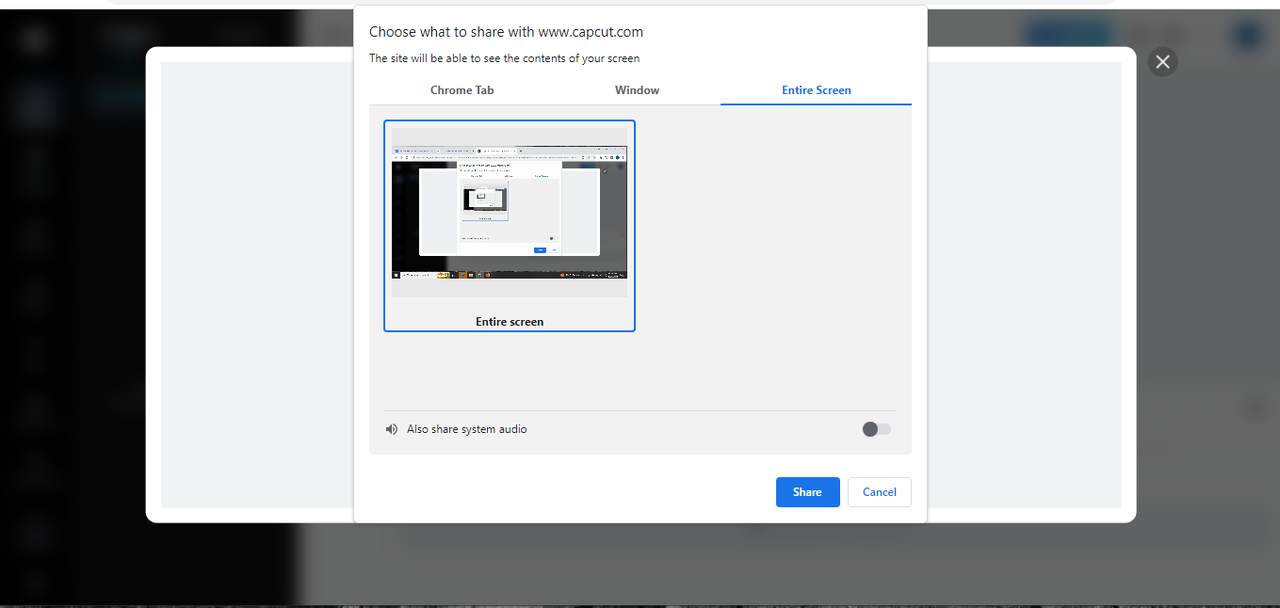
After making your selection, click the “Share” button followed by “Record” to begin capturing your screen. The interface shows you exactly what’s being recorded, so you always know what you’re getting. When you’re finished, click “Stop sharing,” and your recording is ready to save or edit.
If you make a mistake or want to redo part of your recording, no problem! CapCut lets you start over easily, so you can get the perfect capture without frustration.
Editing Your Recordings Like a Pro
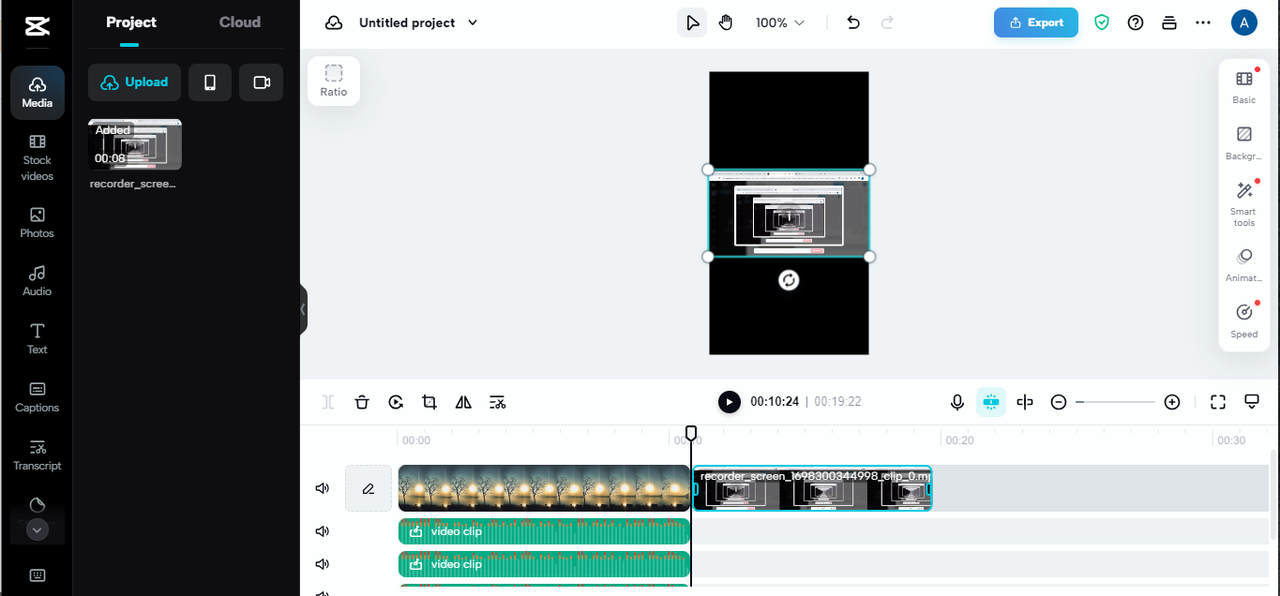
This is where CapCut really stands out. Once your recording is complete, you’re taken to a full-featured editing timeline where you can enhance your video with professional tools.
You can split clips to remove unwanted sections, adjust playback speed for dramatic or comedic effect, add filters to change the mood of your video, include text overlays to provide explanations or context, and even use advanced features like speed curves or masking for more creative control.
CapCut also includes smart tools that feel almost magical – you can resize video elements, retouch footage to improve quality, or remove backgrounds entirely. These features go far beyond what’s possible with the basic editing tools in your iPhone’s Photos app.
I’ve used these editing features to turn simple screen recordings into polished tutorial videos that look like they were made by professionals. The ability to add text explanations and highlight specific areas of the screen has been particularly helpful for creating clear, easy-to-follow guides.
Sharing Your Masterpiece
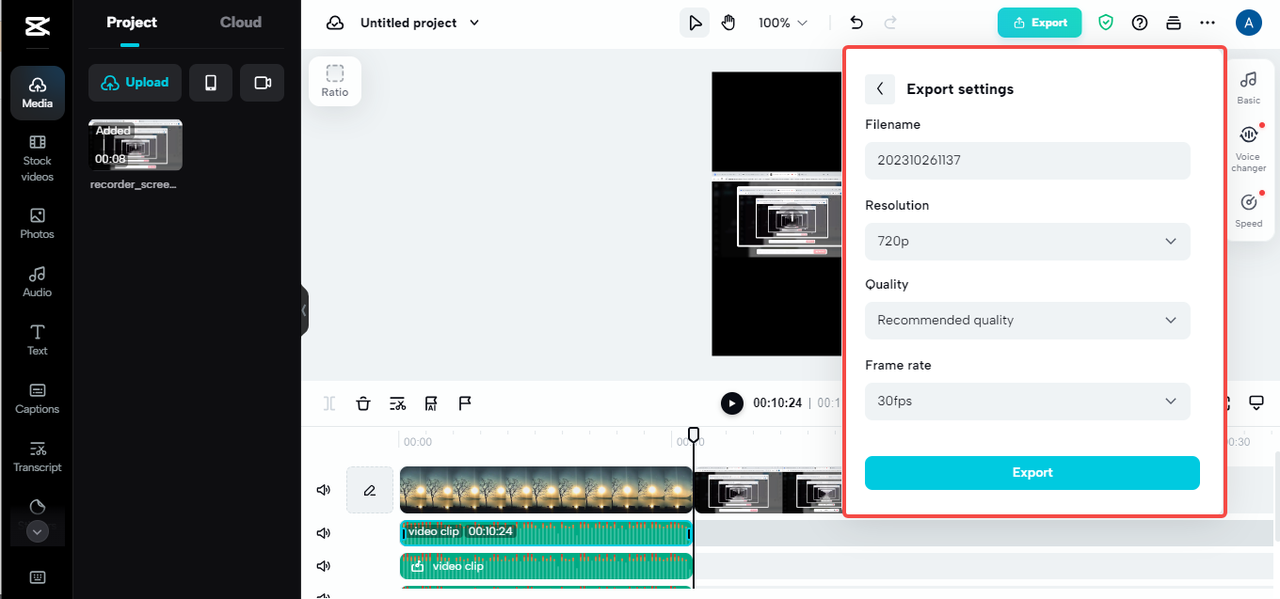
When you’re happy with your edited recording, CapCut makes it easy to export and share your work. The export options let you choose the perfect format, resolution, and quality settings for your needs.
Whether you’re sharing on social media, uploading to YouTube, or just saving a high-quality version for yourself, CapCut has the right settings. The export process is quick and straightforward, and then your video is ready to download and use however you like.
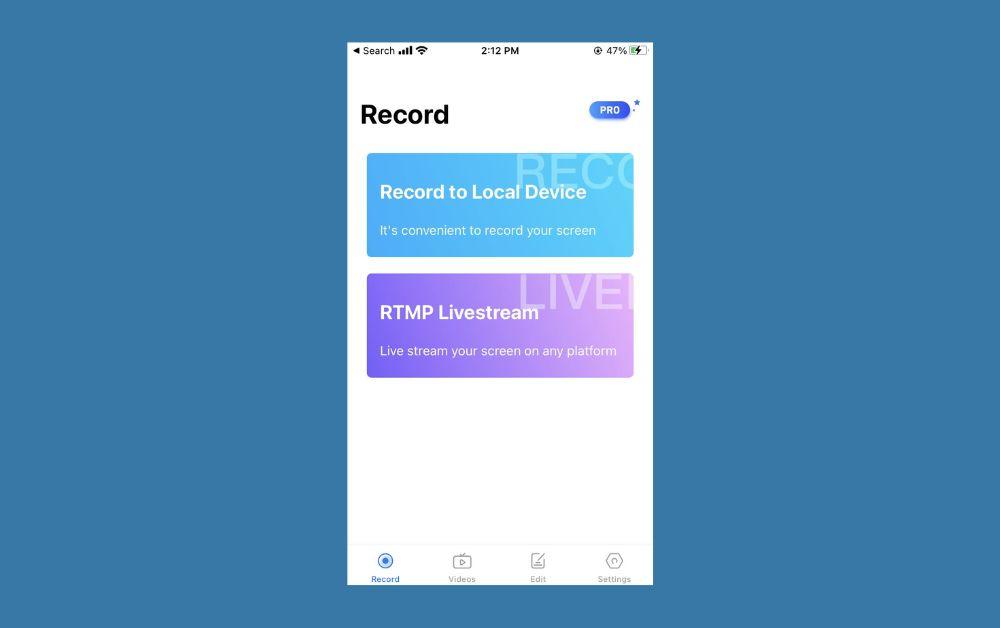
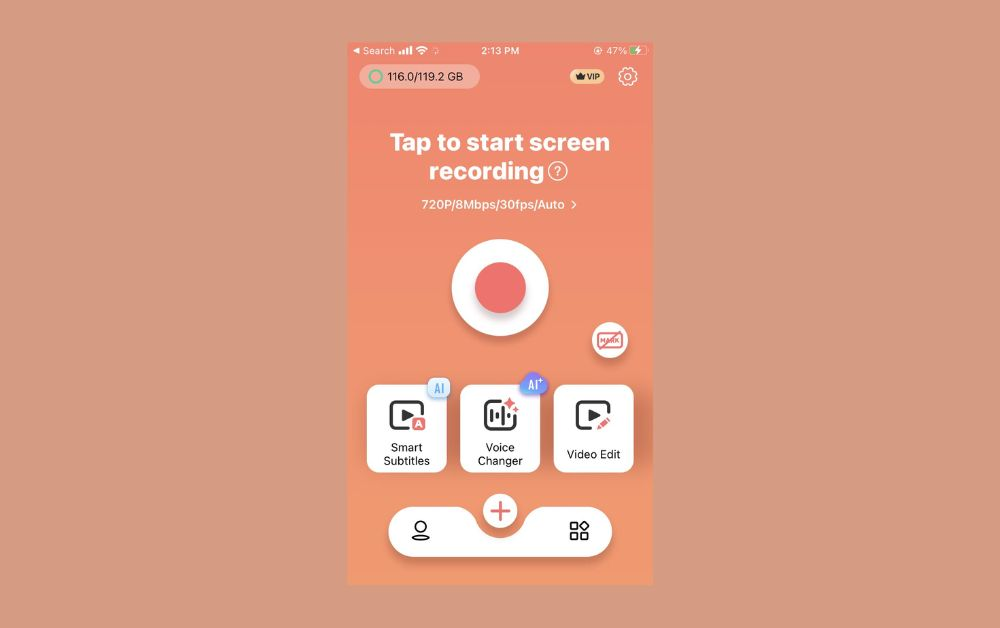
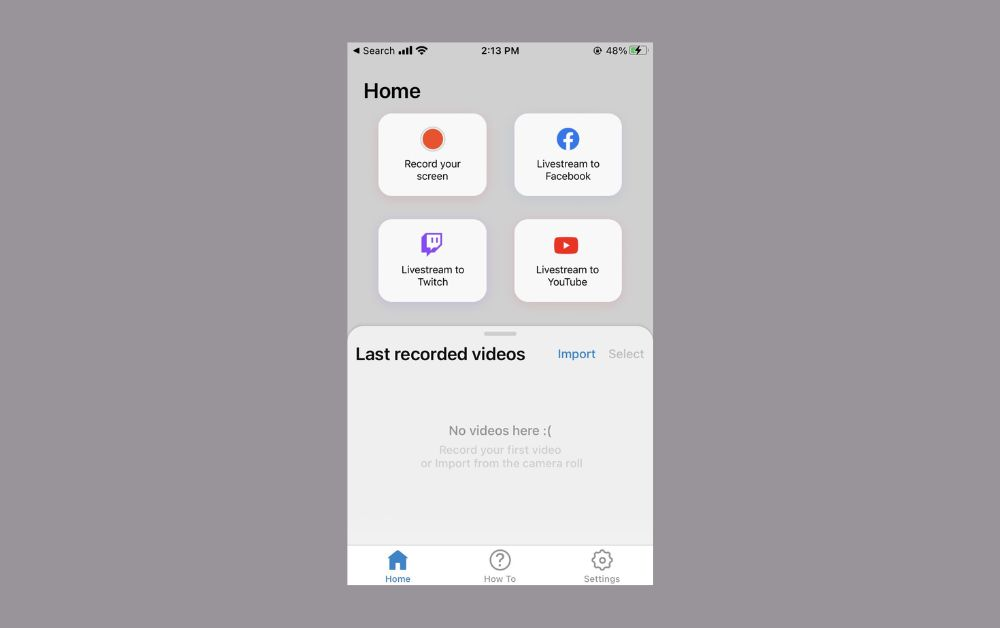
Exploring Other Screen Recording Options
While the built-in iPhone feature and CapCut cover most needs, there are several other screen recording apps available that might suit specific purposes. Each has its own strengths and special features that might make it the perfect choice for your particular situation.
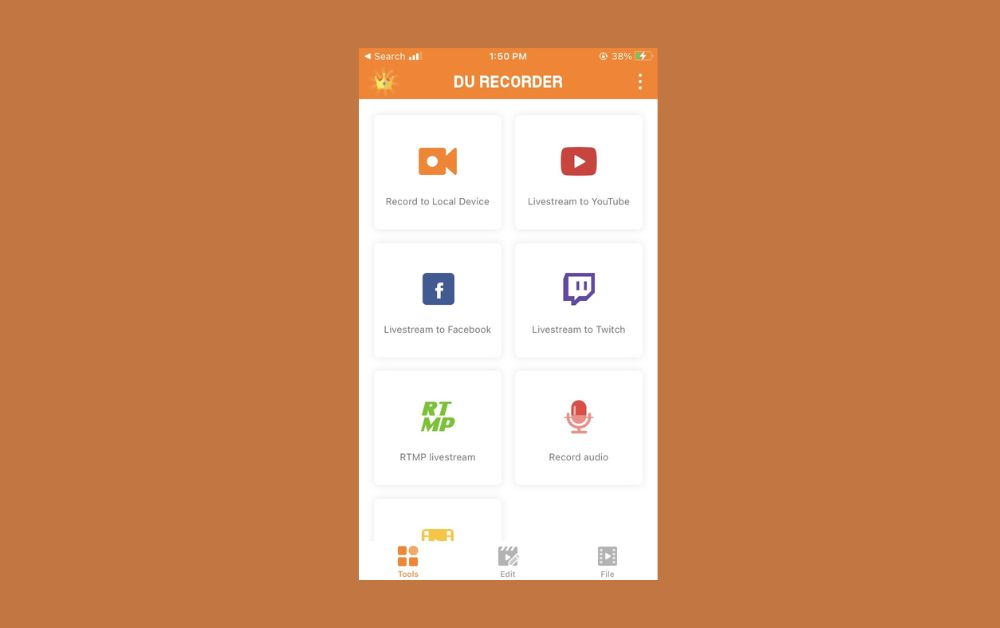
Du Screen Recorder
If you’re into live streaming or gaming, Du Screen Recorder is worth checking out. It allows simultaneous recording of internal audio and your microphone, which is great for commentary. You can choose from multiple resolution options, add custom watermarks, and it supports RTMP for streaming directly to platforms.
Screen Recorder – Record It Go
This app focuses on high-quality recordings with customizable settings. You can adjust technical aspects like bit rate for optimal quality, and it includes editing tools for polishing your recordings after capture. Plus, it’s ad-free, which makes for a cleaner recording experience.
Screen Recorder-Record. TV
For those who need simplicity and ease of use, this app offers a straightforward interface with handy features like pausing and resuming recordings. This is perfect for longer recording sessions where you might need breaks. It also includes basic editing tools and helps keep your recordings organized.
Record It!
This versatile app is excellent for recording gameplay or video calls. It offers multiple audio recording options, rich annotation tools for adding notes and highlights to your recordings, and creates videos without watermarks. The ability to schedule recordings is a unique feature that sets it apart.

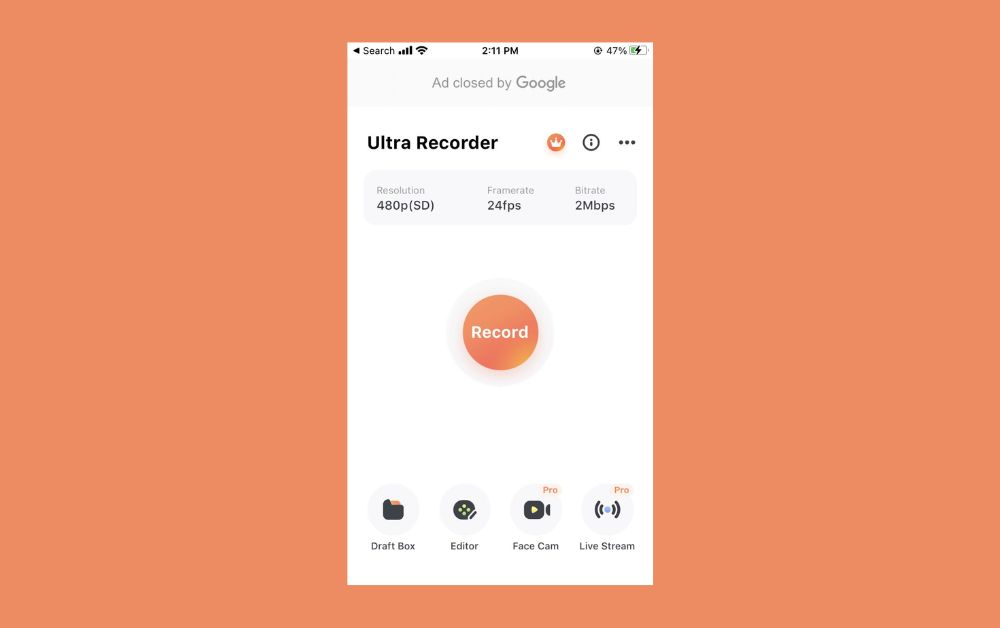
Ultra Recorder-Screen Record
For advanced users, this app offers features like face cam recording, allowing you to show your reactions alongside the screen capture. It includes built-in editing tools, has no ads, and supports high-quality streaming options.
Super Screen Recorder
True to its name, this app focuses on high-quality video recording capabilities. You can merge multiple videos, live stream directly from the app, and it doesn’t add watermarks to your final videos.
V Recorder
This app offers extensive customization options, letting you record with either the front or back camera, adjust quality settings precisely, and capture internal sounds effectively. It’s great for those who want fine control over their recording process.
Screen Recorder: Record Video
A user-friendly option that’s continually improving, this app offers facecam recording, audio recording capabilities, and provides its features without requiring premium payments. It’s a solid choice for those who want reliable recording without complications.
Understanding the Limits of Mobile Video Editing
While using your iPhone for screen recording and editing is convenient, it’s important to understand the limitations. Mobile apps can consume significant storage space due to project files, temporary data, and the edited videos themselves. This can slow down your device or limit how many projects you can work on simultaneously.
The editing features available in mobile apps, including iPhone’s built-in tools, are often less powerful than what you’d find in desktop or online editors like CapCut. You might miss advanced tools needed for complex projects, and collaborating with others or accessing your work across multiple devices can be challenging with mobile-only solutions.
This is where online editors really shine. They offer more robust features, cloud storage that doesn’t eat up your phone’s space, and better collaboration capabilities. If you find yourself running into these limitations, it might be time to explore online options.
CapCut — Your all-in-one video & photo editing powerhouse! Experience AI auto-editing, realistic effects, a huge template library, and AI audio transformation. Easily create professional masterpieces and social media viral hits. Available on Desktop, Web, and Mobile App.
Why CapCut Stands Out as an Online Editing Solution
CapCut isn’t just another screen recorder—it’s a comprehensive video editing platform accessible from anywhere. Being cloud-based means you don’t need to install anything, and you can access your projects from any device with an internet connection.
Your projects are safely stored in the cloud, eliminating worries about losing work due to device issues. The editing features are extensive, covering everything from basic trimming to advanced options like transitions, filters, effects, soundtracks, and speed curves.
What I appreciate most about CapCut is how it grows with your skills. As you become more comfortable with video editing, you can explore more advanced features without needing to switch to a different platform. It’s equally welcoming to beginners and rewarding for experienced users.
Bringing It All Together
Now you have a comprehensive understanding of how to screen record on iPhone using both the built-in tools and advanced options like CapCut. While iPhone’s native feature is perfect for quick, simple recordings, tools like CapCut offer greater control, better editing capabilities, and more professional results.
The beauty of modern screen recording is that there’s a solution for every need and skill level. Whether you’re making quick tutorials for friends, recording gameplay highlights, preserving important video calls, or creating professional content, the tools are there waiting for you.
I encourage you to experiment with both the built-in iPhone recording and online tools like CapCut to discover which approach works best for your specific needs. You might be surprised at how quickly you can create impressive screen recordings once you know the available options.
Answering Common Questions About iPhone Screen Recording
How much storage do screen recordings use?
The storage space needed for screen recordings varies based on length and quality settings. Higher quality recordings with more detail will naturally use more space. If storage is a concern, using cloud-based solutions like CapCut can help since they store your videos online rather than on your device.
How long can I record my iPhone screen?
You can record for extended periods as long as you have sufficient storage space and battery life. The exact duration will depend on your specific iPhone model and its current available resources. For very long recordings, consider connecting to power and using cloud storage options.
Can I edit screen recordings directly on my iPhone?
Yes, basic editing is possible using the Photos app’s editing tools. You can trim recordings, add text, and make simple adjustments. For more advanced editing needs, however, dedicated editing tools like those in CapCut offer significantly more capabilities.
How do I maintain video quality when screen recording?
To preserve quality, record at the highest resolution your iPhone supports and keep the device steady during recording. If quality issues still occur, editing tools like those in CapCut can often enhance and improve the final result.
Does iPhone screen recording include audio?
Yes, by default, iPhone screen recordings include audio from your device. You can disable this in Control Center if needed. CapCut and other advanced tools also offer audio recording options for computers and more control over audio sources.
Some images courtesy of CapCut