TOOL HUNTER

Ever wondered how to make your videos stand out with professional-looking edits? Maybe you’ve got some fun clips from a recent trip, but they’re not quite ready to share. Or perhaps you want to turn a simple product review into something eye-catching for your social media followers. Whatever your goal, CapCut desktop video editor has got you covered! In this guide, we’ll walk through how to use CapCut to create memorable videos that capture attention.
What is CapCut?
CapCut is a versatile video editing application developed by the creators of TikTok. It combines professional-grade features with an intuitive interface, making it perfect for both beginners and experienced editors. Whether you’re working on videos, audio, or images, CapCut provides tools that help you enhance your content with ease.
When it comes to video editing, CapCut allows you to trim and cut scenes, adjust playback speed for slow-motion or fast-forward effects, insert smooth transitions, and apply creative filters and visual effects.
For audio, you can fine-tune volume levels, apply fade-ins and fade-outs, extract audio from video clips, reduce background noise, add music tracks, record voiceovers, and even use text-to-speech functionality.
Image editing is just as straightforward—crop and resize your photos, overlay stickers and text, apply filters, and make use of the background removal feature for clean, professional-looking graphics.
Learning how to use CapCut opens up a world of creative possibilities for all your multimedia projects.
CapCut — Your all-in-one video & photo editing powerhouse! Experience AI auto-editing, realistic effects, a huge template library, and AI audio transformation. Easily create professional masterpieces and social media viral hits. Available on Desktop, Web, and Mobile App.

Mastering How to Make a Good CapCut Edit and Unleash Your Editor
Ready to become a better video editor? CapCut can help you create impressive edits that your audience will love. To get started, download and install CapCut on your computer. Let’s explore how to use CapCut through a detailed, step-by-step approach.
How to Edit Video in CapCut Using Essential Editing Tools
The basic editing tools in CapCut are fundamental for making impactful changes to your videos. These tools allow you to perform simple yet effective edits:
- Split: Divide your video into smaller segments.
- Crop: Adjust the dimensions of your video or images.
- Freeze: Create a still image from a specific video frame.
- Reverse: Play a clip in reverse for creative effect.
- Rotate: Change the orientation of your media.
- Flip: Mirror your video or image horizontally or vertically.
Let’s go through the process of how to make an edit on CapCut using these essential tools.
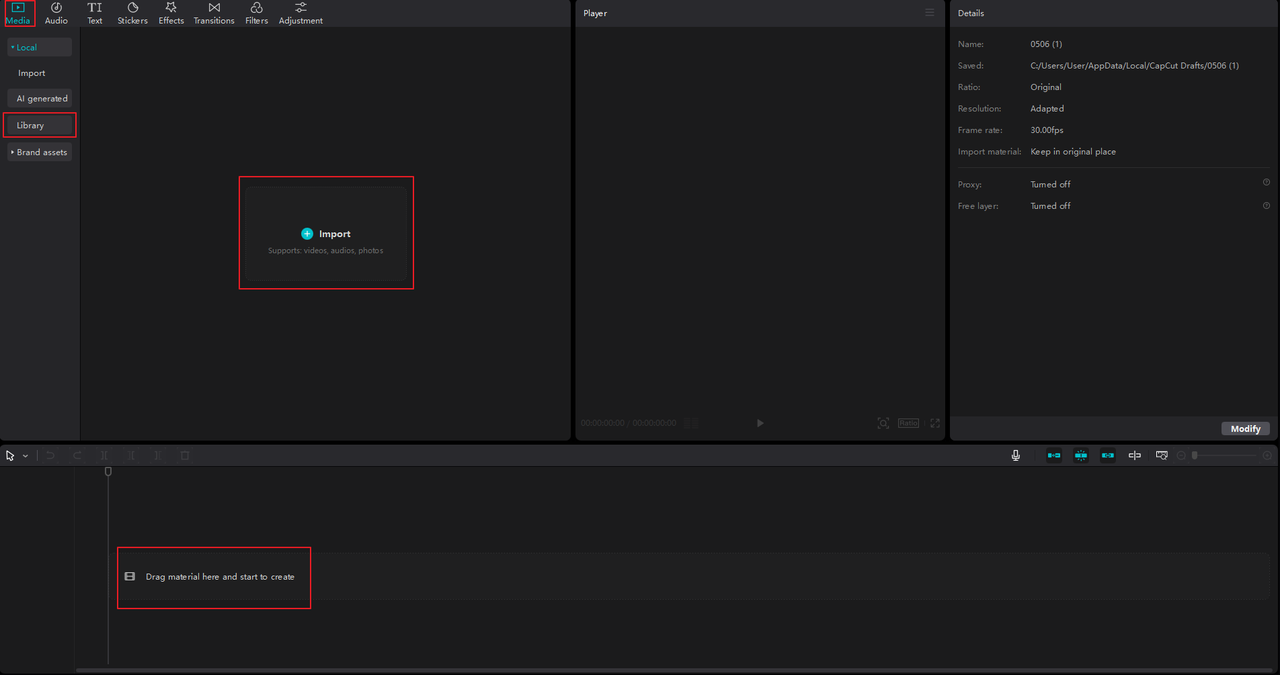
Import
Launch CapCut and select “New Project” to enter the editing interface. Here, you can drag and drop video or audio files directly into the timeline. Alternatively, click the “Import” button to browse and select files from your computer. You can also import media from your CapCut cloud storage or choose from free stock videos available in CapCut’s integrated library.
Edit
Select a video or audio clip in the timeline to reveal the editing toolbar above it. From left to right, you’ll find the “Split” tool for cutting clips, “Delete left” and “Delete right” for removing sections, and a general “Delete” option for entire clips.
You can also place markers to highlight key moments, apply freeze frames to pause action, or reverse a clip for a playful touch. The mirror and rotate tools let you flip and turn content, while the crop tool helps you remove unwanted areas. These features are great for adding variety and engagement to your videos.

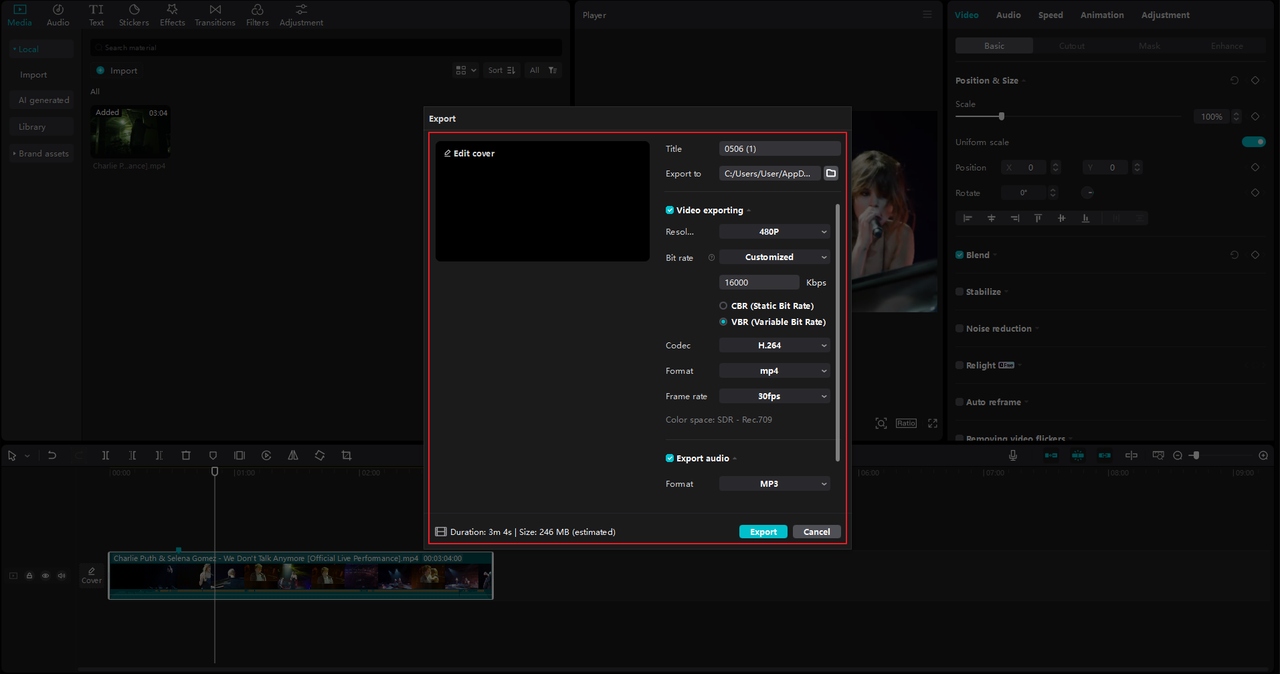
Export
Once you’re satisfied with your edits, click the “Export” button. Here, you can customize the video cover, add a title, and select an output destination. Adjust settings such as frame rate (up to 60fps), resolution (up to 4K), and format (MOV or MP4). For audio exports, you can choose between MP3, WAV, or FLAC. If you plan to share your video online, enable the copyright check feature before exporting.
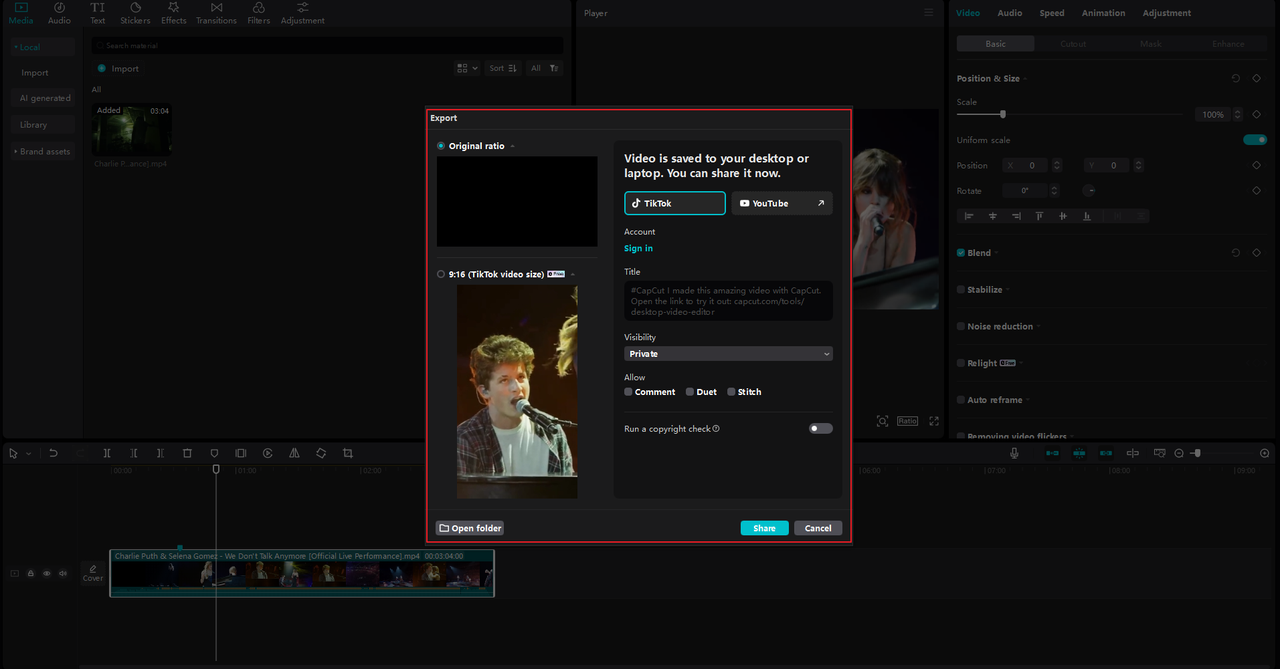
After exporting, CapCut offers quick sharing options to TikTok or YouTube. For TikTok, use a 9:16 aspect ratio; for YouTube, opt for 16:9. You can set titles, visibility, and comment permissions without leaving the application.
How to Make Edits on CapCut Using Advanced Video Editing Features
For those seeking more control, CapCut includes a range of advanced tools to help your videos look professional:
- Keyframes: Set specific points where properties like size or position change over time.
- Masks: Apply edits to selected portions of your video.
- Transform: Adjust scale, rotation, and position of clips.
- Blend: Combine layers using various blending modes.
- Adjustment: Fine-tune brightness, contrast, and color balance.
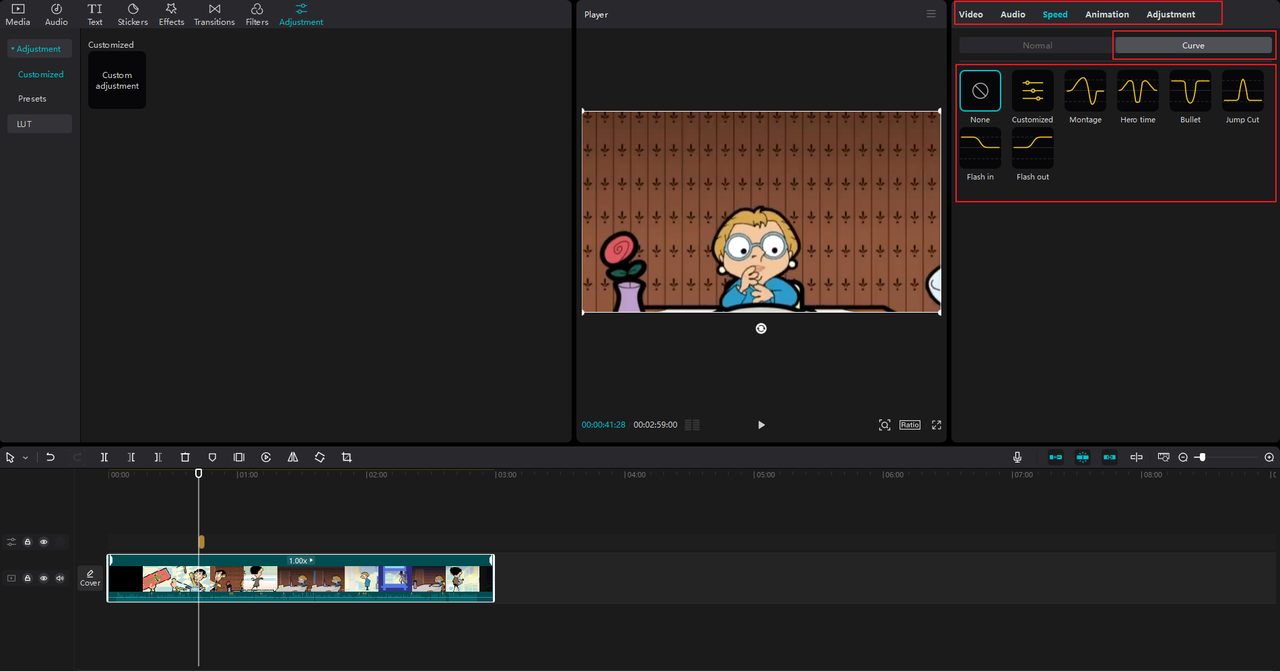
- Speed curve: Create custom speed variations for dynamic motion effects.
Let’s explore how to make CapCut video using these advanced features.
Import
Add your video to the timeline and select it to access the editing options on the right-hand panel.
Edit
Use keyframes to add precise animations—click to set a keyframe and adjust properties like zoom or movement at different points in the timeline.
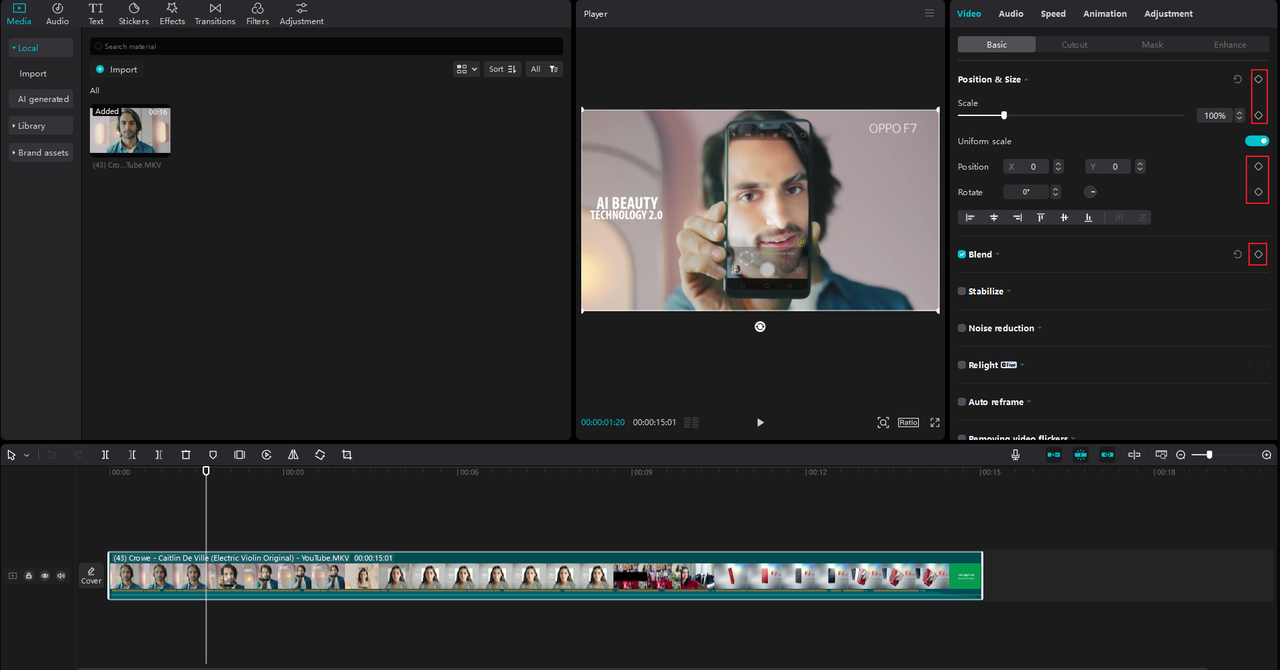
Masks allow you to isolate and edit specific areas. The transform tool helps resize or reposition clips, while blend modes can create visually engaging overlays.
For color grading, navigate to the “Adjustment” tab and use basic settings, HSL for individual color control, or curves for advanced correction.
To manipulate clip speed, go to “Speed” and select “Curve.” Choose from presets like bullet time or jump cut, or design a custom speed curve for unique effects.
Export
After applying your edits, click “Export” to save or share your final video.
How to Make a Video in CapCut Using AI-Powered Tools
CapCut incorporates artificial intelligence to simplify complex editing tasks. These AI tools act like helpful assistants, automating processes that would otherwise be time-consuming:
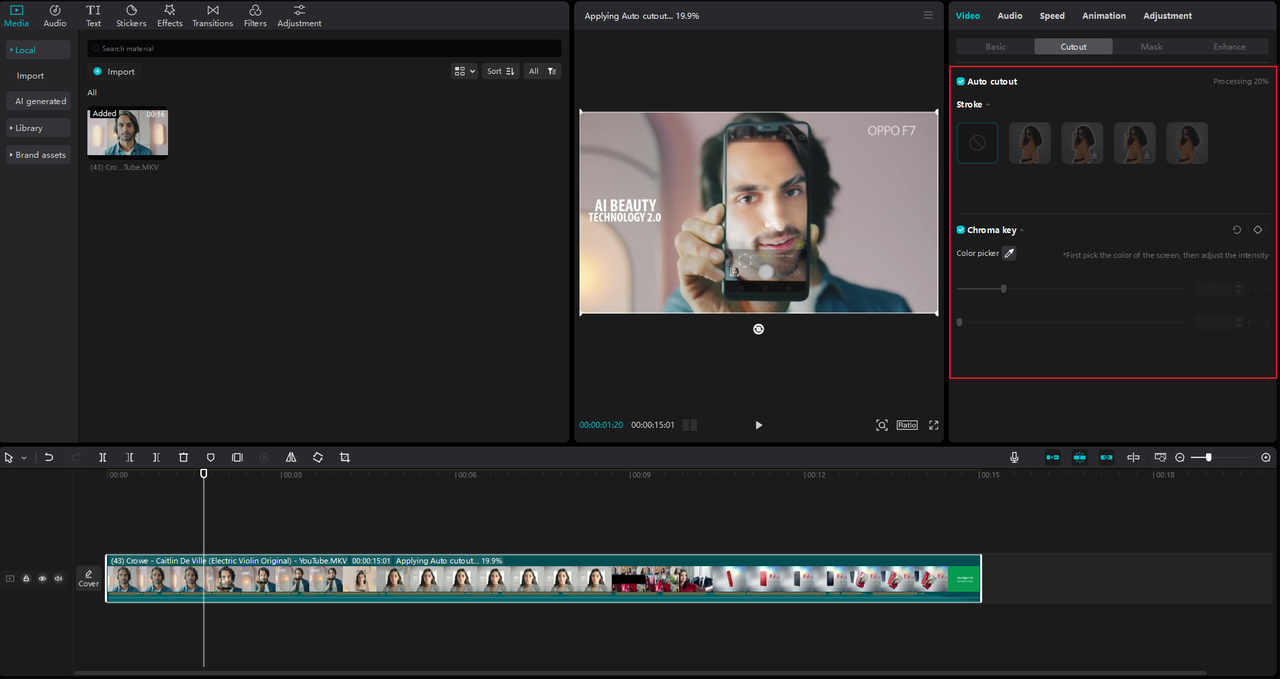
- Auto cutout: Removes backgrounds from subjects with high accuracy.
- Stabilizer: Smooths out shaky footage.
- BG removal: Easily deletes and replaces backgrounds.
- AI-generated stickers: Creates custom stickers from text descriptions.
Here’s how to make videos on CapCut using these AI features.
Import
Drag and drop your video into the timeline or import it using the “Import” button.
Edit
On the right panel, locate the AI tools. Under “Video” > “Cutout,” use “Auto cutout” for background removal or “Chroma key” for green screen effects.
Use the text-to-speech tool to generate voiceovers. If your video is shaky, enable “Stabilize,” and use “Relight” to correct lighting issues.
For stickers, go to the left panel, select “Stickers,” and then “AI generated.” Enter a description, and CapCut will create a sticker for you.
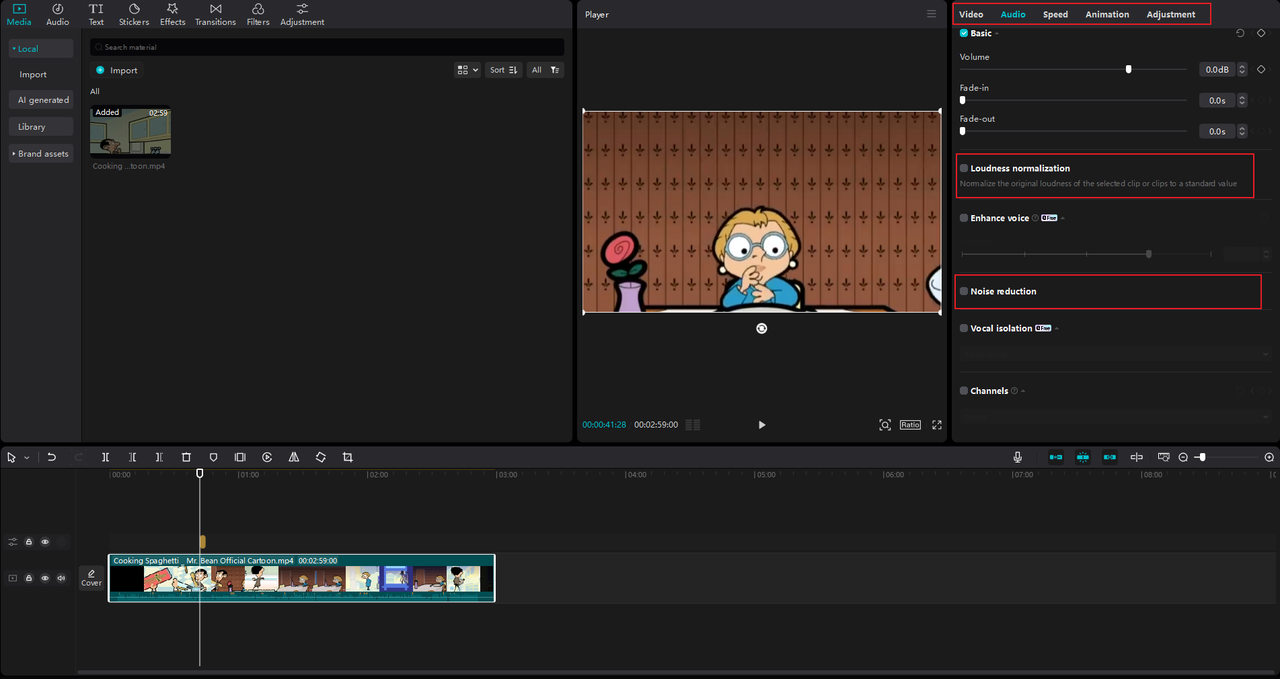
For audio enhancements, click “Audio” and use “Loudness normalization” to balance volume levels or “Noise reduction” to clean up sound.
Export
Click “Export” to save your video or share it directly.
CapCut — Your all-in-one video & photo editing powerhouse! Experience AI auto-editing, realistic effects, a huge template library, and AI audio transformation. Easily create professional masterpieces and social media viral hits. Available on Desktop, Web, and Mobile App.
How to Use CapCut Step by Step and Leverage Its Pro Features
While many CapCut features are free, some advanced pro tools require a subscription. You can试用 these features, but exporting will require payment. Pro features include:
- Vocal isolation: Separates vocals from background music.
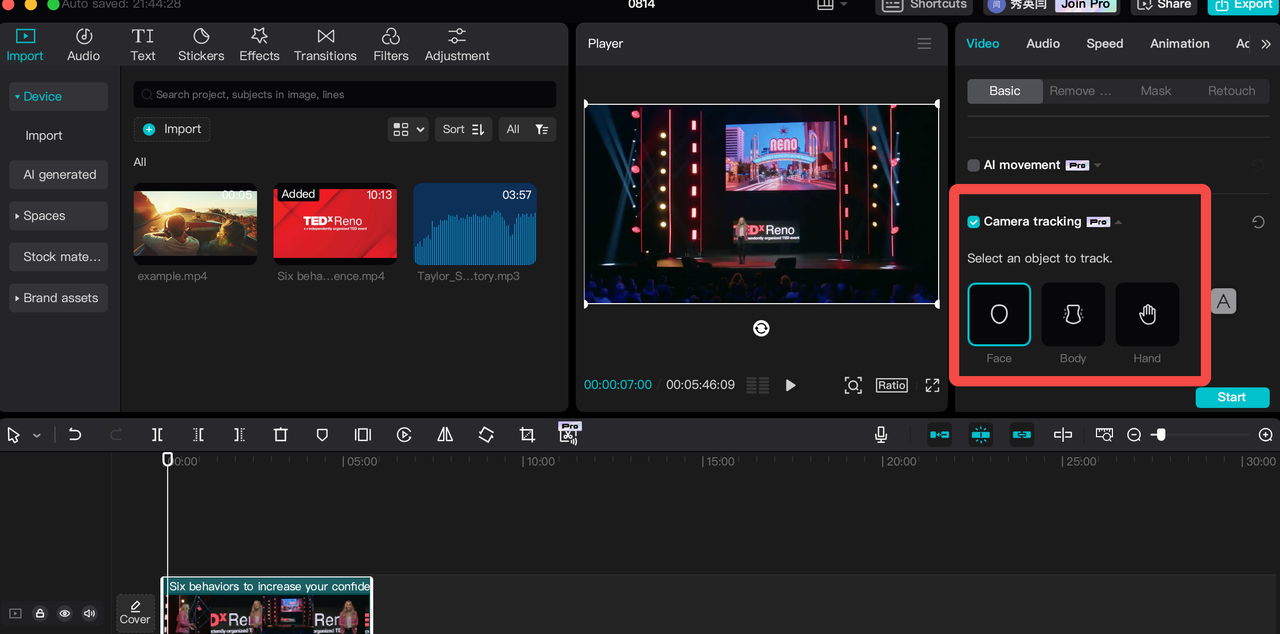
- Camera tracking: Tracks moving objects within the frame.
- Auto reframe: Adjusts aspect ratios for different platforms.
- AI movement: Adds simulated camera motions like zooms and pans.
Let’s look at how to make videos on CapCut with these pro tools.
Import
Add your video to the timeline and select it.
Edit
Under “Video” settings, use “Removing video flickers” to eliminate light fluctuations. “Auto reframe” automatically adjusts your video’s dimensions for various social media formats.
For camera tracking, duplicate your video track, then go to “Video” > “Motion tracking” to define the tracking direction and scale.
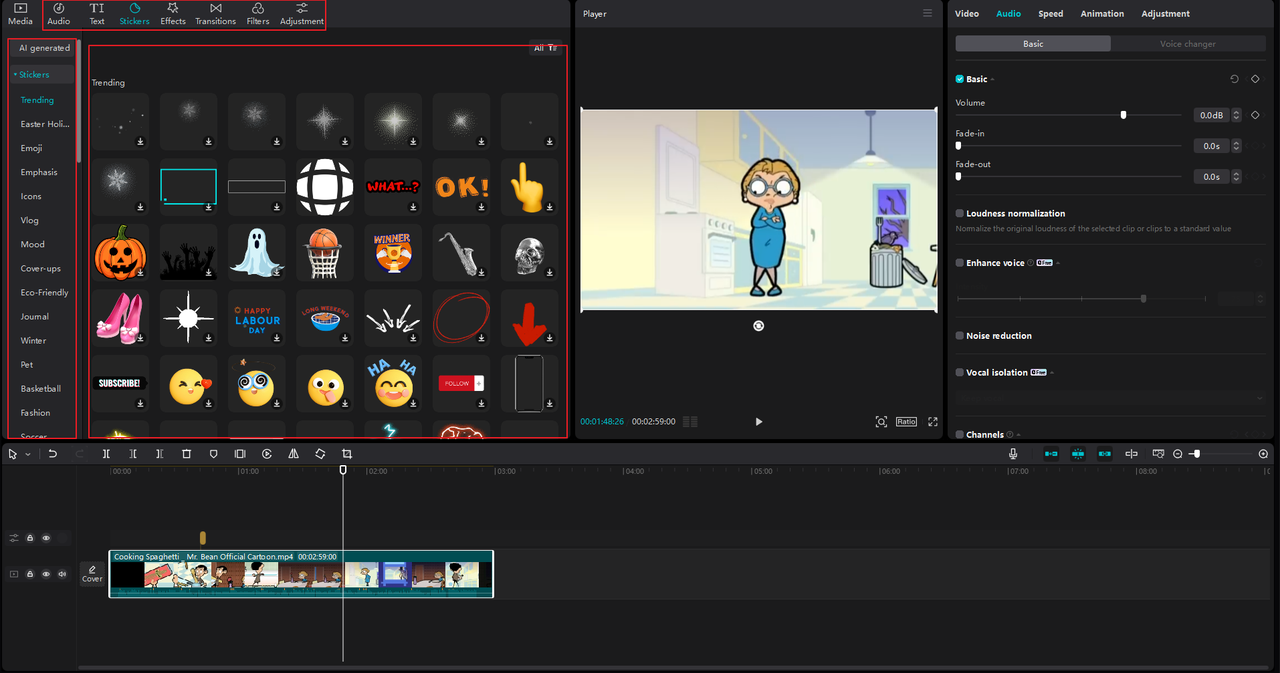
For audio, use “Vocal isolation” to extract or remove vocals, and “Enhance voice” to reduce noise and improve clarity.

Export
Click “Export” to save or share your video.
How to Work CapCut and Use Its Rich Media Resources
CapCut offers an extensive library of free media resources to enhance your projects:
- Filters: Alter the visual style of your video.
- Stickers: Add decorative or informative elements.
- Animations: Bring text and images to life with motion.
- Transitions: Create seamless scene changes.
- Stock videos: Access a library of free video clips.
- Stock music: Use royalty-free music for your projects.
Here’s how to make a CapCut video using these resources.
Import
Open CapCut and drag your video into the timeline, or import files from your computer.
Edit
On the left panel, click “Media” > “Library” to browse stock videos organized by categories such as trending, green screen, lifestyle, and nature.
Select “Audio” > “Music” for background tracks or “Sound effects” for audio accents.
For text, choose from presets and templates under the “Text” tab. The “Stickers” section offers CapCut’s collection as well as AI-generated options.
Under “Effects,” you’ll find video effects ranging from natural elements to dynamic distortions. “Transitions” provides options for smooth scene changes, and “Filters” lets you apply mood-based color grading.
Export
Click “Export” to save your video or share it directly to TikTok or YouTube.
Applicable Uses for CapCut Desktop Video Editor
CapCut is suitable for a wide range of applications:
- Marketing and advertising: Create compelling product videos, social media ads, and brand stories.
- Education: Develop interactive lessons, explainer videos, and student projects.
- Film and animation: Edit footage, perform color grading, create storyboards, and produce simple animations.
- Social media content creation: Enhance vlogs, tutorials, and trend videos with music and effects.
- Personal projects: Preserve travel memories, family events, or hobby-related content like gaming or cooking.
Conclusion
CapCut desktop video editor is an excellent tool for creating high-quality videos with ease. From basic edits to advanced features, it offers a wealth of options to help you produce engaging content. Whether you’re editing for professional, educational, or personal purposes, CapCut simplifies the process and unlocks your creativity. Download CapCut for free and start making videos that stand out!
FAQs
1. My video looks substandard. How to make edits on Cap Cut to ensure studio quality?
Use CapCut’s color adjustment tools to correct brightness, contrast, and saturation. Apply filters and transitions, and incorporate free media resources like stickers and stock videos. With practice, you can achieve a professional look.
2. How to use CapCut without prior video editing experience?
CapCut is designed for users of all skill levels. Start with templates and gradually experiment with splitting, trimming, adding text, and applying effects. Take advantage of built-in tutorials to build your skills.
3. How do you use CapCut to add voiceovers to videos?
Position the playhead where you want the voiceover to begin, click the record button, and start speaking. Stop recording when finished, then adjust the placement and volume of the audio clip. Voice filters are available for added effects.
4. How to make a CapCut edit without losing video quality?
Begin with high-resolution source footage. Avoid excessive cropping or extreme color adjustments. When exporting, select the highest resolution and frame rate settings available—CapCut supports up to 4K and 60fps.
Some images courtesy of CapCut.