TOOL HUNTER
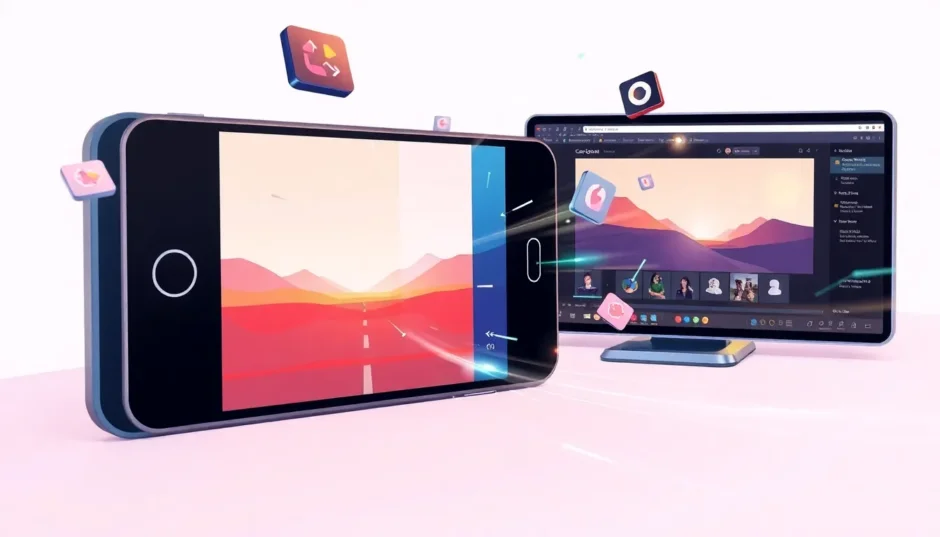

Hey everyone! Have you ever recorded a video that turned out all shaky and hard to watch? You’re definitely not alone! Whether you’re a vlogger, a teacher making educational content, or just someone trying to capture a special moment, dealing with wobbly footage can be super frustrating. But guess what? There’s a perfect solution for this problem! In this complete guide, we’re going to explore everything about how to stabilize videos and make them look smooth and professional. We’ll talk about why it matters, what tools you can use, and give you step-by-step instructions for different devices. Let’s jump right in!
Why Using a Video Stabilizer is Essential
So why should you even bother with stabilizing your videos? Well, shaky footage can be really annoying to watch. It makes your videos look less professional and can even make people feel dizzy! Imagine trying to watch a cool travel vlog or an important tutorial where the camera is bouncing around everywhere – not very enjoyable, right?
A good video stabilizer fixes all these issues. It smooths out all the jerky movements and makes your video look clean and steady. This is especially important if you want your content to stand out and look really good. Whether you’re making videos for school projects, work presentations, or just for fun, learning how to stabilize video properly can make a huge difference in how your final product looks.
Here are some great reasons why every video creator needs a video stabilizer:
- It gets rid of distractions caused by shaky camera work
- It makes your videos look polished and professional
- It keeps your audience watching because they won’t get annoyed by the shaking
- It prevents motion sickness for viewers who are sensitive to shaky footage
- It helps capture small details that might otherwise be missed
- It makes your storytelling more effective with smooth visuals
- It makes you look more credible as a video creator
Now that you know why it’s so important, let’s talk about how you can actually do it!
How to Stabilize Videos Using Computer Software
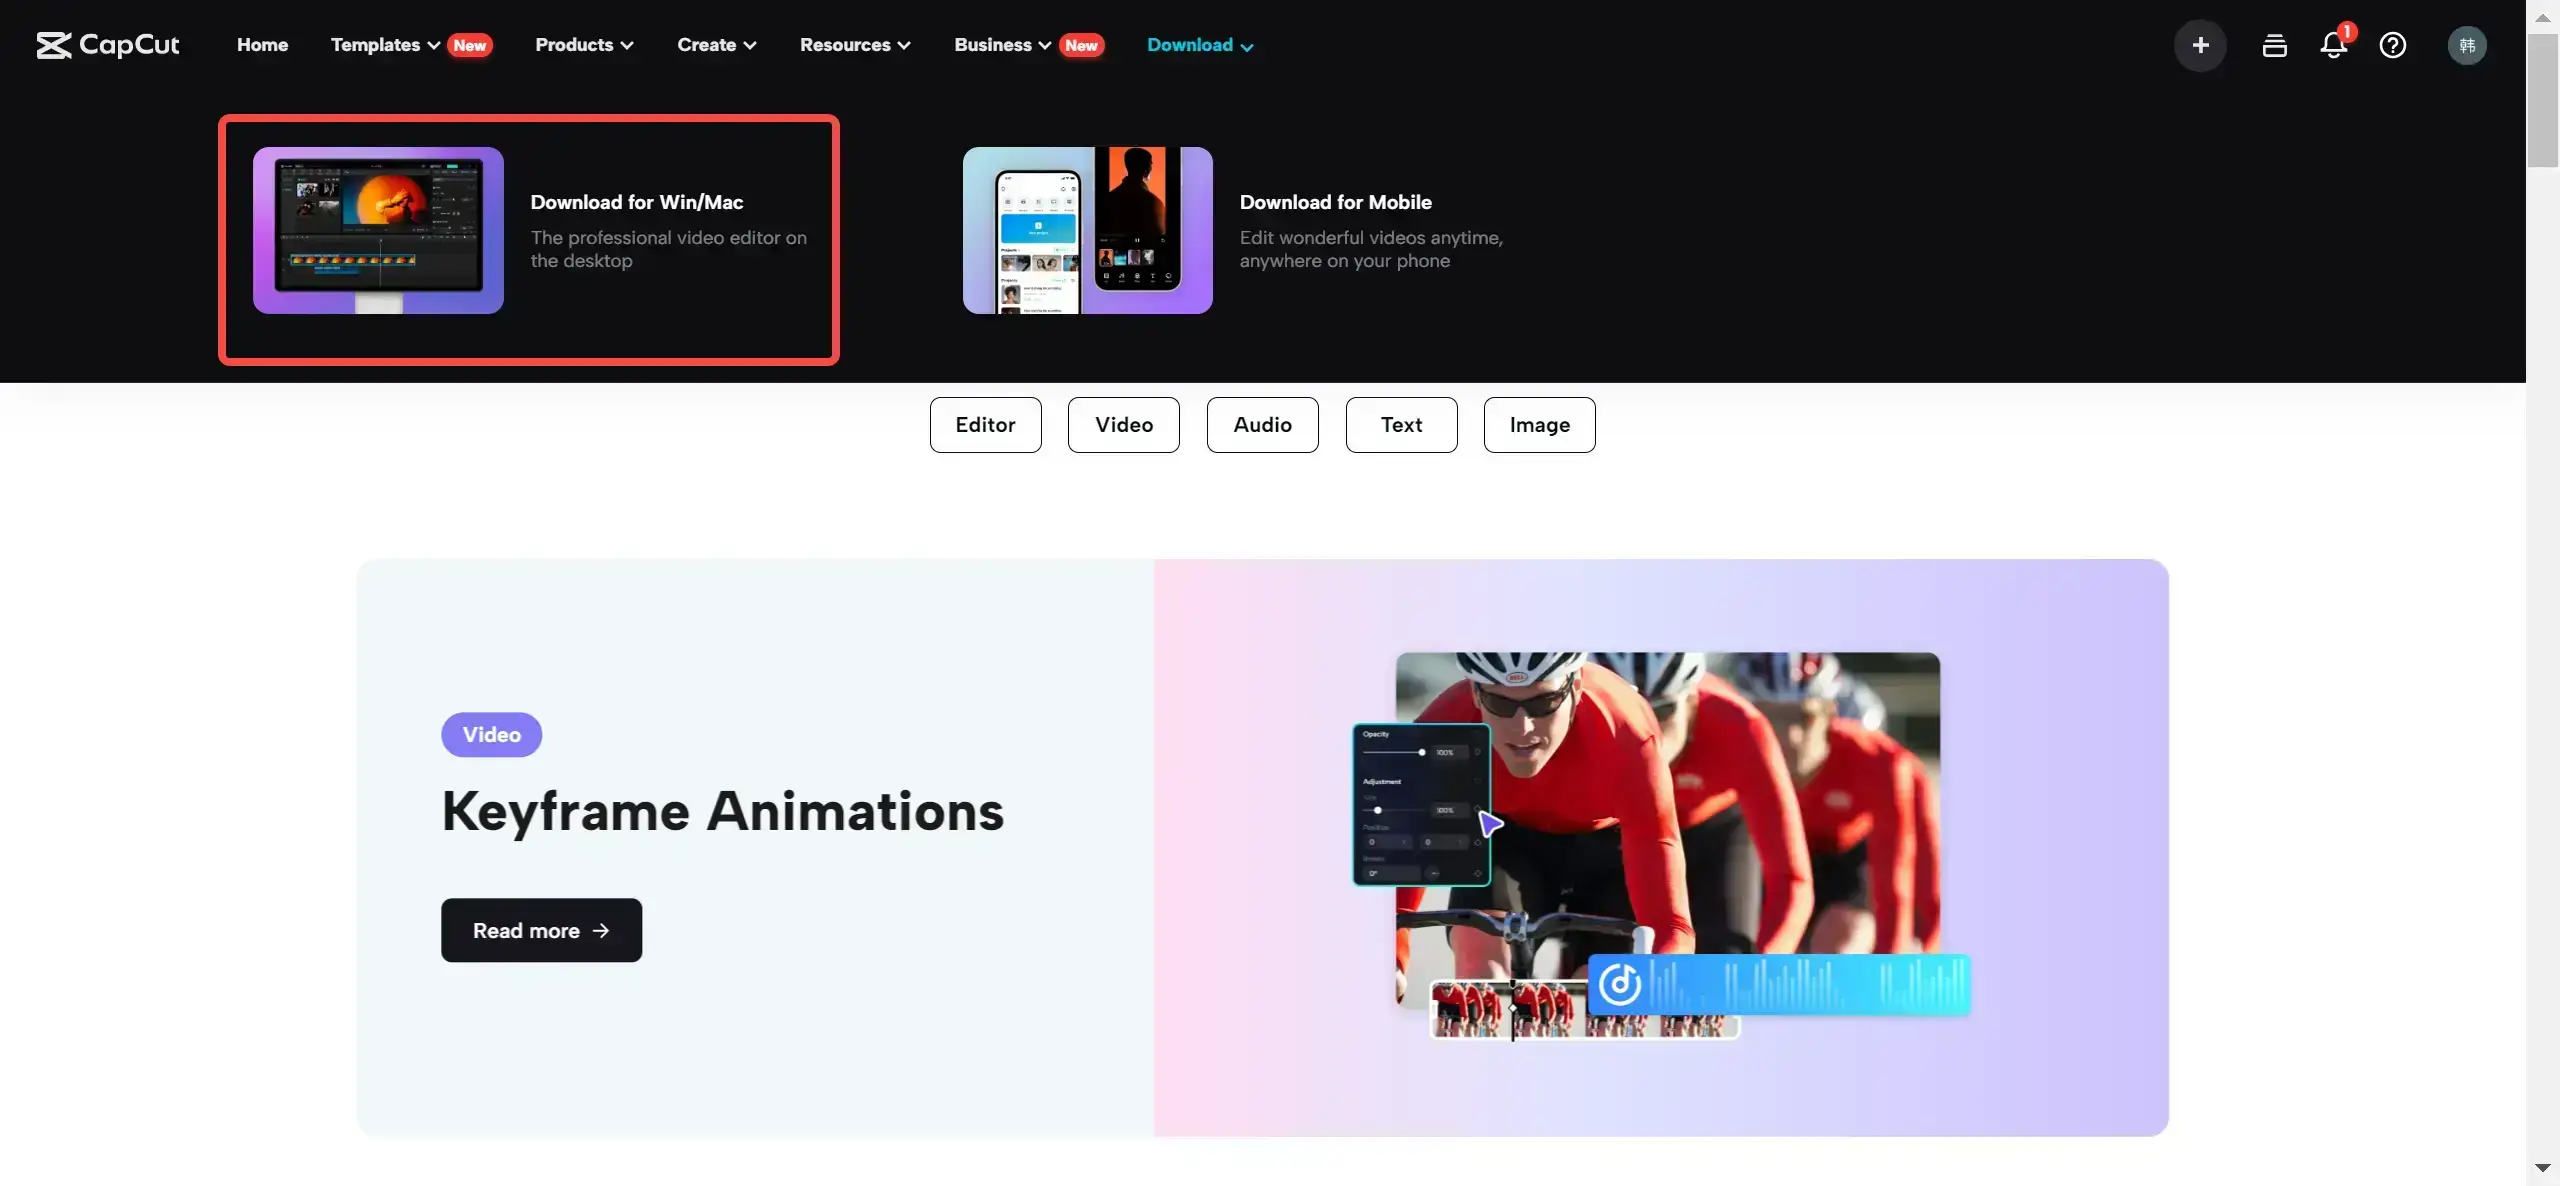
If you’re working on a computer, the CapCut desktop video editor is an awesome tool for learning how to stabilize videos. It works on both Windows and Mac computers, and it’s packed with features that make video editing fun and easy.
CapCut isn’t just a simple video stabilizer – it’s actually a complete editing package. You can trim your clips, adjust colors, add music, and do tons of other cool stuff. But today, we’re focusing specifically on how to smooth a video using its stabilization feature.
One of the best things about CapCut is how easy it is to use. Even if you’ve never edited videos before, you’ll find it really simple to figure out. Plus, it works with all different video formats, so you don’t have to worry about whether your files will work with it.
Here’s what makes the CapCut desktop editor special:
- It stabilizes videos perfectly, making them look smooth and professional
- It has advanced editing tools if you want to do more than just stabilize
- It works with all types of videos, from school projects to creative content
- The interface is super easy to understand
- You can customize the stabilization settings to get exactly what you want
- It removes distortions and blurriness so your video looks clear and sharp
Sounds pretty great, right? Now let’s look at how to actually use it.
Step-by-Step: How to Stabilize Video on Your Computer
Using CapCut desktop editor to stabilize your videos is really simple. Just follow these steps:
- Download and install the softwareYou can get it from the official CapCut website. After it downloads, open the app and create a free account if you don’t have one yet.
- Import your videoClick on “New Project” and then drag your video file into the timeline. This is where you’ll do all your editing work.
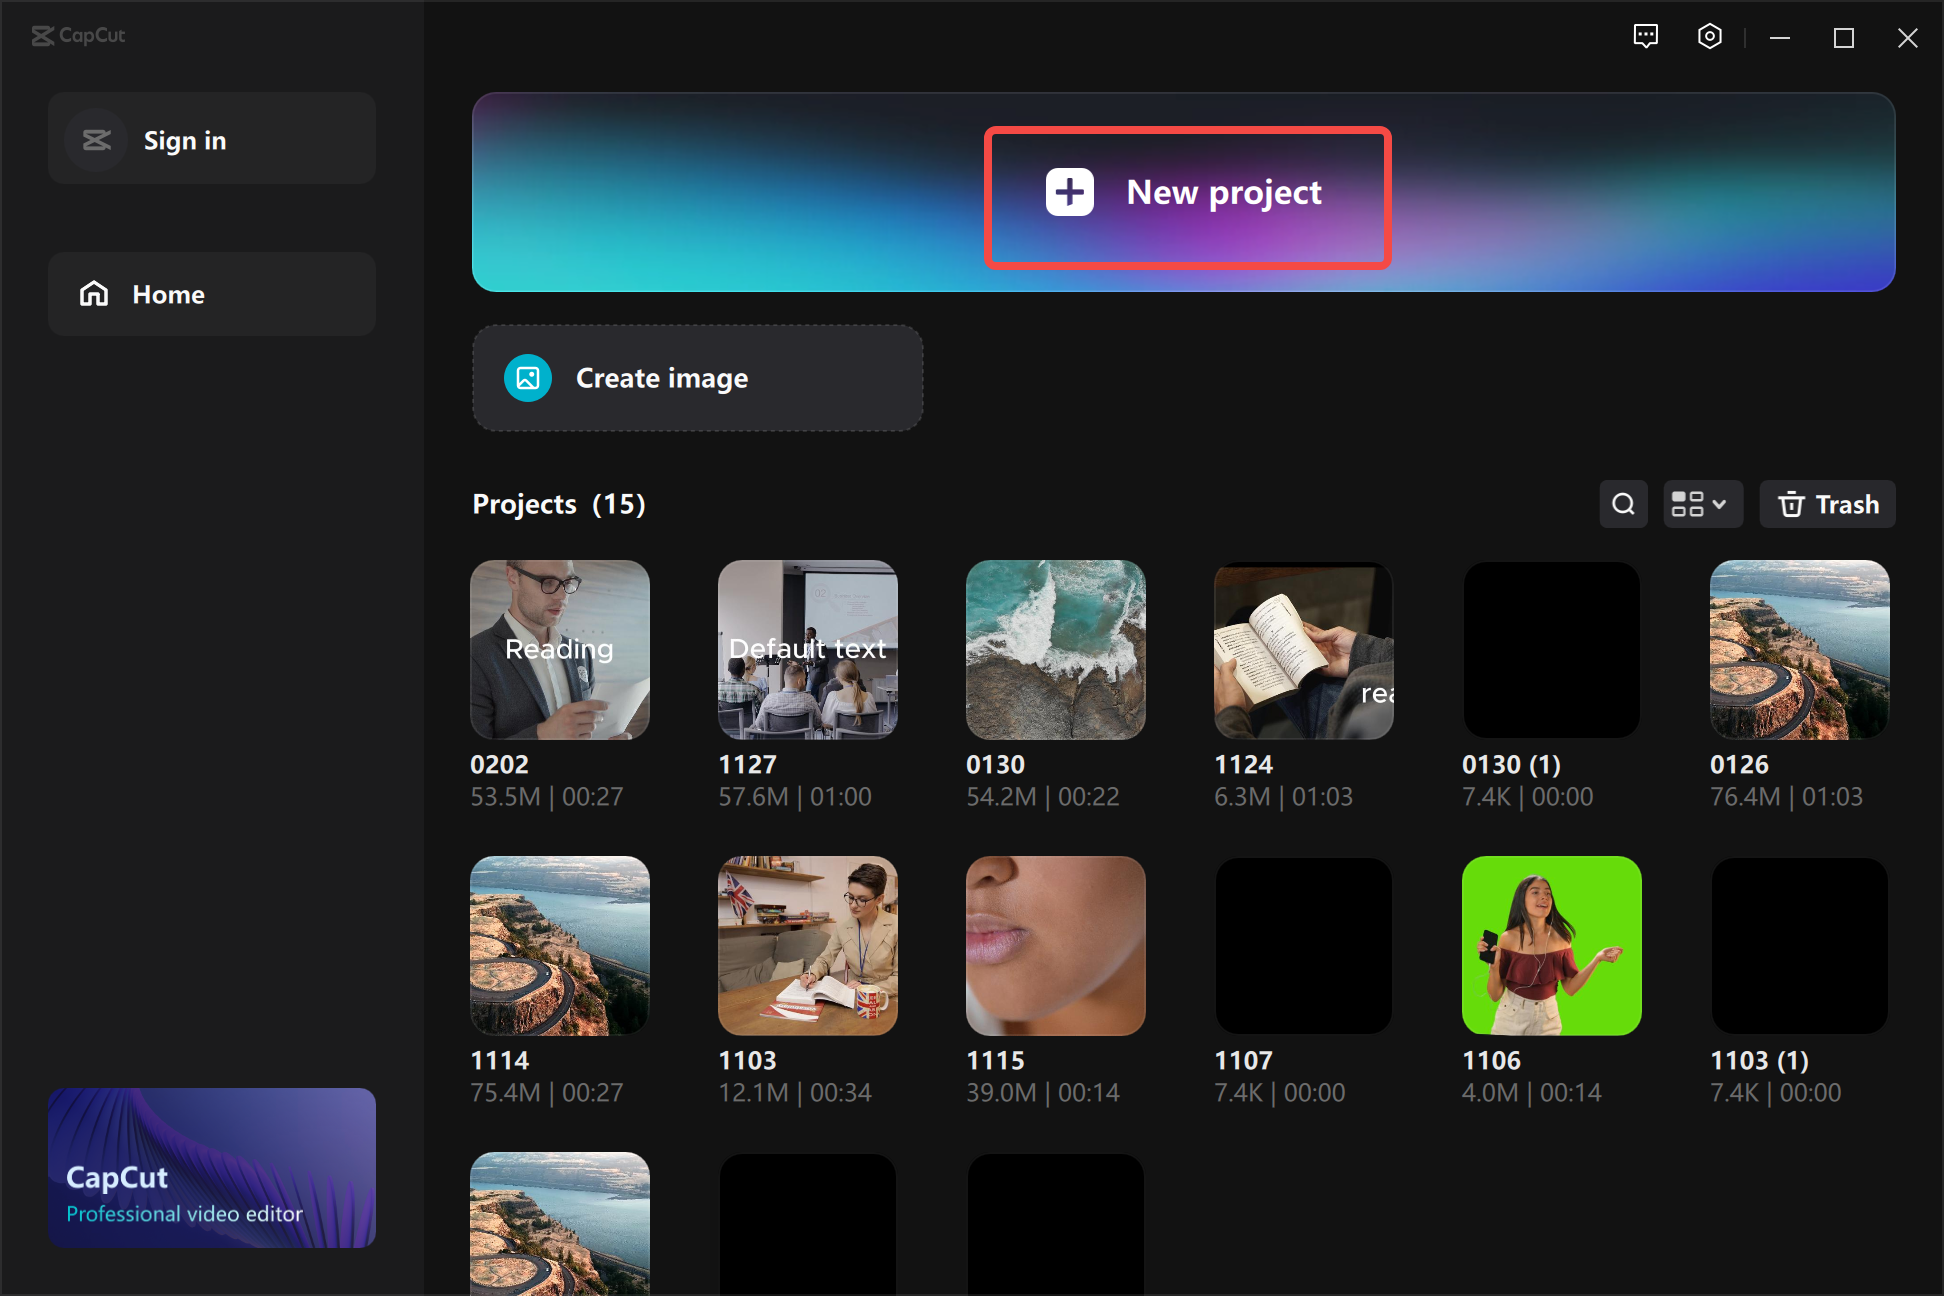
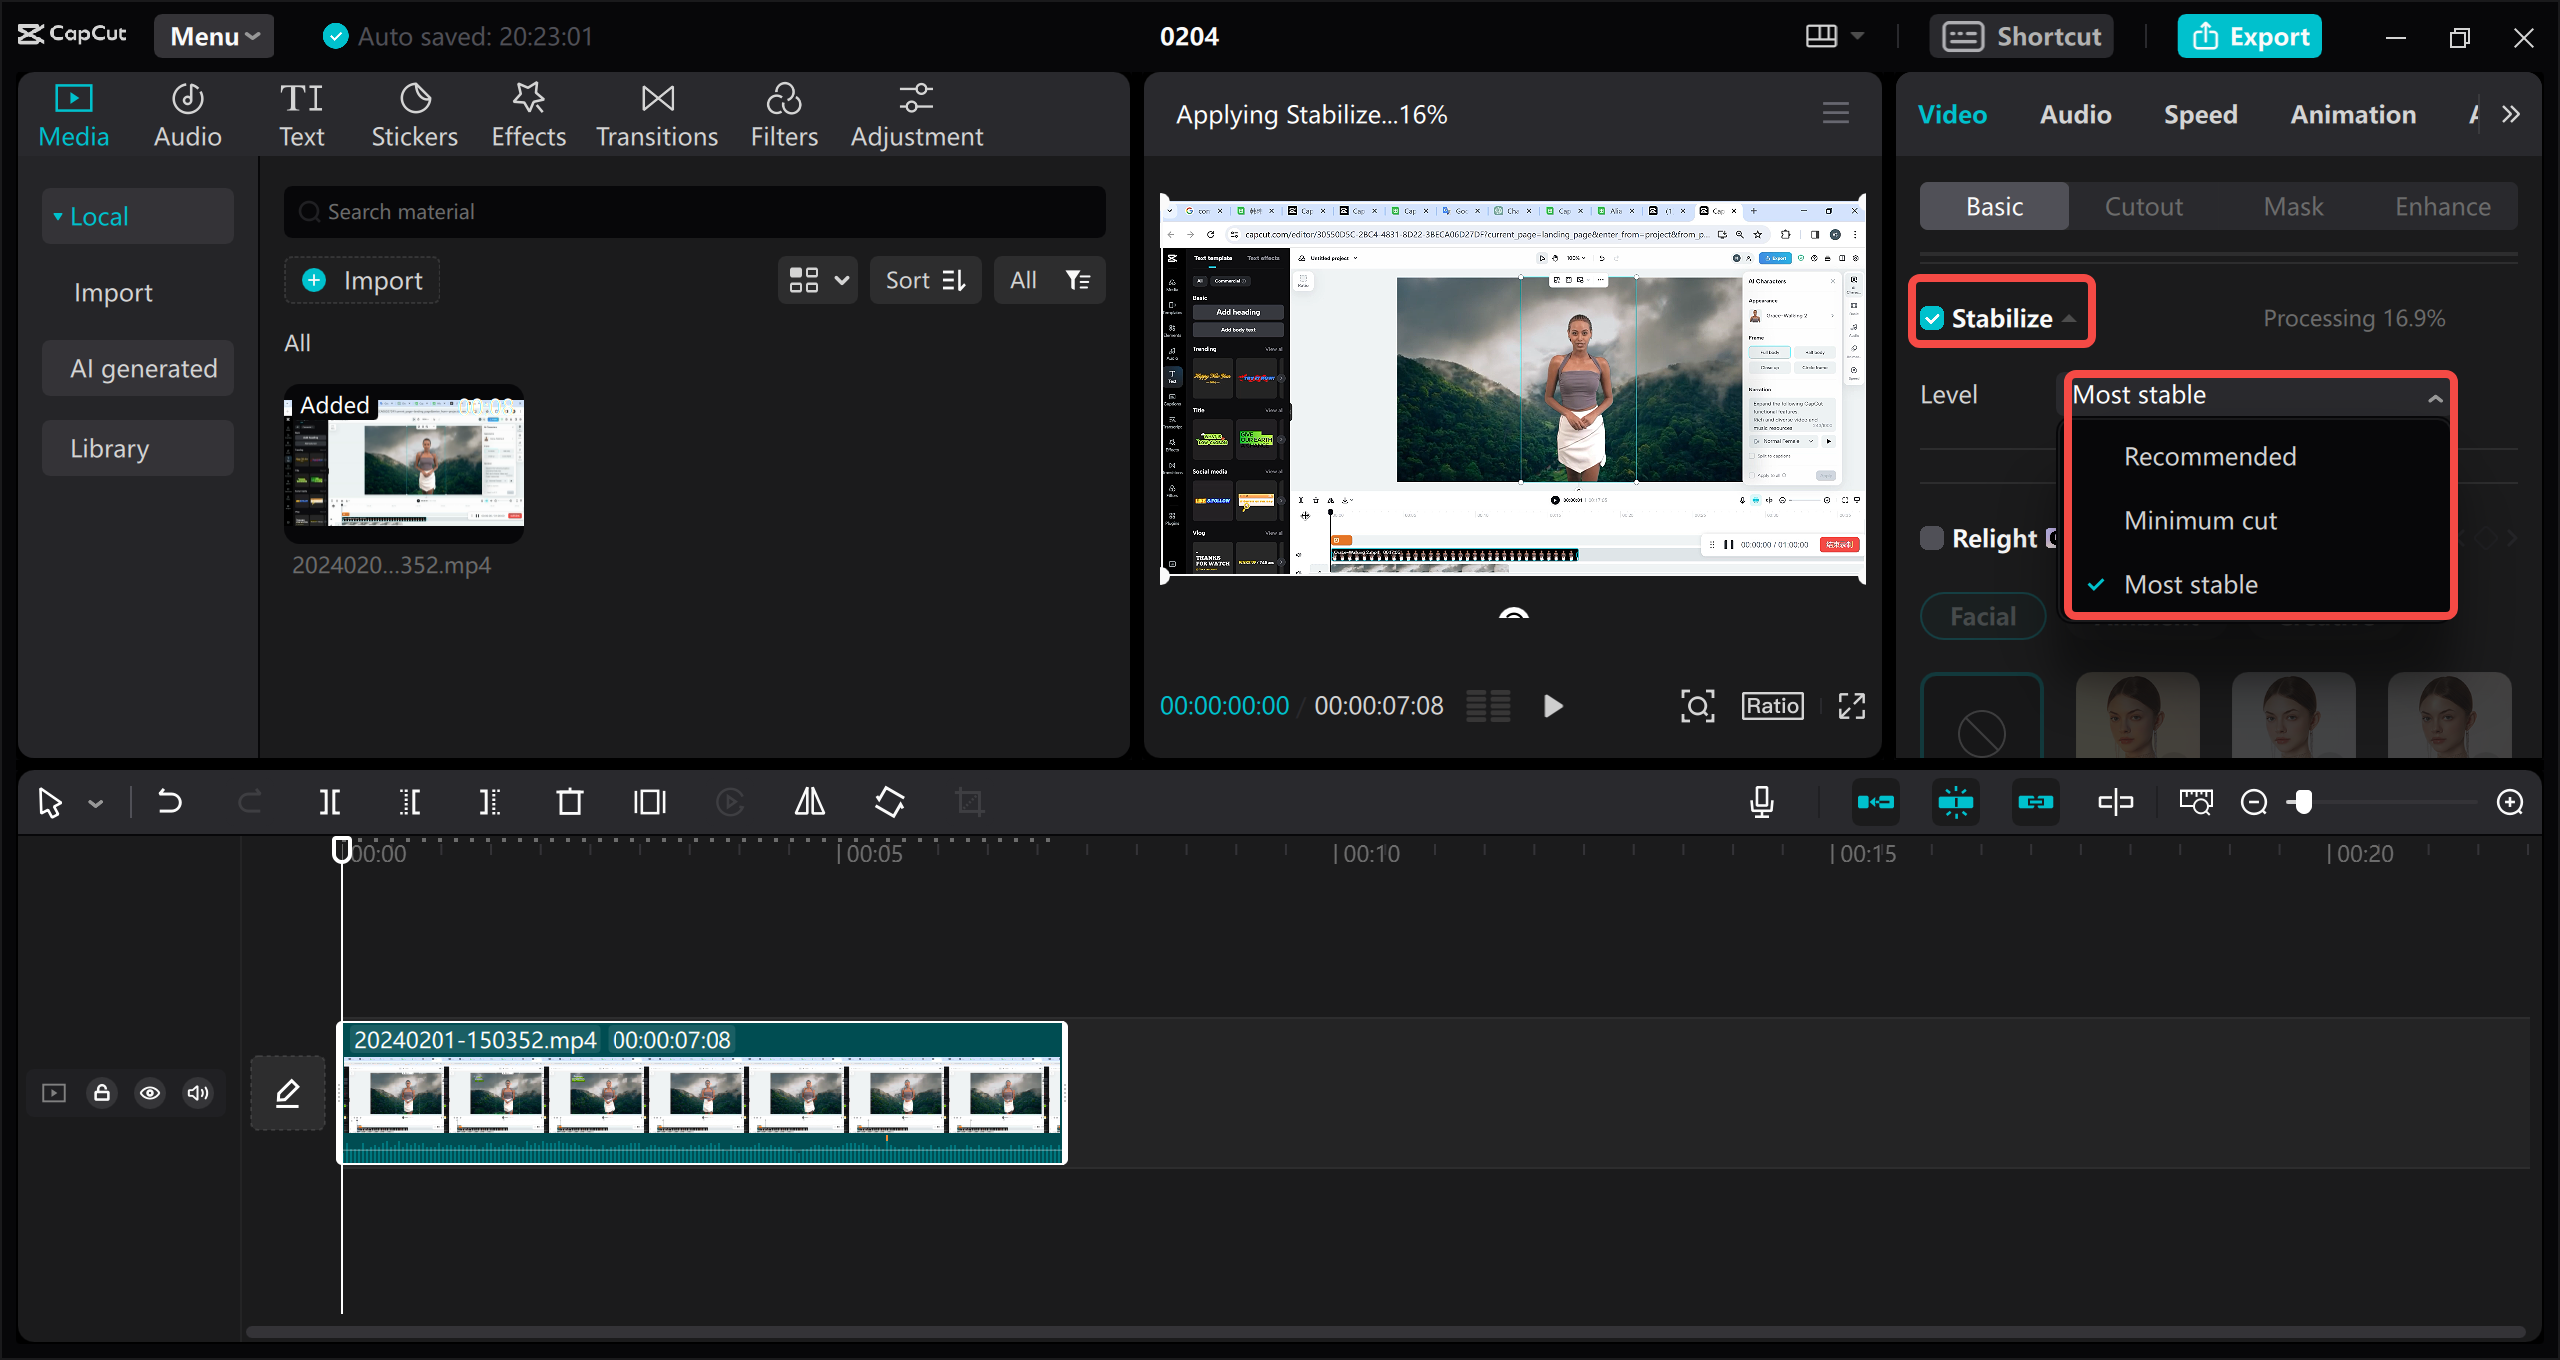
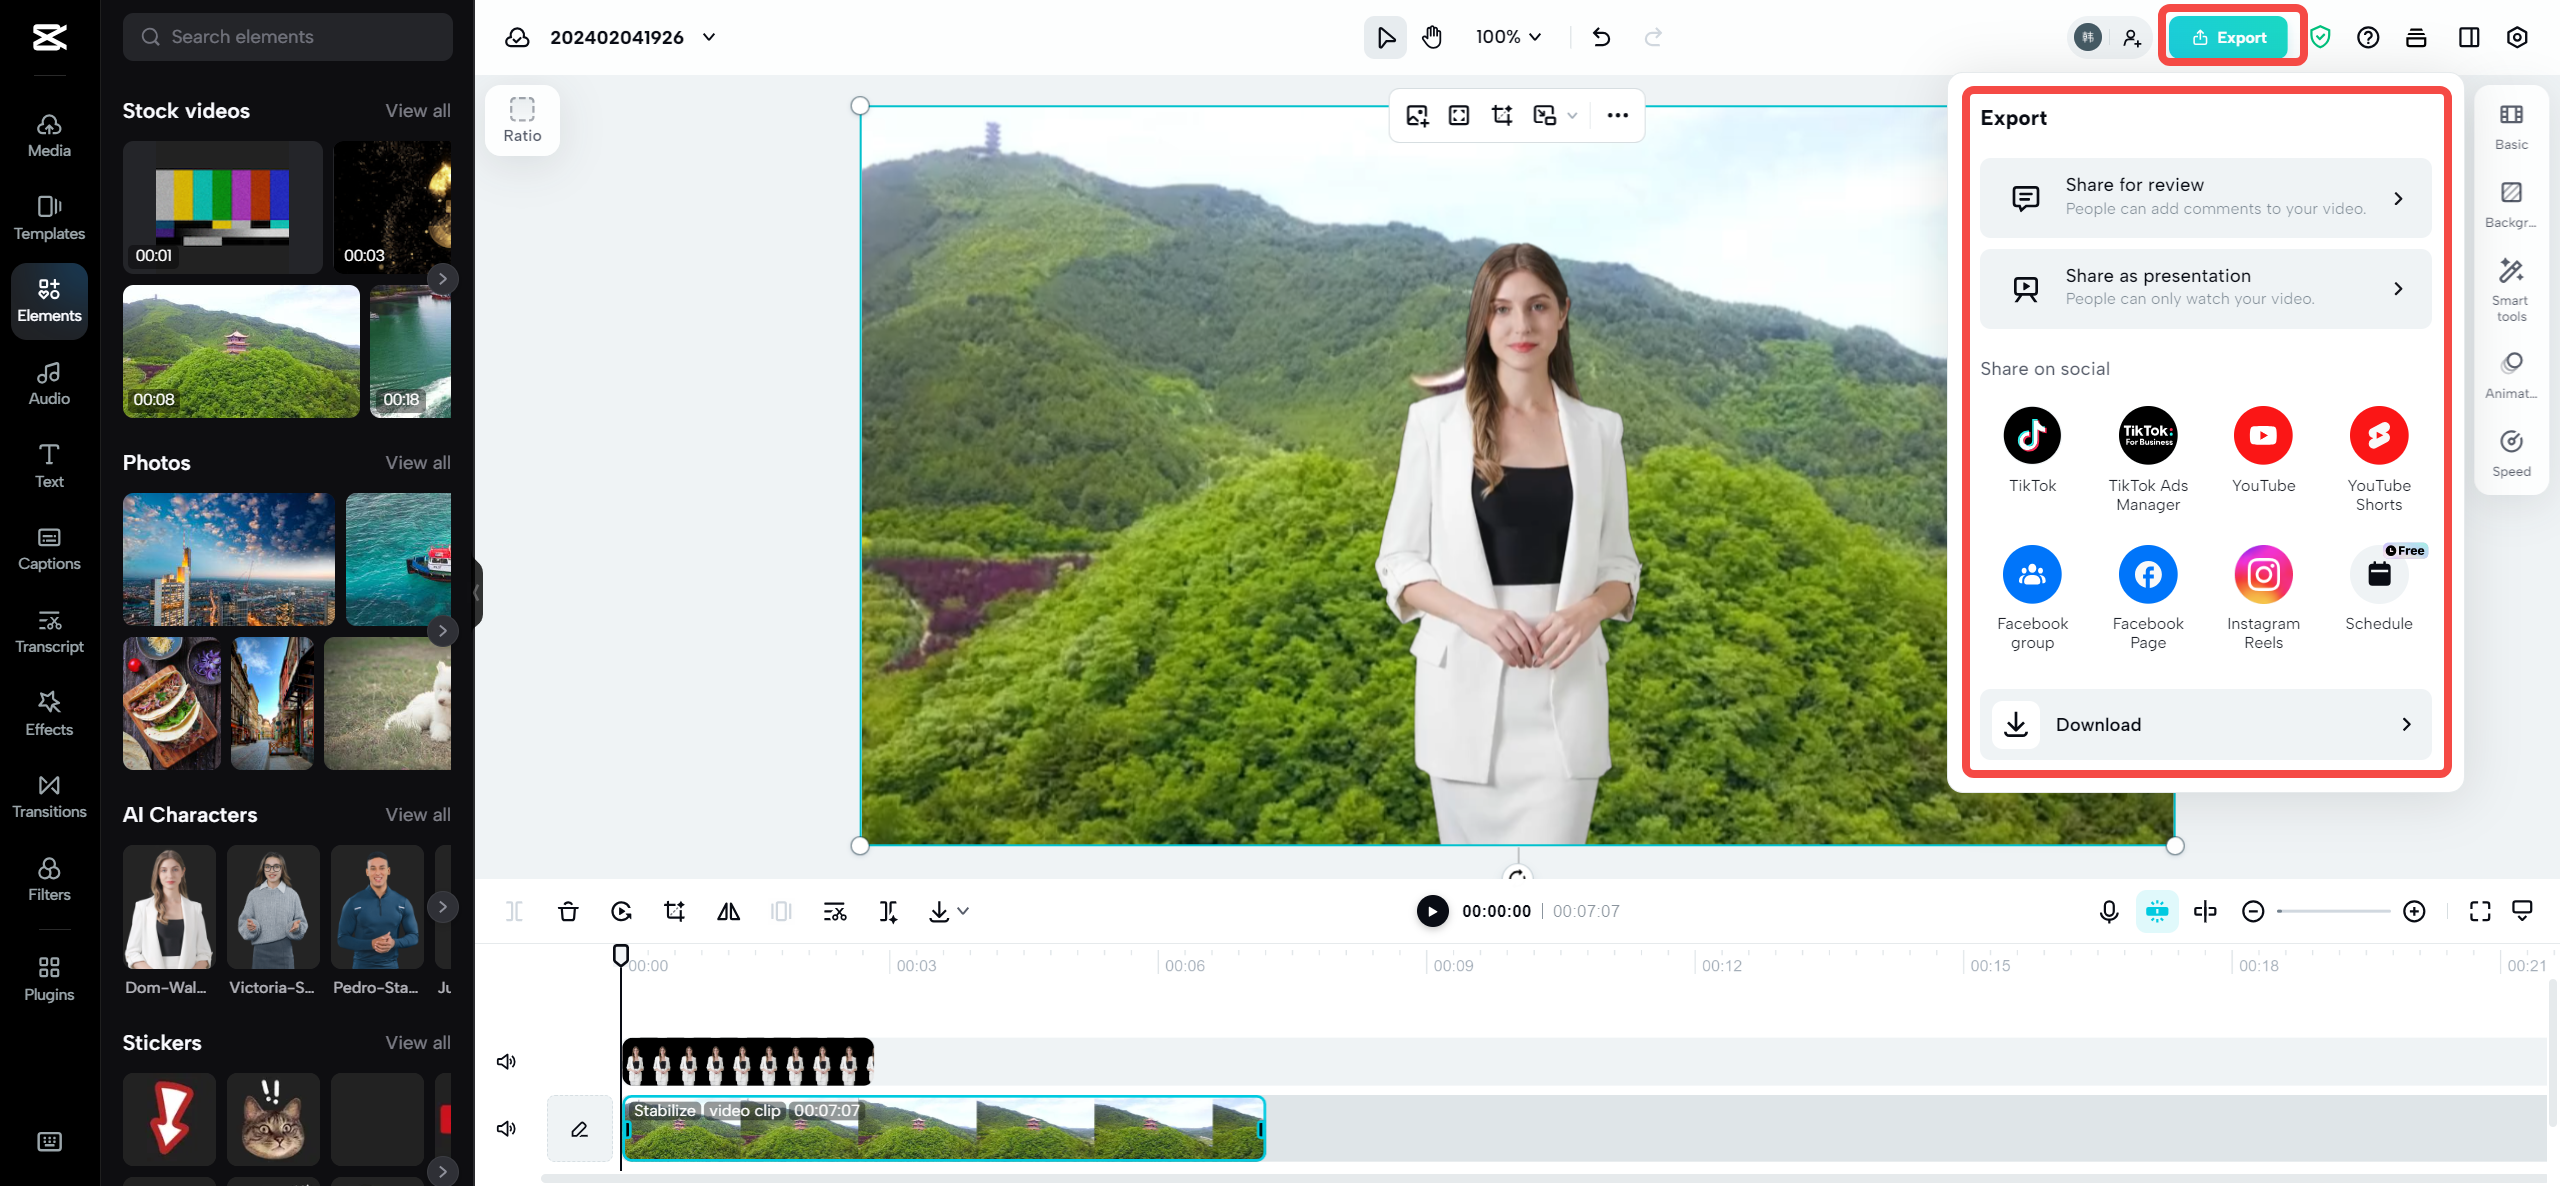
Apply stabilizationGo to the “Basic” settings on the right side of your screen. Under the “Video” section, you’ll find an option called “Stabilize.” Click on it to turn it on.
Choose your stability levelCapCut lets you choose how much stabilization you want. If your video is really shaky, pick the “Most stable” option. This might take a bit longer to process, but it’s totally worth it!
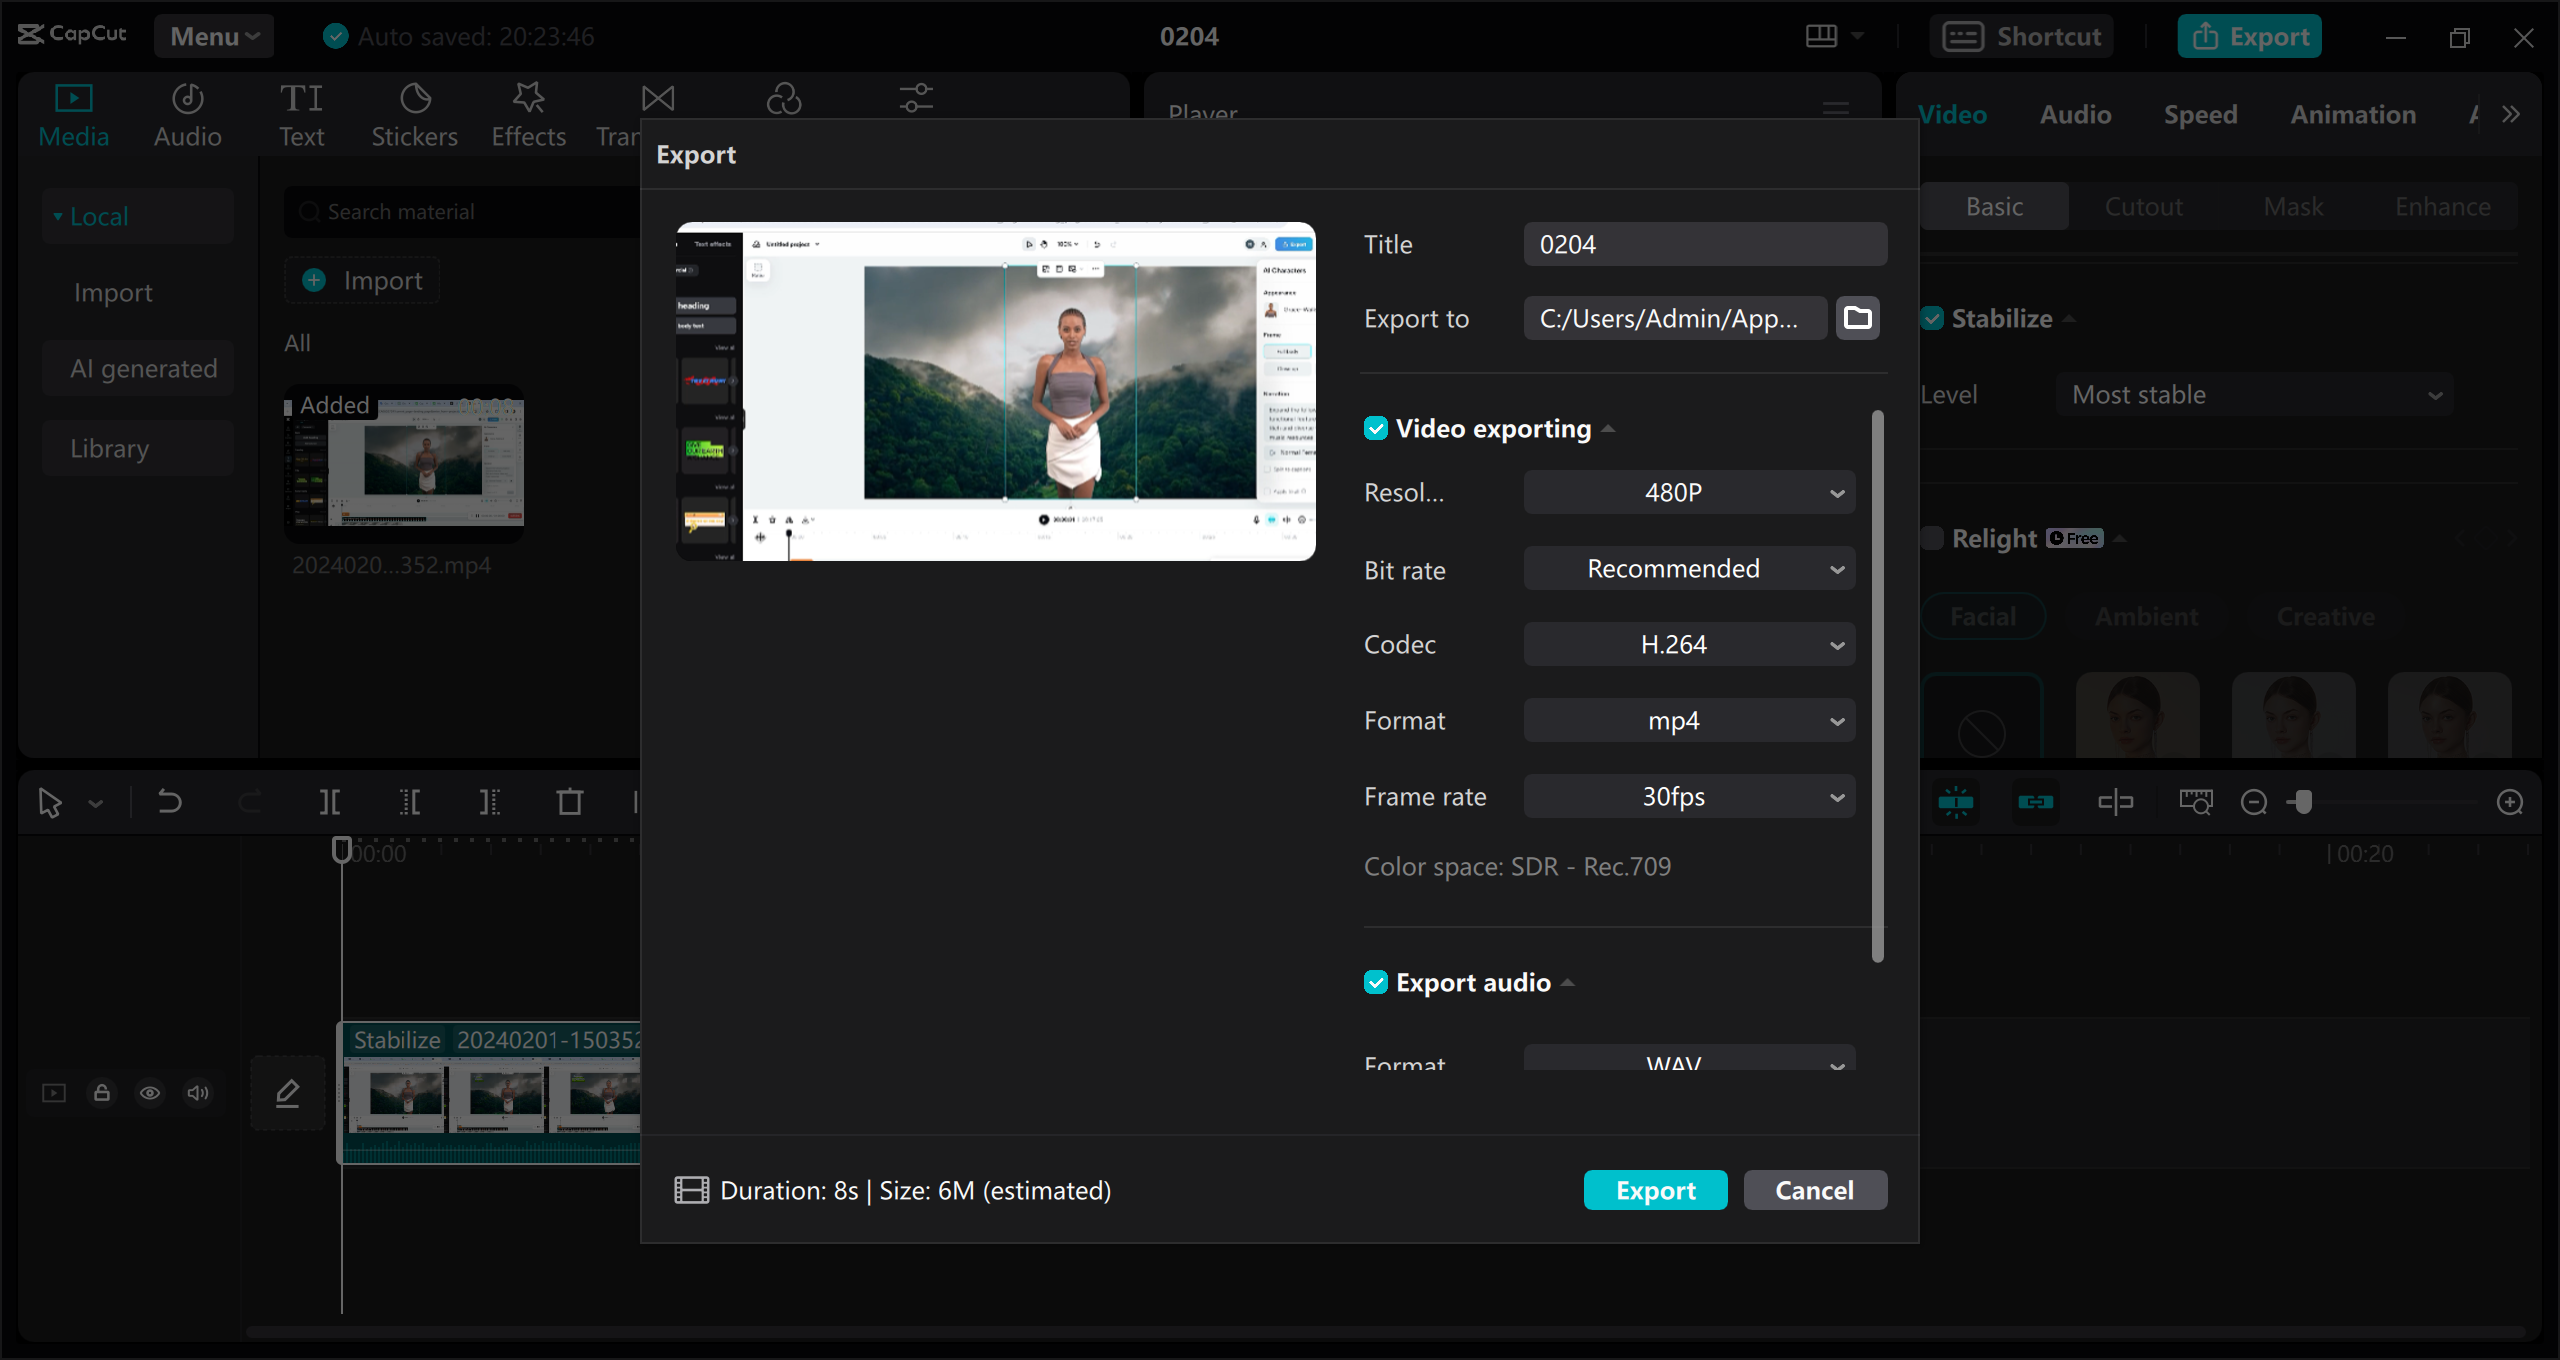
- Preview and exportPlay your video to see how it looks after stabilization. If you’re happy with it, click the export button in the top right corner. Choose your settings, and you’re all done!
And that’s all there is to it! Your video is now smooth and ready to share with the world.
CapCut — Your all-in-one video & photo editing powerhouse! Experience AI auto-editing, realistic effects, a huge template library, and AI audio transformation. Easily create professional masterpieces and social media viral hits. Available on Desktop, Web, and Mobile App.

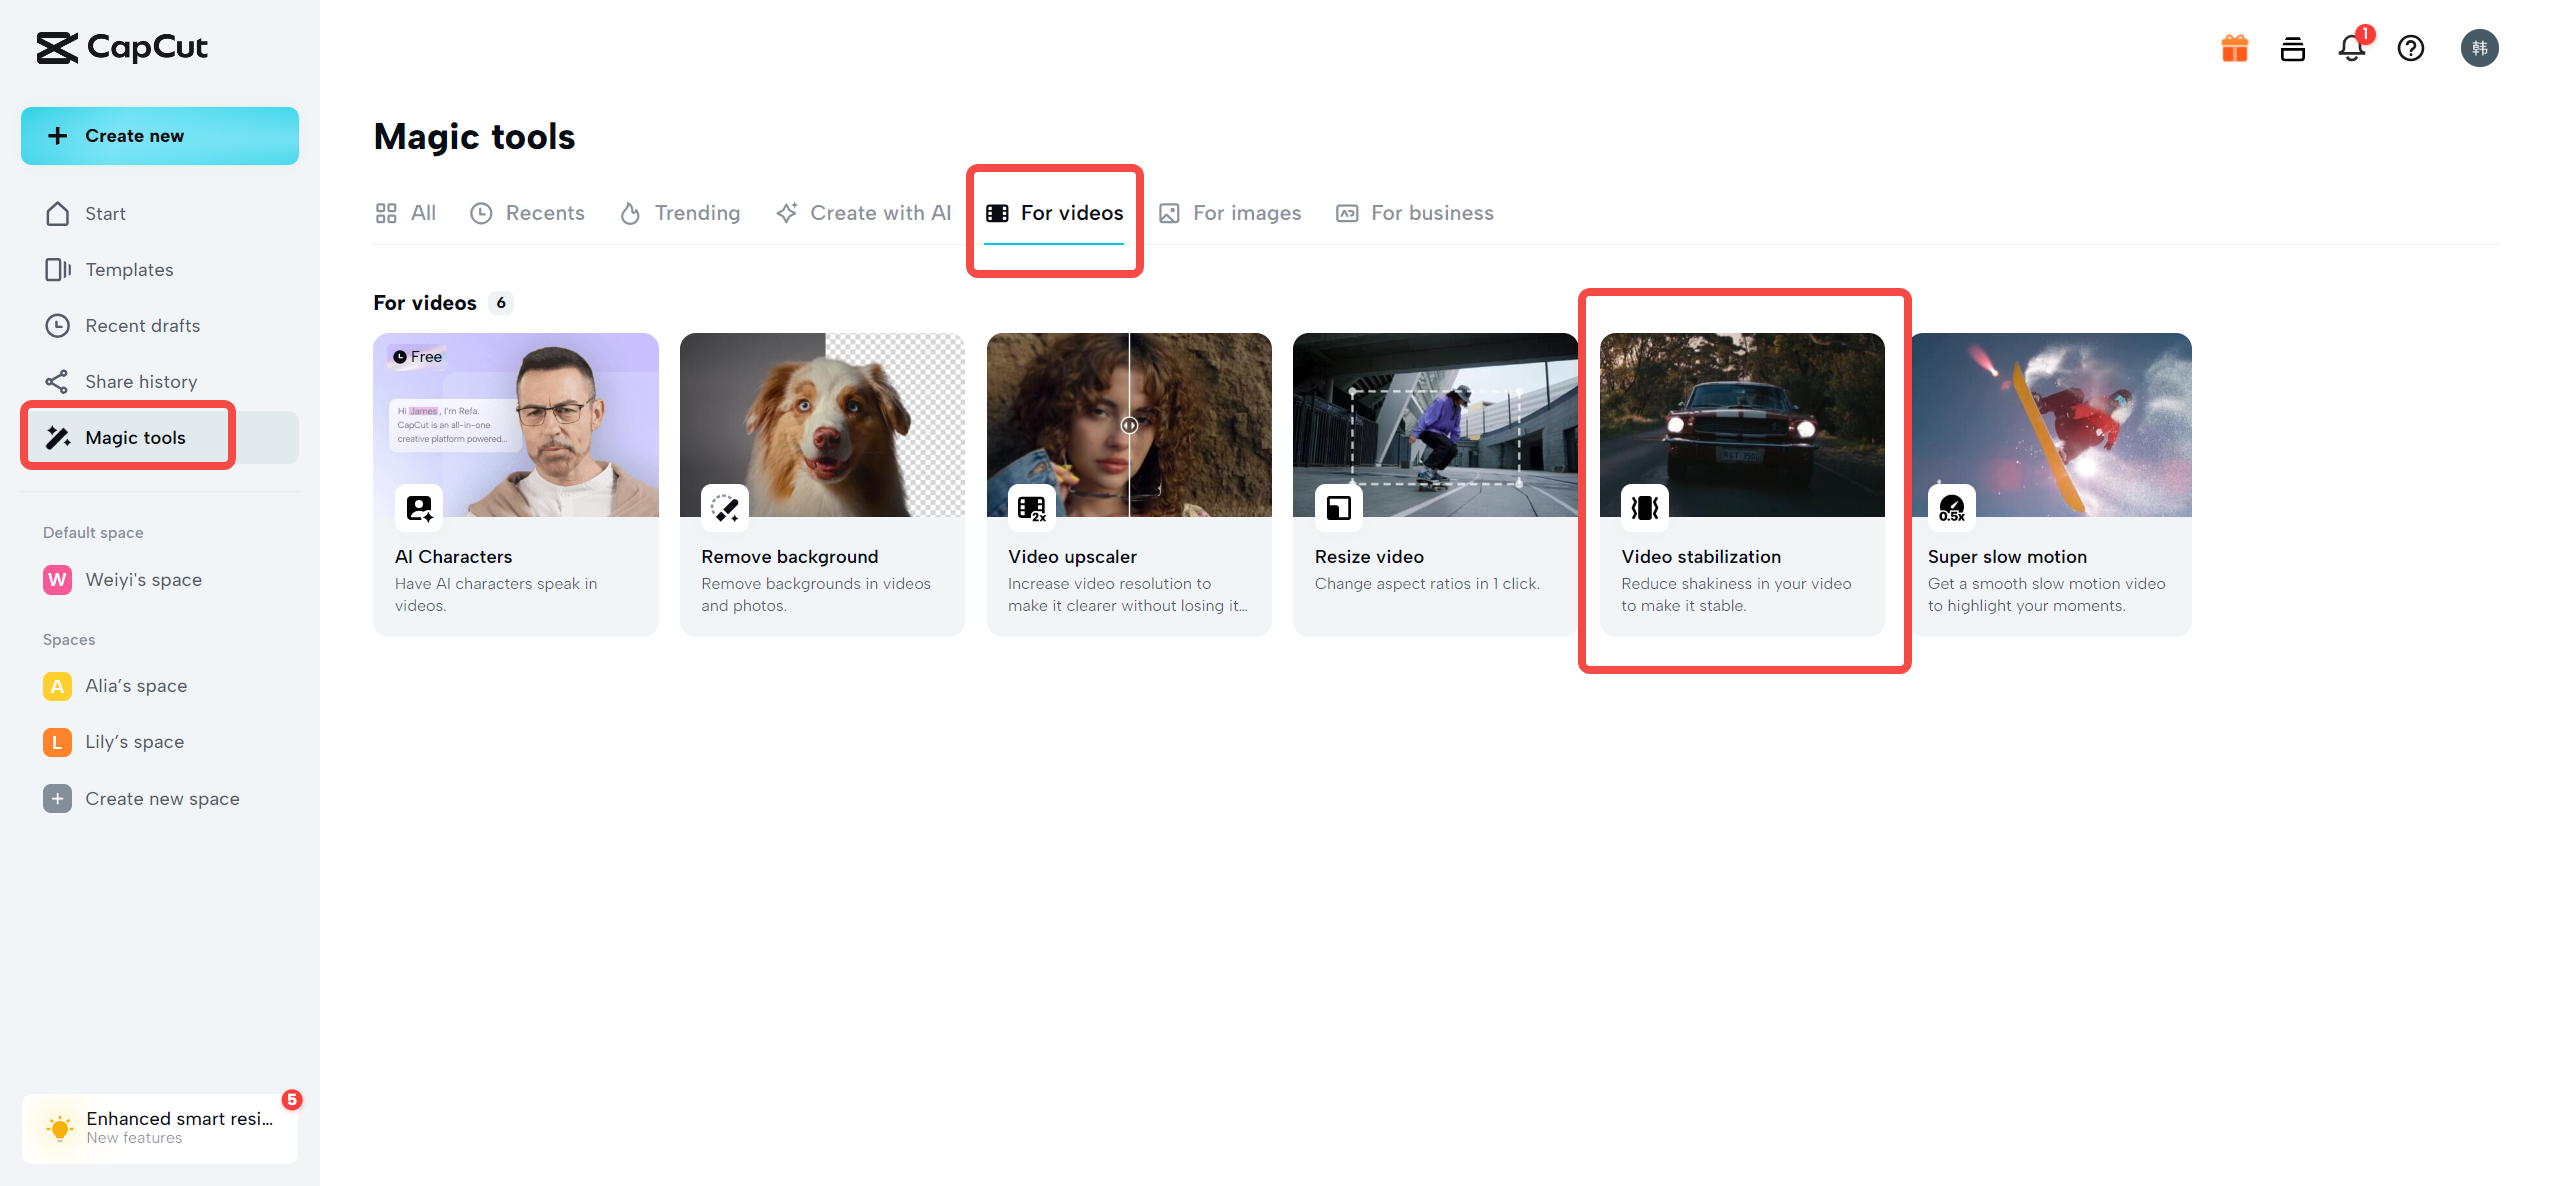
The Best Online Video Stabilizer Options
Maybe you don’t want to download software, or you’re using someone else’s device. No problem! CapCut also has an online video editor that you can use right in your web browser. It’s just as powerful as the desktop version and perfect for quick edits.
The CapCut online video stabilizer is amazing because it uses artificial intelligence to automatically stabilize your videos. You don’t need to be an expert – just upload your video, and CapCut does everything for you. It’s like having a professional editor working for you!
Here are some features that make the online video stabilizer so great:
- It stabilizes videos with just one click (yes, it’s that easy!)
- It has tons of media resources like stock videos and images
- The technology behind it is super advanced
- There are free templates if you’re not sure where to start
- It has both basic and advanced editing tools
- AI tools help speed up your work
- You get free cloud storage for your projects
- You can work with others on team projects
How to Use Online Tools to Stabilize Shaky Videos
Using the CapCut online video stabilizer is really straightforward. Here’s how:
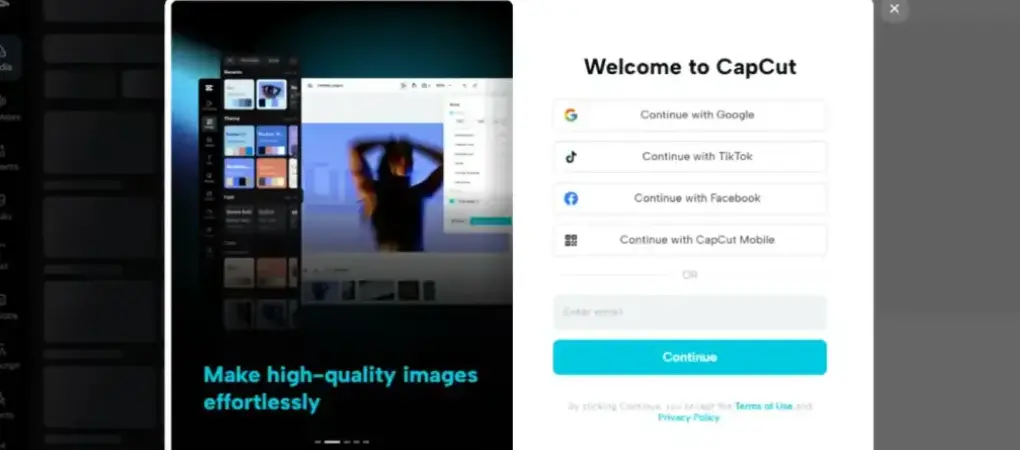
- Create an accountGo to the CapCut website and make an account. You can sign up with your email, Google, TikTok, or Facebook.
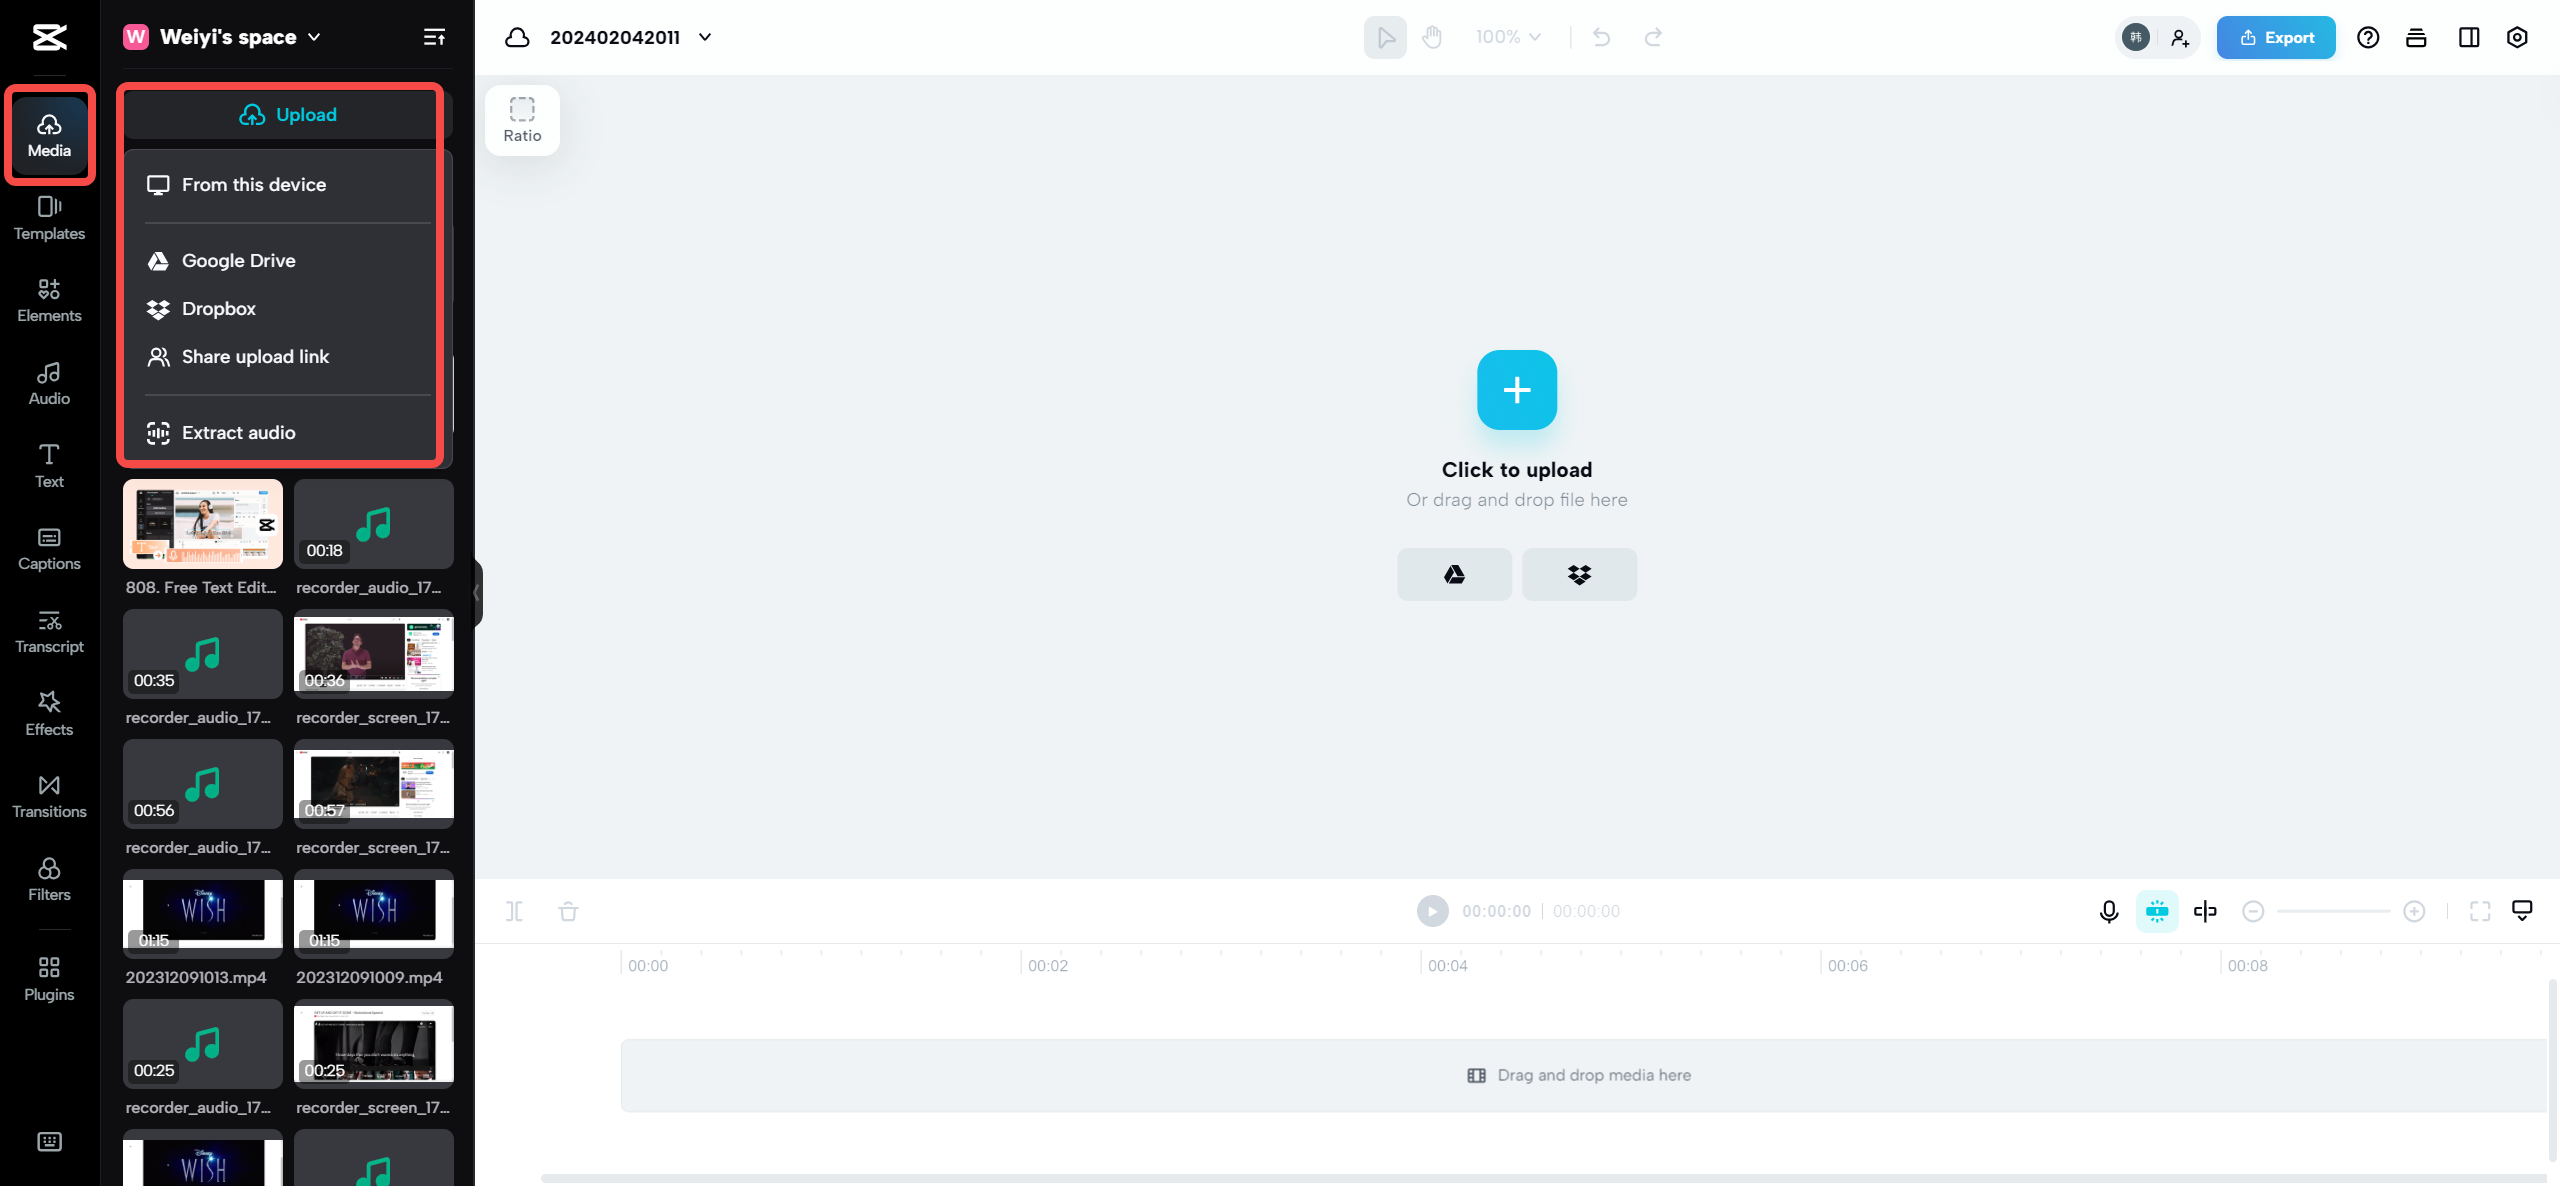
- Upload your videoYou can drag and drop your video file or upload it from cloud storage like Google Drive or Dropbox.
- Let it stabilizeOnce your video uploads, CapCut will automatically stabilize it. You can preview the results to make sure it looks good.
- Do additional editingIf you want to add text, music, or other effects, you can do that too. CapCut has lots of options to make your video unique.

- Download or shareWhen you’re finished, you can download the video to your device or share it directly on social media.
See how simple that is? Now you know how to stabilize videos without even installing any software!
How to Stabilize Videos on Mobile Devices
What if you’re always on the move? No worries! CapCut has a mobile app for both iOS and Android that lets you stabilize videos right from your phone. This is perfect for vloggers or anyone who films with their smartphone.
The CapCut mobile app is more than just a video stabilizer. You can edit TikTok videos, add cool effects, and use trending styles like auto velocity and 3D zoom. It’s like having a complete editing studio in your pocket.
Here’s why the mobile app is so useful:
- It stabilizes videos quickly and easily
- You can edit popular TikTok videos with just a few taps
- It lets you edit anywhere, anytime
- There are AI-generated effects to make your videos look amazing
- You can use trending styles to keep your content fresh
- It has professional cutout tools for advanced editing
- It works for all kinds of content
How to Stabilize Video on Your Phone
Stabilizing videos on your phone is super easy with CapCut. Just follow these steps:
Download the appGet it from the App Store or Google Play Store, depending on your device.
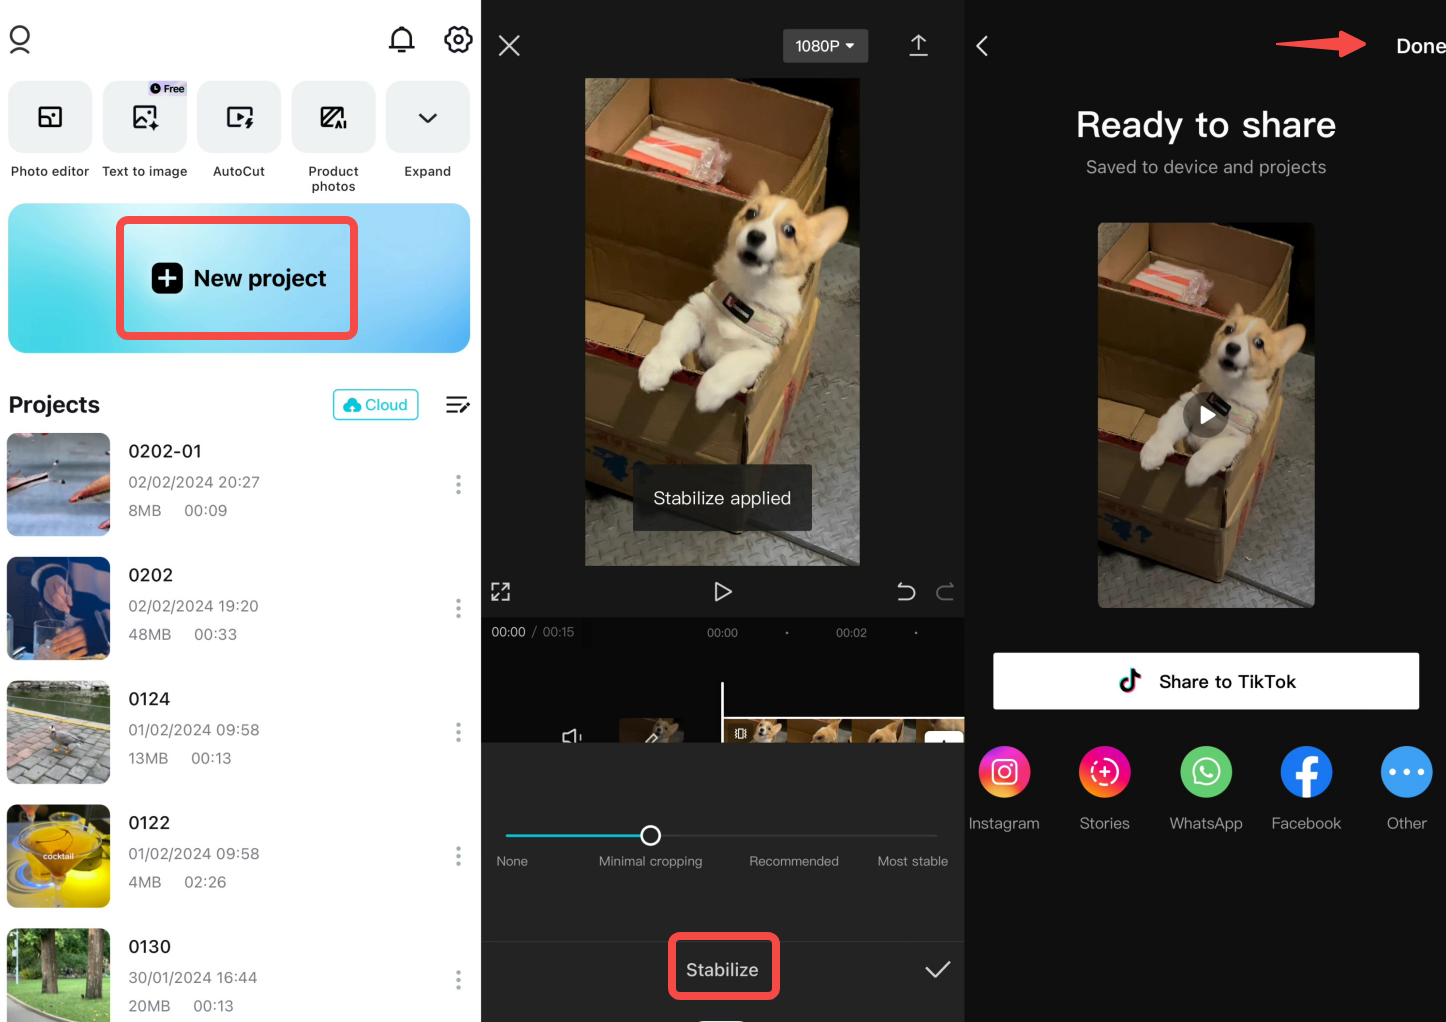
Start a new projectOpen the app and tap on “New Project,” then select the video you want to stabilize from your gallery.
Find the stabilization optionTap on your video in the timeline, then look for the “Stabilize” option in the editing menu.
Adjust settingsCapCut will suggest a stabilization level. You can change it if you want, but the recommended setting usually works great.
Save and exportWhen you’re happy with how it looks, export your video. You can save it to your phone or share it directly.
And that’s everything! Now you know how to stabilize videos on your phone too.
CapCut — Your all-in-one video & photo editing powerhouse! Experience AI auto-editing, realistic effects, a huge template library, and AI audio transformation. Easily create professional masterpieces and social media viral hits. Available on Desktop, Web, and Mobile App.
Wrapping Up
So there you have it – a complete guide on how to stabilize videos! Whether you’re using a computer, phone, or just your web browser, CapCut has tools to help you make your videos look smooth and professional. Remember, shaky footage doesn’t have to ruin your content. With a little practice and the right tools, you can create videos that people will love watching.
Learning how to smooth a video might seem tricky at first, but with these tools and techniques, anyone can do it. The key is to practice and experiment with different settings until you find what works best for your particular videos.
Thanks for reading, and happy editing! Remember, every great video creator started somewhere, and with these tools, you’re well on your way to creating amazing, stable videos that your audience will enjoy.
Frequently Asked Questions
1. Does stabilizing videos affect their quality?No! CapCut’s stabilization technology actually improves video quality by reducing shakes and blurriness. Your video will look clearer and more professional after stabilization.
2. Is the mobile video stabilizer available as a separate app?Yes! Android users can get the CapCut APK, and iOS users can download it from the App Store. It’s free and very easy to use.
3. What’s the easiest way to stabilize a shaky video?It’s simple! Just upload your video to CapCut, click the stabilize button, and let the software do its magic. You can adjust settings if you want, but the automatic option works great for most videos.
Some images courtesy of CapCut