TOOL HUNTER
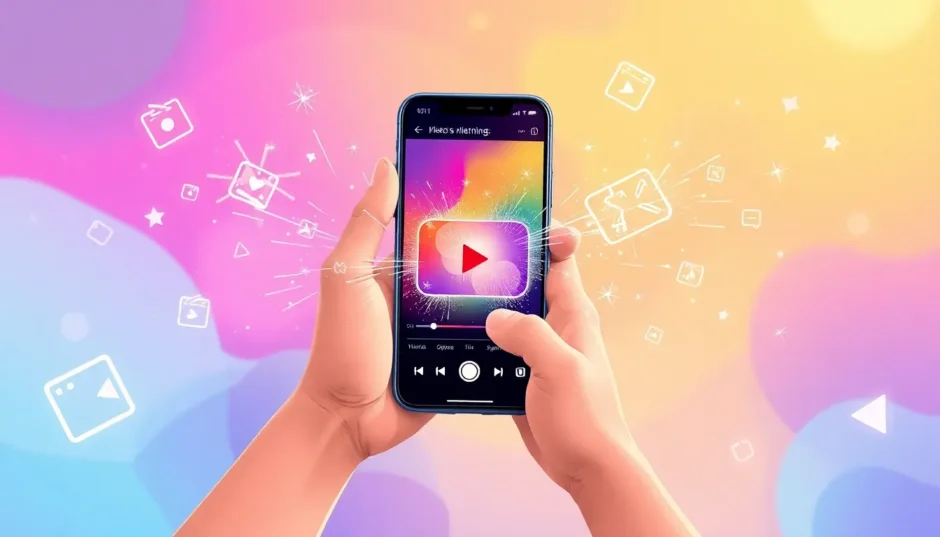

Have you ever seen a video playing in reverse and thought, “That looks amazing—how can I do that on my iPhone?” You’re definitely not the only one. Learning how to reverse a video on iPhone might sound complicated, but it’s actually a super fun and creative trick that can make your videos stand out. Whether you’re creating content for social media, working on a school project, or just having fun with friends, mastering this skill can totally change the way you approach video editing.
Many people assume that only professional editors can pull off cool effects like reversing clips, but that’s not the case anymore. With the right tools and a bit of guidance, anyone can make their videos play backward on an iPhone. It adds a unique flair, tells a story in a fresh way, and can turn even the most ordinary clips into something extraordinary.
In this guide, I’ll take you through everything you need to know about how to reverse a video on iPhone. We’ll explore why reversing videos is useful, what you should consider before getting started, and the simplest methods to do it—even if you’ve never edited a video before. I’ll also introduce you to one of the best tools available for this: CapCut. It’s user-friendly, powerful, and completely free.
Ready to dive in? Let’s get started!
Table of Contents
Why Should You Reverse a Video on Your iPhone?
Reversing a video isn’t just a random gimmick—it can genuinely make your content more dynamic and entertaining. Imagine a clip of a skateboarder doing a trick, but in reverse—it looks like they’re defying gravity! Or picture a moment where a glass of water spills, and playing it backward makes it seem like the liquid magically returns to the glass.
Lots of influencers and content creators use reversed clips to grab viewers’ attention. It’s unexpected, creative, and perfect for platforms like Instagram, TikTok, or YouTube. Plus, if you’re sharing memories with loved ones, a reversed video can add an extra element of surprise and fun.
Best of all? You don’t need expensive gear or complicated software. Your iPhone and a reliable editing app are all you need to create something truly special.
Things to Consider Before Reversing Your Video
Before you jump into reversing your video, there are a few things to keep in mind. A little planning can go a long way in ensuring your final result looks polished and professional.
Choosing the Right App
Your iPhone doesn’t have a built-in feature to reverse videos directly, so you’ll need to use an app or a website to get the job done. There are plenty of options, but one that stands out is CapCut. It’s intuitive, free, and maintains your video’s quality after reversal.
Planning Your Shot
If you already know you want to reverse your video, try filming with that in mind. Think about how the action will appear when played backward. For instance, if you film someone catching a ball, reversing it will make it look like the ball is leaping back into their hand. Pretty cool, right?
Keeping your camera movements smooth and steady is key. Jerky motions might look odd in reverse, so try to film at a consistent pace.
Video Quality and Length
Reversing a video can be demanding on your phone’s processor, especially if the clip is long or high-resolution. To avoid issues, use shorter clips filmed in good lighting. Also, remember that any audio in the video will play backward, which might sound strange. You can always mute the original sound and add music or sound effects later.
Now that you know what to consider, let’s move on to the fun part—actually reversing your video!
How to Reverse a Video on iPhone Using CapCut
If you’re looking for a straightforward and reliable way to reverse videos on your iPhone, CapCut is an excellent choice. It’s a free app available on the App Store, and it’s incredibly user-friendly. Here’s a step-by-step guide on how to reverse a video on CapCut.
Step 1: Download and Open CapCut
First, head to the App Store and search for “CapCut.” Download and install the app, then open it. You’ll see a blue button labeled “New Project”—tap on it.
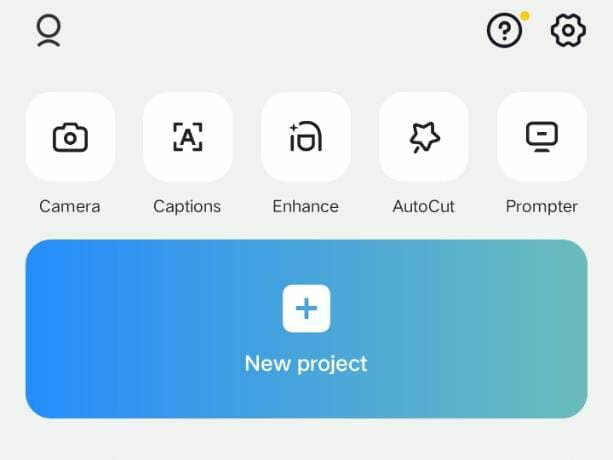
Step 2: Upload Your Video
After tapping “New Project,” the app will take you to your phone’s video gallery. Select the video you want to reverse, then tap “Add” in the bottom right corner. Your video will now appear in the editing timeline.
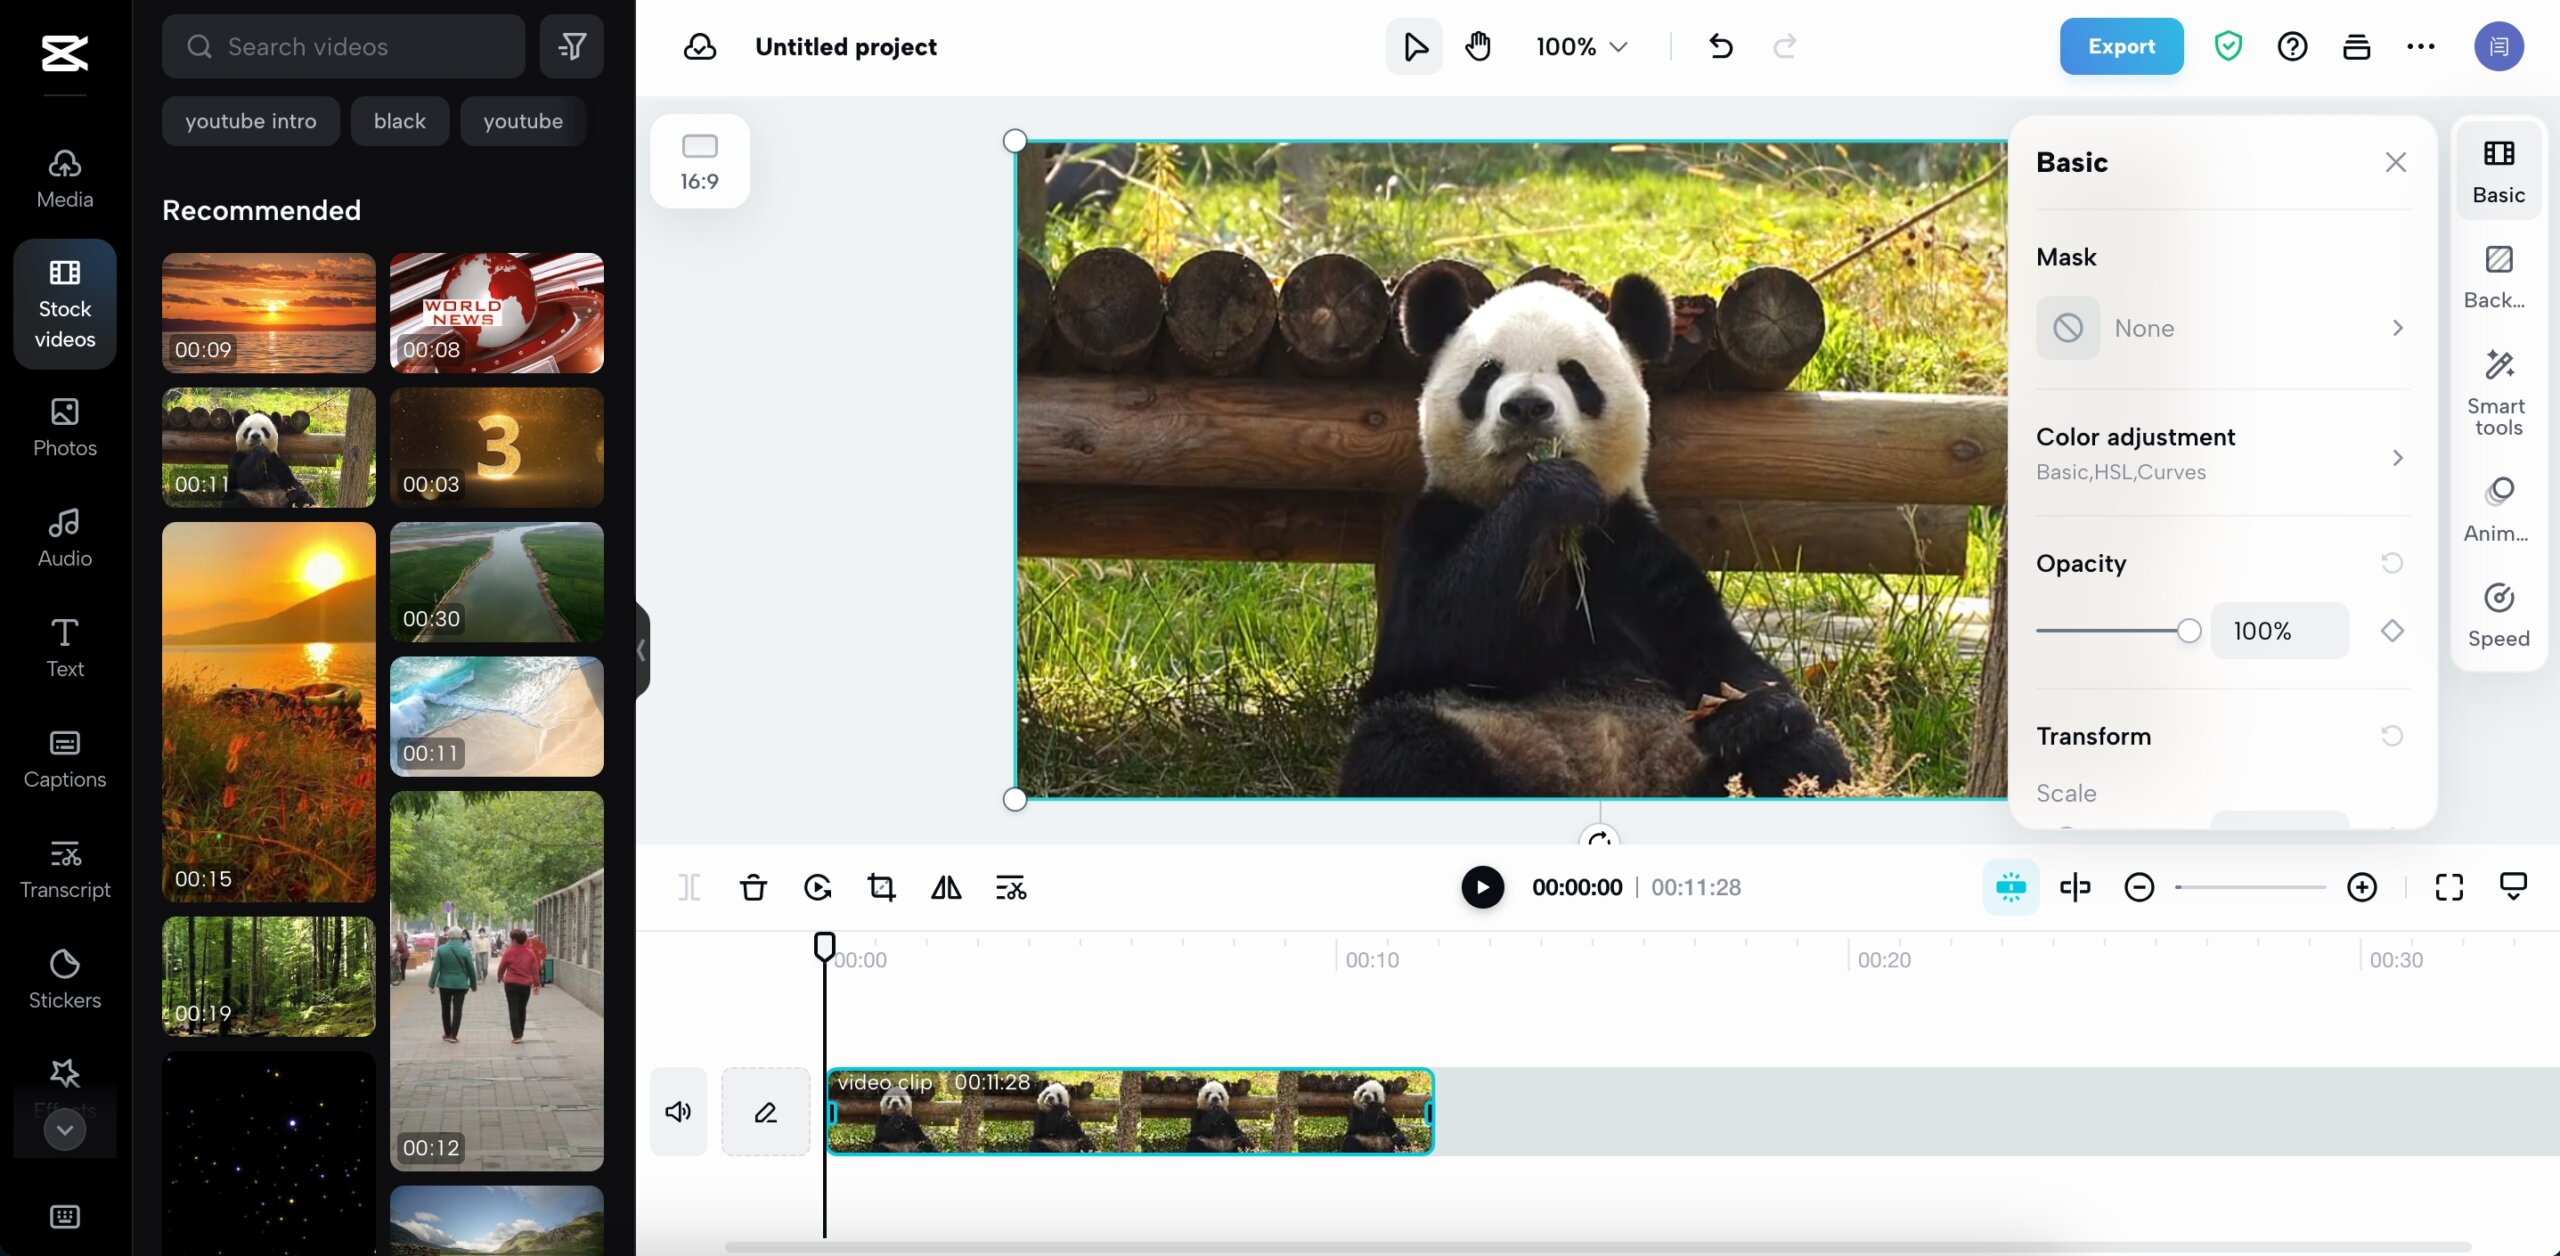
Step 3: Reverse Your Video
This is where the magic happens! Tap on your video in the timeline, and a range of editing options will appear at the bottom. Scroll through them until you find the “Reverse” button. It might take a moment to locate, but it’s there. Tap it, and CapCut will start reversing your video automatically. Give it a few seconds to process.
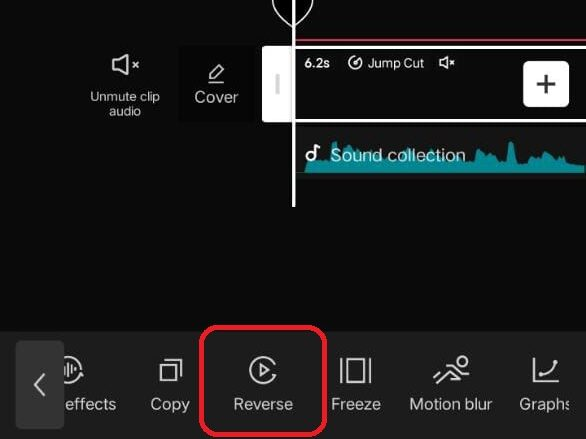
That’s it! You’ve just learned how to reverse videos on CapCut. It really is that simple.
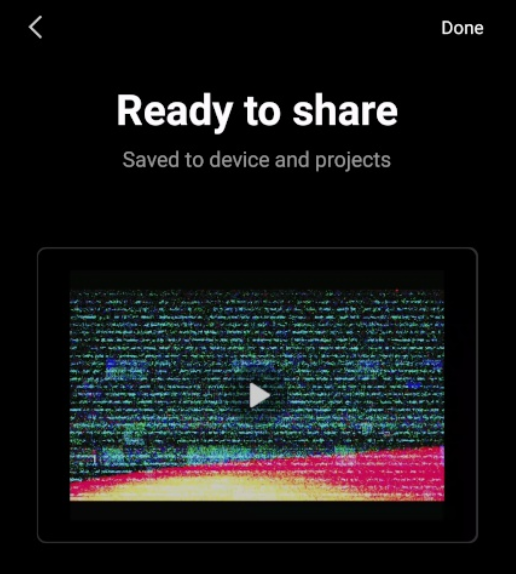
Step 4: Save and Export
Once your video is reversed, preview it by tapping the play button. If you’re happy with the result, tap the arrow in the top right corner to export it. You can save it to your phone or share it directly to social media. Now you have a cool, reversed video ready to show off!
What If You Prefer Not to Use an App?
Maybe you don’t want to download another app, or you’d like to try an alternative method. No problem! There are other ways to reverse a video on iPhone without installing anything.
Using Websites to Reverse Videos
You can use online tools like CapCut’s online video editor or other websites such as Media.io. Here’s how:
Open Safari on your iPhone and go to the website. Upload your video, locate the reverse function, and let the website process it. Once it’s done, you can download the reversed video back to your phone. This method is convenient, but keep in mind that you’ll need a stable internet connection for it to work smoothly.
Using iMovie to Play Video Backward
If you already have iMovie on your iPhone, you can use it to reverse clips as well. Here’s a quick guide on how to play video backward on iPhone using iMovie:
Open iMovie and create a new project. Import your video, then tap on the clip in the timeline. Look for the speedometer icon (which controls speed settings), and you’ll find an option called “Reverse.” Tap it, and iMovie will reverse your clip. You can also add music or other effects if you like.
It involves a few more steps than using CapCut, but it works well if you’re already comfortable with iMovie.
Enhancing Your Reversed Video with CapCut
Now that you know how to reverse a video on CapCut, why not take it a step further? CapCut offers a ton of features to help you make your videos even more impressive. Whether you’re using the app on your iPhone or the online version on a computer, there’s so much you can do.
User-Friendly Interface
One of CapCut’s biggest strengths is its simplicity. Even if you’re new to video editing, you’ll find the layout intuitive and easy to navigate. But don’t be fooled by its simplicity—it’s packed with professional-level tools. With just a few taps, you can trim clips, add effects, and, of course, reverse videos quickly.
Adding Music and Sound Effects
Reversing a video can make the original audio sound unusual. That’s okay, though, because CapCut makes it easy to add new music or sound effects. The app offers a vast library of songs and sounds to choose from, or you can upload your own. It’s a great way to set the mood and make your reversed video even more engaging.
Cool AI Features
CapCut also includes some impressive AI tools. For example, you can use AI to enhance your video’s quality, making it sharper and clearer. There’s even a style transfer feature that can transform your video to look like a cartoon, painting, or other artistic styles. It’s a fun way to get creative and make your content unique.
CapCut — Your all-in-one video & photo editing powerhouse! Experience AI auto-editing, realistic effects, a huge template library, and AI audio transformation. Easily create professional masterpieces and social media viral hits. Available on Desktop, Web, and Mobile App.

How to Reverse a Video for Instagram
Lots of people want to know how to reverse a video specifically for Instagram. Whether you’re looking to make your Stories more entertaining or create a Reel that stands out, the process is straightforward.
You can use CapCut to reverse your video first, then share it on Instagram. Here’s how:
Follow the same steps outlined above to reverse your video in CapCut. Once you’ve exported it to your phone, open Instagram and upload the reversed video as you normally would. It’s that easy! Now you have a cool, attention-grabbing post that your followers are sure to love.
CapCut — Your all-in-one video & photo editing powerhouse! Experience AI auto-editing, realistic effects, a huge template library, and AI audio transformation. Easily create professional masterpieces and social media viral hits. Available on Desktop, Web, and Mobile App.
Frequently Asked Questions
Can I reverse a video on my iPhone for free?
Yes, absolutely! There are several free tools available, and CapCut is one of the best. You can use the mobile app or the online version without any cost. It’s a great way to reverse iPhone video backwards without compromising quality.
How can I ensure my reversed video looks good?
Planning is essential. Think about how the action will appear in reverse before you start filming. Keep your shots smooth and steady, and avoid using clips that are too long. Using a reliable tool like CapCut also helps maintain high video quality.
What if I don’t want to use an app?
No problem! You can use online tools like CapCut’s online editor or Media.io. Simply open the website in your browser, upload your video, reverse it, and download it back to your phone.
Can I reverse a video with sound?
You can, but keep in mind that the sound will play backward, which might not sound pleasant. Most people prefer to remove the original audio and add music or sound effects after reversing the video.
Final Thoughts
Learning how to reverse a video on iPhone opens up a world of creative possibilities. It’s not just a fun trick—it’s a way to tell stories differently, create engaging content, and impress your friends and followers. With apps like CapCut, it’s easier than ever to get started.
Remember, the key is to plan your shots, choose the right tool, and don’t be afraid to experiment. Whether you’re using CapCut, iMovie, or an online website, you have plenty of options to create amazing reversed videos.
So go ahead—give it a try! Play around with reversing your videos, add some music, and see what kind of cool content you can create. Who knows? You might just discover a new passion for video editing.
Some images in this article are sourced from CapCut.