TOOL HUNTER

Ever looked at a photo and wished you could soften some parts to make it look more professional or artistic? You’re not alone. Learning how to make a picture blurry is a game-changer, whether you’re into photography, social media, or just love making your personal pics stand out. It’s not just about aesthetics—sometimes it’s about privacy, focus, or pure creativity.
A lot of editing tools out there either overcomplicate things or don’t deliver the blur effect you’re hoping for. If you’ve been searching for an easy and effective way to blur images, you’ve come to the right place. In this guide, we’ll walk you through how to make a picture blurry using CapCut—a tool that’s simple enough for beginners yet powerful for pros.
We’ll cover everything from why blurring matters to hands-on steps for blurring on different devices. Plus, we’ll explore creative ways to use blur and common mistakes to avoid. Let’s dive in!
Table of Contents
- Why Learning How to Make a Picture Blurry Matters
- How to Make a Picture Blurry with CapCut
- Creative Ways to Use the Blur Tool
- How to Make a Picture Blurry on iPhone
- Understanding Photo Blur Effects
- Tips for How to Create Blur Around Photo Subjects
- Common Blurring Mistakes to Avoid
- Level Up Your Skills with Advanced Techniques
- How Much Blur Is Just Right?
- Fun Practice Exercises
- The Future of Blurring Tech
- Wrapping Up
Why Learning How to Make a Picture Blurry Matters
In today’s digital world, sharing images online is almost second nature. But with that comes the need to be smart about what you post. Knowing how to make a picture blurry isn’t just a technical skill—it’s a way to protect yourself and enhance your photos creatively.
Protect Your Personal Information
Social media connects us globally, but it also exposes personal details when we least expect it. Lots of people share photos without realizing sensitive info—like IDs, licenses, or even their home address—might be visible in the background.
If you know how to add blur to photo elements, you can easily hide these details. This way, you keep your privacy intact while still sharing moments with friends and followers.
Prevent Misuse of Your Images
Digital content can be easily copied, edited, or misused. Shockingly, studies show that nearly 22% of Americans have experienced their photos being used without permission online. That’s a big number!
By learning how to make a picture blurry strategically—like blurring faces or specific details—you reduce the risk of your images being misused. It’s a simple step that adds a layer of security.
Highlight What Matters
Blurring isn’t just about hiding things—it’s also a powerful storytelling tool. When you add blur to image backgrounds or less important areas, you naturally draw attention to the main subject.
This technique is widely used in portrait and product photography. Once you master how to blur parts of an image, you can create more engaging and professional-looking visuals.
Unleash Your Creativity
Beyond practical uses, blurring lets you experiment with artistic effects. Want to create a dreamy vibe? Or simulate motion in a static shot? Learning how to add blur to photo opens doors to creative styles like bokeh (those beautiful soft light circles) or vintage-looking gradients.
It might take some practice to perfect, but with tools like CapCut, even beginners can achieve stunning results.
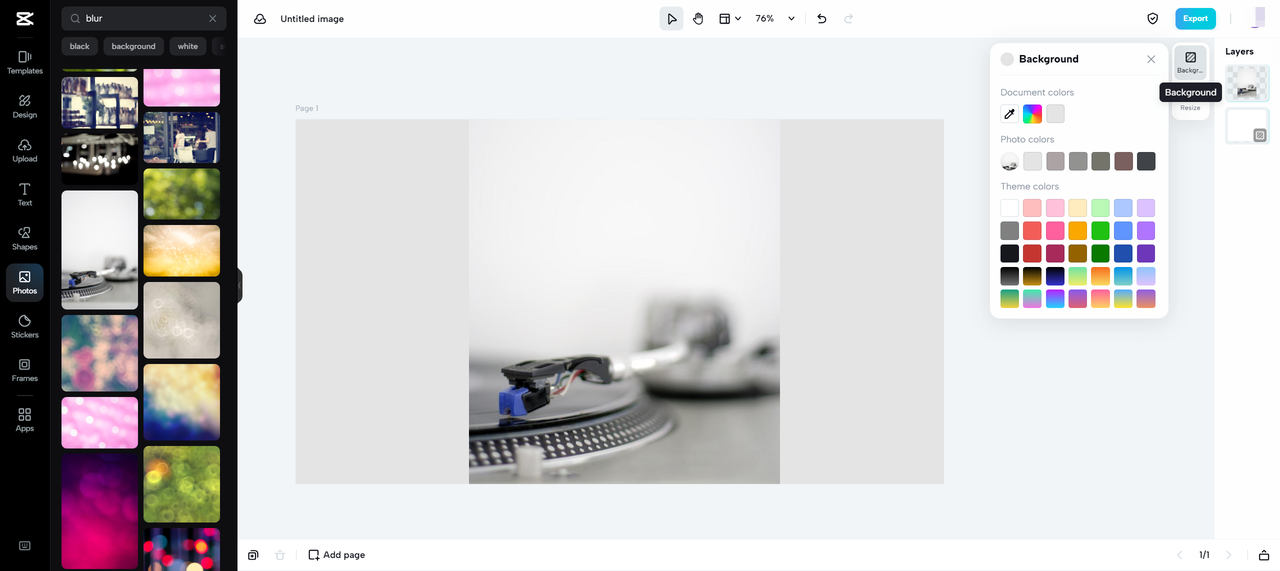
How to Make a Picture Blurry with CapCut
Ready to get hands-on? CapCut makes it incredibly easy to blur images. Here’s a step-by-step guide to get you started.
Step 1: Upload Your Image
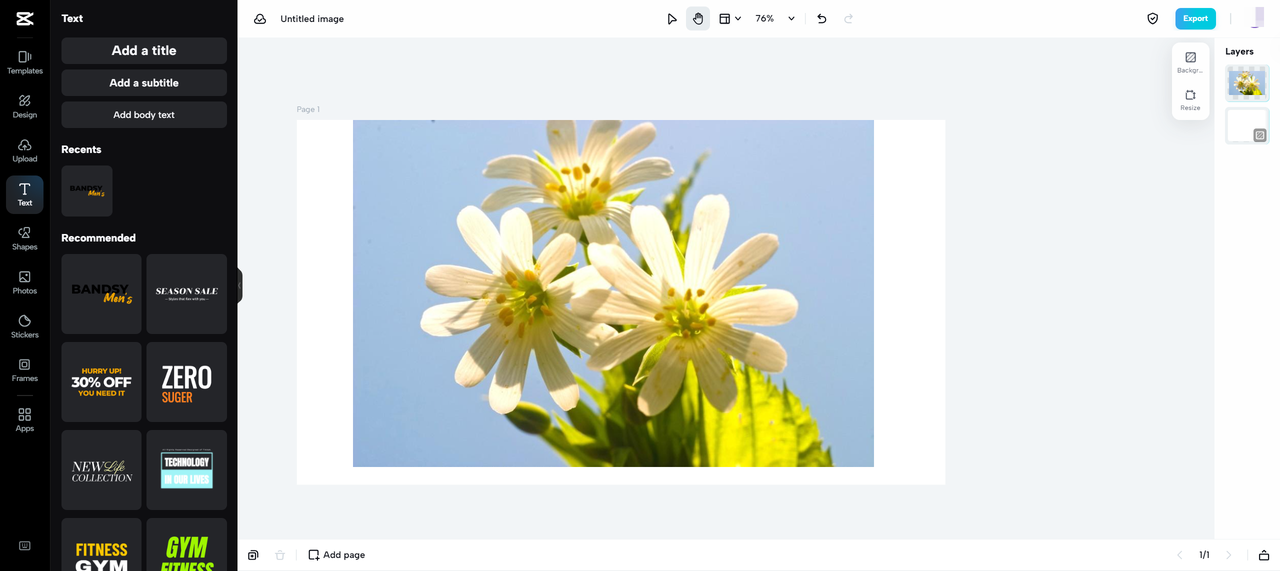
First, open CapCut’s online photo editor. Click the “Upload” button on the left panel and select the image you want to edit from your device. Once uploaded, it will appear in the editing workspace.
Step 2: Apply Blur Effects
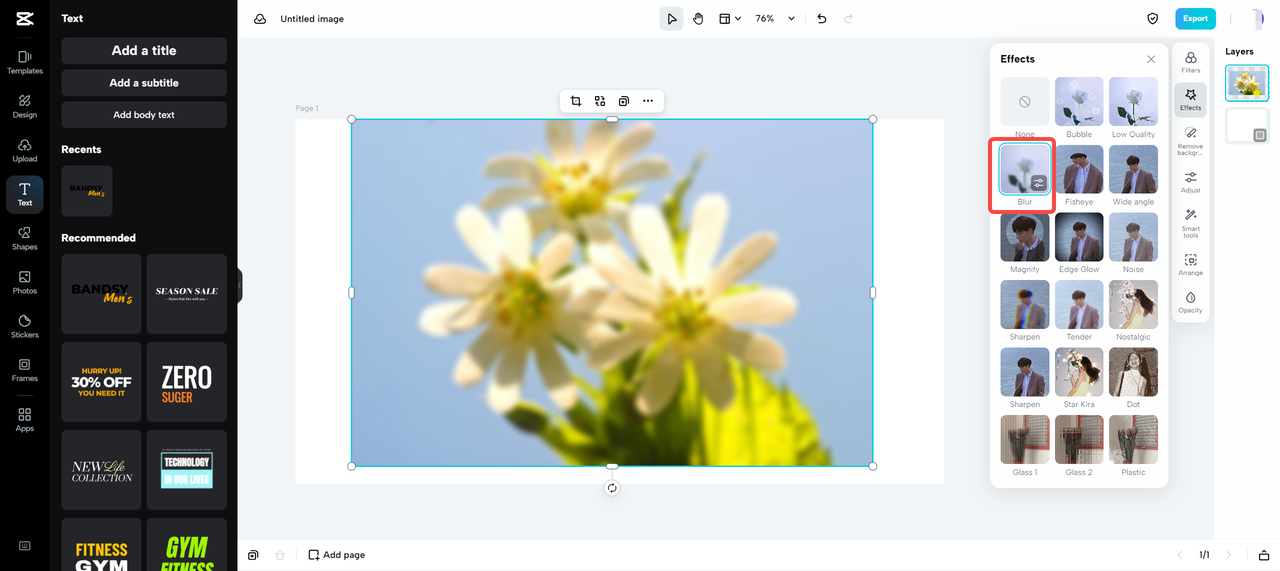
CapCut offers multiple blur options. For a full-image blur, try Gaussian Blur and adjust the intensity slider until you’re happy with the effect.
If you want to blur specific areas, use the masking tool. Draw around the parts you want to blur, and CapCut will smoothly blend those sections while keeping the rest of the image sharp.
Step 3: Save and Export
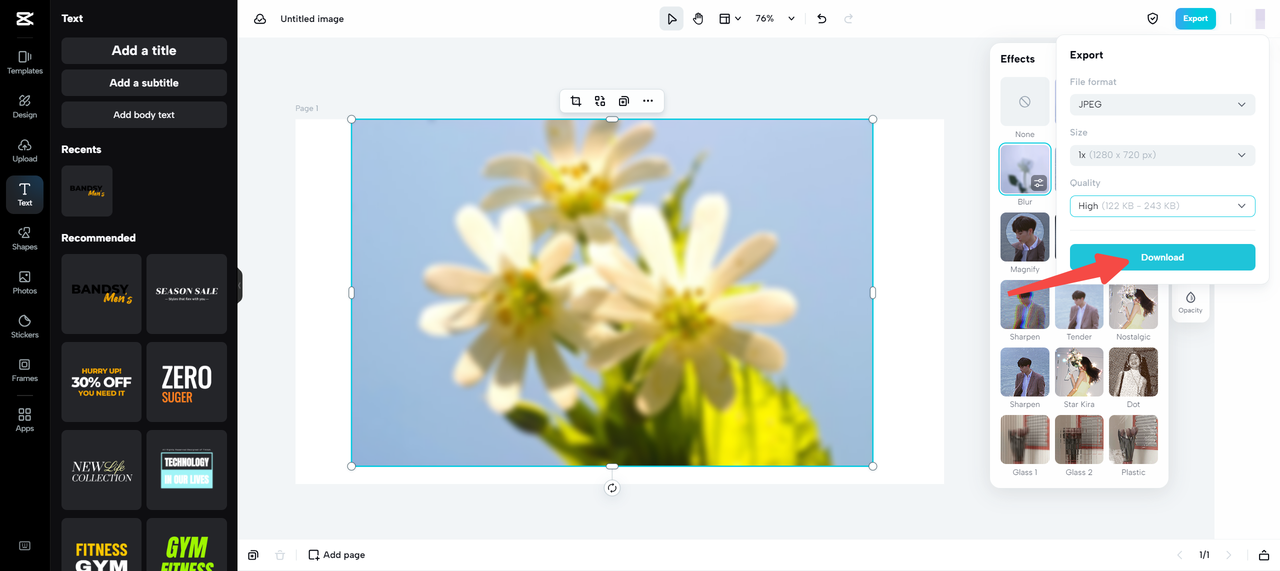
Once you’re satisfied, hit the “Export” button in the top-right corner. Choose your preferred format and quality, and download your newly blurred image. That’s it!
CapCut — Your all-in-one video & photo editing powerhouse! Experience AI auto-editing, realistic effects, a huge template library, and AI audio transformation. Easily create professional masterpieces and social media viral hits. Available on Desktop, Web, and Mobile App.

Download App | Sign Up for Free
Creative Ways to Use the Blur Tool
Blurring isn’t just a one-trick tool. Here’s how you can use it to elevate your edits.
Soften Backgrounds for Focus
One of the most popular uses is blurring backgrounds to make subjects pop. This technique, often called bokeh, is perfect for portraits or product shots. By learning how to create blur around photo backgrounds, you can achieve a professional look without expensive gear.
Add a Touch of Mystery or Dreaminess
A subtle blur can add emotion and mood to your images. Whether you’re going for a vintage feel or a fantasy vibe, gently blurred edges or light effects can make your photos more captivating.
Combine with Other Editing Features
Don’t stop at blurring! CapCut lets you mix blur with text, stickers, filters, and more. For example, blur the background of a travel photo and add bold text overlay for a trendy social media post.
How to Make a Picture Blurry on iPhone
No computer? No problem. You can blur photos directly on your iPhone using apps like CapCut.
- Download CapCut or a similar blur app from the App Store.
- Open the app and import your photo from your camera roll.
- Use the blur tool to adjust intensity and placement. Many apps offer brush-style blurring for precision.
- Save the edited image to your photos and share it right away.
This is super handy for quick edits on the go.
Understanding Photo Blur Effects
Blur effects aren’t just random—they can dramatically change how a photo feels. Here’s a quick breakdown:
- Soft Blur: Creates a dreamy, gentle atmosphere. Great for romantic or calming visuals.
- Motion Blur: Ideal for action shots, giving a sense of movement.
- Radial Blur: Draws attention to a central point by blurring outward circles.
Experimenting with these will help you understand which photo blur affect works best for your style.
Tips for How to Create Blur Around Photo Subjects
Creating natural-looking blur takes practice. Here’s how to do it right:
- Focus on the subject first. Blur should complement, not overwhelm.
- Use gradual transitions. Avoid harsh lines between blurred and sharp areas.
- Practice on different types of images—portraits, landscapes, close-ups—to see what works.
Don’t worry if it’s not perfect immediately. Even pros tweak their edits multiple times!
Common Blurring Mistakes to Avoid
When learning how to add blur to photo, it’s easy to overdo it. Here’s what to watch for:
- Too much blur: Can make images look fake or messy. Start subtle.
- Blurring the wrong areas: Always keep the main subject in focus.
- Ignoring composition: Blur should enhance the overall image, not clash with it.
Take your time, and always review your edit with fresh eyes before finalizing.
Level Up Your Skills with Advanced Techniques
Once you’re comfortable with basics, try these pro-level methods:
- Layered Blur: Apply different blur intensities to foreground, midground, and background for depth.
- Combined Effects: Add color grading or light leaks to blurred sections for unique styles.
- Selective Blur: Use masks to blur everything except a specific shape or path.
These techniques can make your edits stand out even more.
How Much Blur Is Just Right?
There’s no one-size-fits-all answer. It depends on:
- Purpose: Privacy blurring needs to be strong enough to hide details. Artistic blur can be gentle.
- Platform: Images for Instagram might need more noticeable effects than those for print.
- Style: Your personal taste matters—some prefer heavy blur, others like it light.
When in doubt, less is often more. You can always add more blur later.
Fun Practice Exercises
Get better with these quick drills:
- Find a portrait and practice how to add blur to image backgrounds until the person stands out.
- Take a picture with text (like a menu or sign) and blur just the text smoothly.
- Experiment with extreme blur on random photos—sometimes mistakes lead to cool discoveries!
The Future of Blurring Tech
AI is making blurring smarter. New apps can now auto-detect subjects and suggest blur areas, making it easier for beginners. We’re also seeing tools that mimic professional camera lenses more realistically.
As tech improves, so will the ways we can creatively and effectively blur images.
Wrapping Up
Learning how to make a picture blurry is more than a technical skill—it’s part of being a mindful and creative digital citizen. Whether you’re protecting privacy, highlighting a moment, or just playing with art, blurring gives you control over how your images look and feel.
With tools like CapCut, it’s easier than ever to learn, experiment, and create. So open an app, grab a photo, and start blurring!
CapCut — Your all-in-one video & photo editing powerhouse! Experience AI auto-editing, realistic effects, a huge template library, and AI audio transformation. Easily create professional masterpieces and social media viral hits. Available on Desktop, Web, and Mobile App.
Download App | Sign Up for Free
Some images sourced from CapCut.