TOOL HUNTER

Ever scrolled through YouTube or TikTok and found yourself totally hooked on those videos where people react to stuff? You know, the ones where they watch a crazy music video, a hilarious meme, or an emotional movie scene, and you get to see their genuine, real-time reactions? Yeah, those are reaction videos, and they’re everywhere right now!
People love them because they feel personal, fun, and super relatable. It’s almost like hanging out with a friend and sharing a moment together. And guess what? Making your own reaction videos isn’t as hard as it seems. Whether you’re just getting started or want to level up your content, this guide will walk you through everything—from picking what to react to, all the way to editing and sharing your video like a pro. We’ll also dive into how to avoid pesky copyright issues and even how to make your videos go viral. Let’s jump in!
Table of Contents
- What Exactly Are Reaction Videos?
- How to Make Reaction Videos in 5 Simple Steps
- How to Make a Reaction Video on YouTube Without Copyright Issues
- How to Make Your Reaction Videos Go Viral on YouTube
- How to Make Reaction Videos on Your Phone
- How to Edit a Reaction Video for Maximum Impact
- Wrapping It Up
- Frequently Asked Questions
What Exactly Are Reaction Videos?
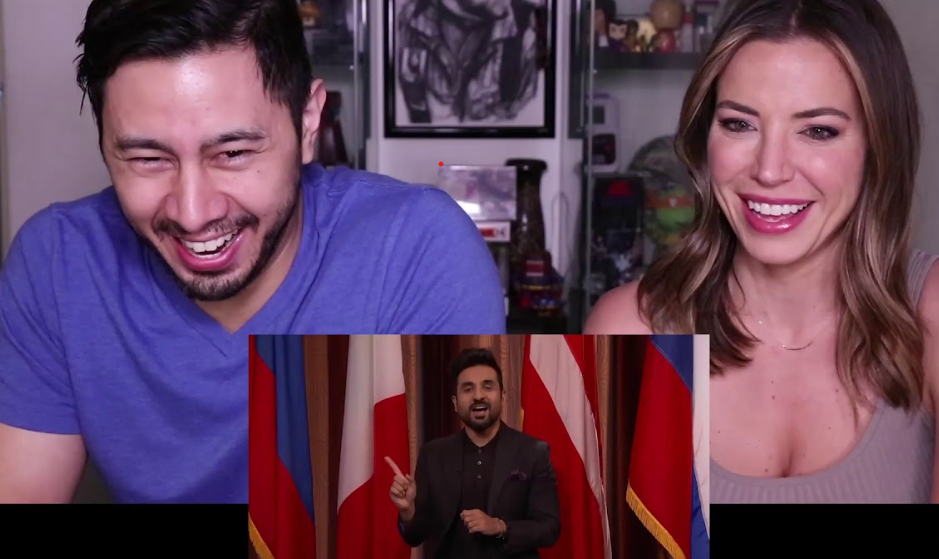
So, what are reaction videos, really? In simple terms, they’re videos where creators film themselves reacting to something in real time. It could be a trending music video, a movie trailer, a funny clip, a viral challenge, or even a meme. Most of the time, these videos use a picture-in-picture layout, meaning you see both the original content and the creator’s face at the same time.
Why are they so popular? Because they’re entertaining and help build a real connection between the creator and the audience. Viewers enjoy seeing raw, honest reactions—whether it’s laughter, shock, or even tears. For creators, reaction videos are an awesome way to grow a fanbase without needing a super fancy setup or a detailed script. All you gotta do is be yourself!
How to Make Reaction Videos in 5 Simple Steps
If you’ve been wondering how to make reaction videos that people actually want to watch, you’re in luck. It’s easier than you think! Just follow these five steps.
Step 1: Choose What to React To
First things first—pick something interesting to react to! Your best bet is to go with content that’s already trending or viral. That way, more people are likely to search for and watch your take on it.
Think about what fits your channel’s vibe. If you’re into comedy, go for funny fails or memes. If you’re more about deep stuff, maybe react to emotional movie scenes or heartfelt stories. Most importantly, pick something you actually care about. Authenticity shines through, and viewers can always tell when you’re genuinely into it.
Oh, and don’t be afraid to tackle controversial topics sometimes—they can spark great discussions and get people commenting and sharing!
Step 2: Get Your Gear Ready
You don’t need super expensive equipment, but having decent gear definitely helps. A good HD camera will capture your expressions clearly, and a quality microphone ensures your voice comes through crisp and clean.
Lighting is super important too! Natural light works great, but if you’re filming indoors, a simple ring light can make a huge difference. Also, try to pick a clean, distraction-free background so the focus stays on you and your reactions.
And of course, you’ll need editing software to polish your video. Tools like CapCut make it easy to edit reaction videos and give them a pro-level finish.
Step 3: Find Your Reaction Style
What kind of reactor are you? Are you the funny one who cracks jokes, the analytical one who breaks things down, or the emotional one who isn’t afraid to cry? Your style will shape the whole vibe of your video.
The key is to be real. Add your own opinions, humor, and personality. That’s what’ll make people come back for more—they’ll be there for YOU, not just the content you’re reacting to.
Step 4: Record Your Reaction
When it’s time to record, use a split-screen or picture-in-picture layout. This lets viewers see both the original video and your reactions side by side. Make sure your reactions are synced up well—nobody wants to see you laugh five seconds after something funny happens!
Try to film in a quiet spot to avoid background noise. If there’s any unwanted sound, you can clean it up later while you edit.
Step 5: Edit Your Video with CapCut
This is where the magic happens! Learning how to edit reaction video content well can take your videos from good to amazing. CapCut is one of the best tools out there for this—it’s packed with features made just for reaction videos.
You can use its screen record function to capture both the video and your face at once. The picture-in-picture mode lets you overlay your reaction seamlessly. There’s also a huge library of sound effects, music, stickers, and filters to make your video pop.
CapCut even has AI tools like auto-captions and noise reduction, which save you time and make editing way easier.
How to Make a Reaction Video Using CapCut
Here’s a quick walkthrough on how to make reaction videos using CapCut:
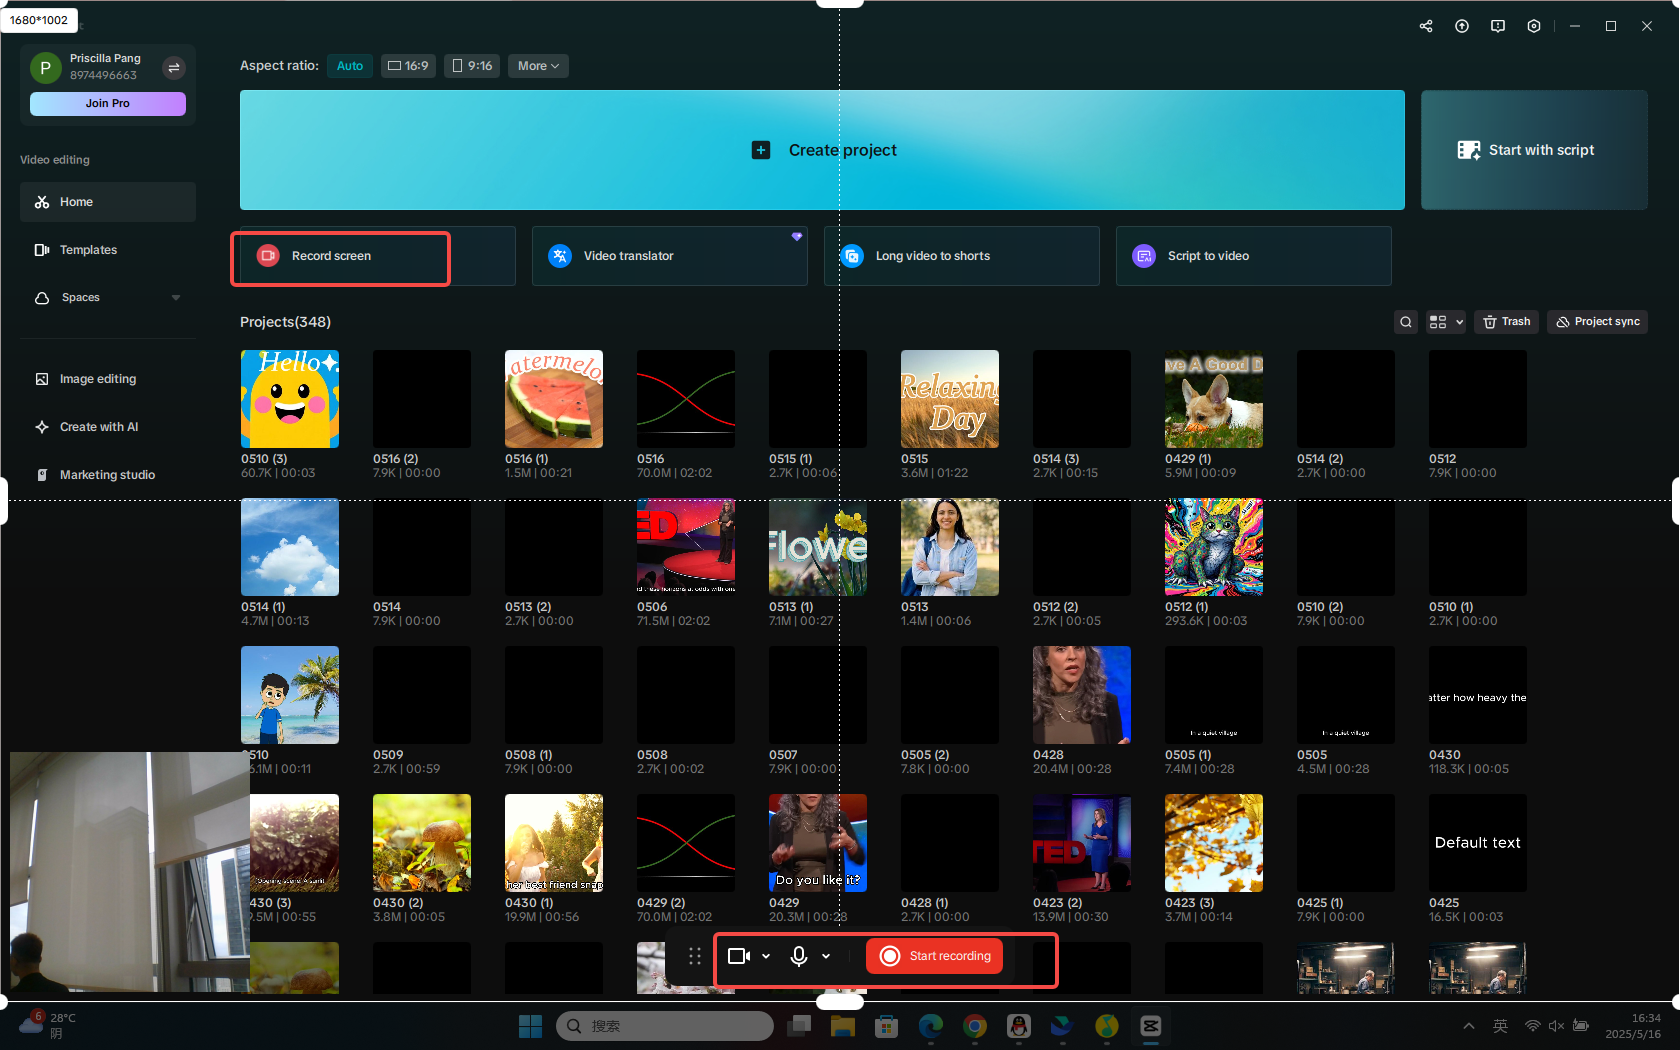
Start by opening CapCut and clicking “Record Screen.” Turn on your camera and mic, then play the video you want to react to. Hit “Start Recording,” and once you’re done, click “Edit More” to jump into the editing workspace.
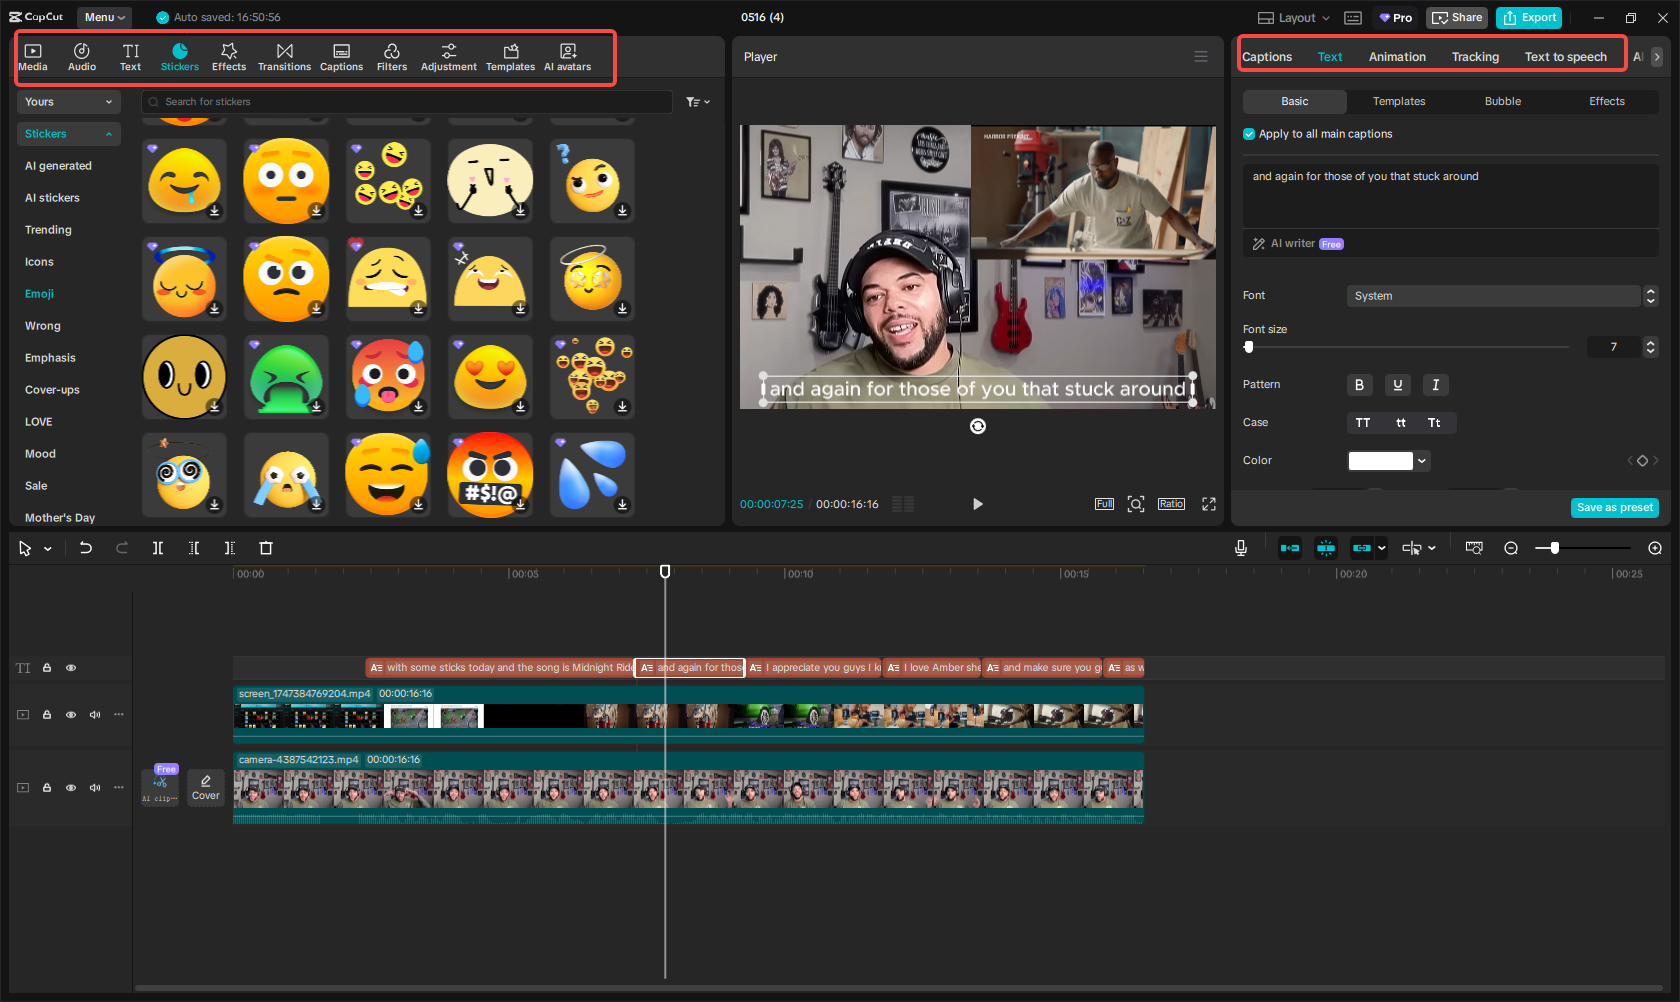
Drag your reaction clip onto the timeline and place the original video in a smaller window, like in the corner. You can resize it, add speed adjustments for emphasis, and throw in transitions, effects, or text to highlight funny or shocking moments.
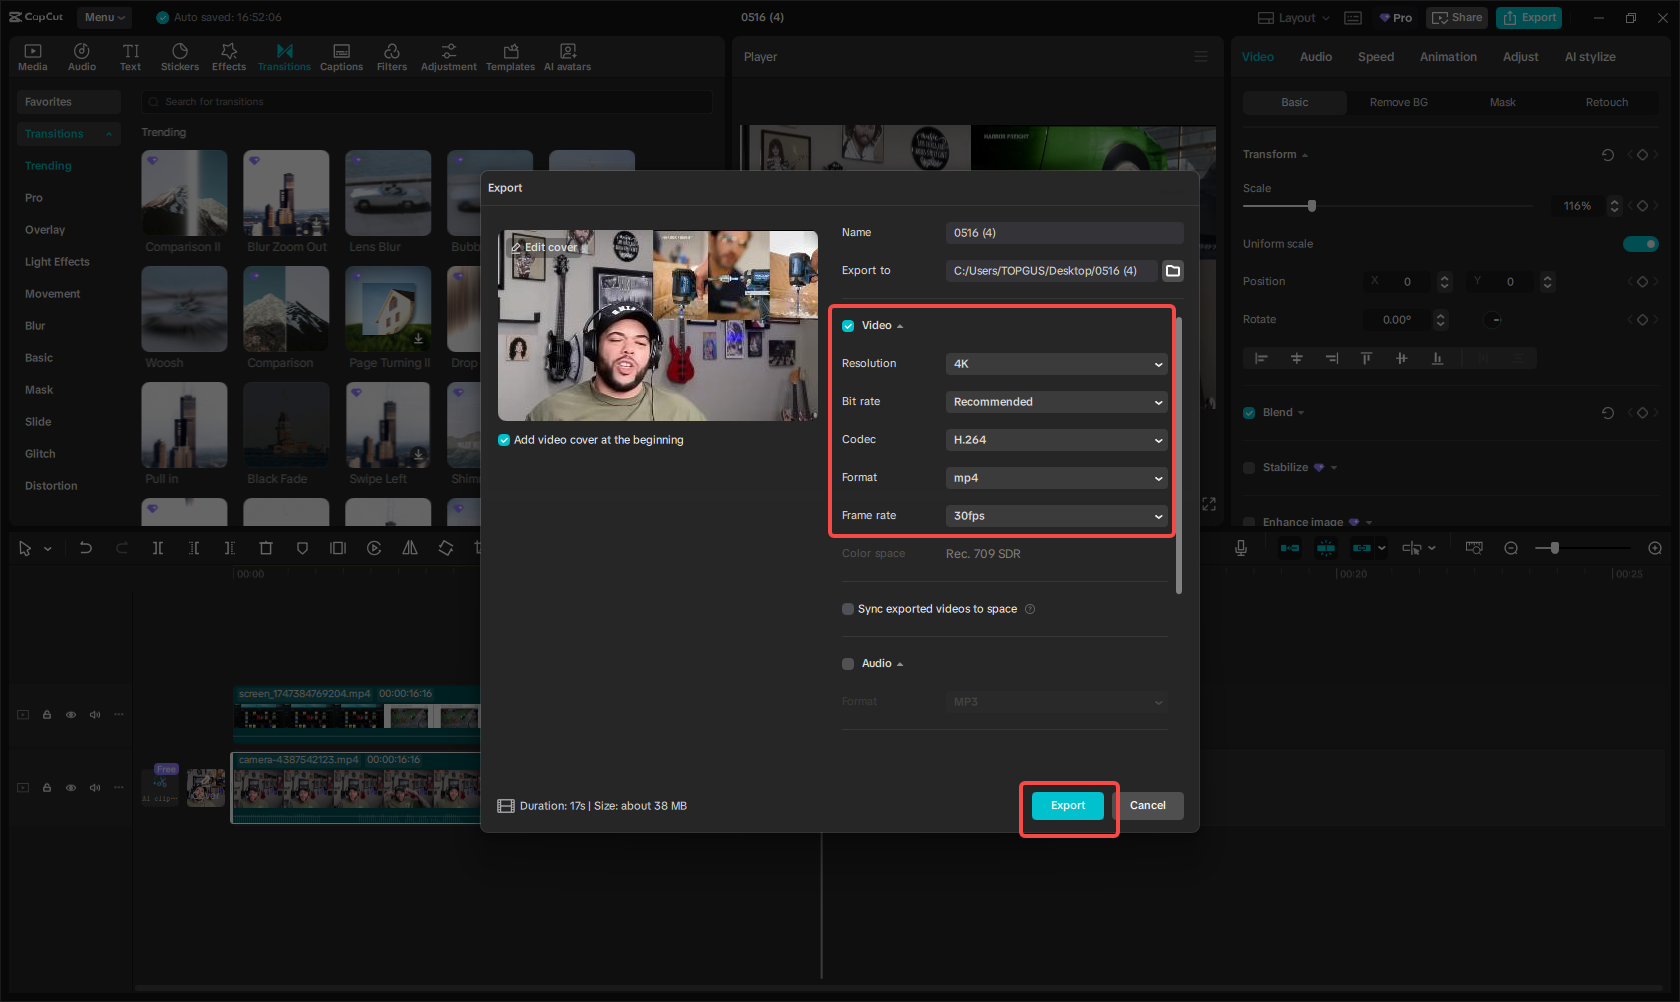
If you want, use the auto-caption tool to generate subtitles—it makes your video more engaging and accessible. When you’re happy with how it looks, click “Export,” choose your preferred settings, and save your video. You’re all set to share!
CapCut — Your all-in-one video & photo editing powerhouse! Experience AI auto-editing, realistic effects, a huge template library, and AI audio transformation. Easily create professional masterpieces and social media viral hits. Available on Desktop, Web, and Mobile App.

How to Make a Reaction Video on YouTube Without Copyright Issues
Copyright problems can be a real headache, but there are ways to avoid them. Here’s how to make sure your reaction videos stay up and don’t get taken down.
First, get familiar with “fair use.” It’s a rule that allows you to use copyrighted material if you’re adding your own commentary, criticism, or humor. So as long as you’re giving your unique take, you’re probably in the clear.
Stick to short clips instead of using the whole original video. CapCut’s “Long Video to Shorts” feature is perfect for cutting longer content into bite-sized reaction clips.
Always add your own spin—whether it’s jokes, insights, or emotional reactions. That’s what makes your video transformative and different from a mere re-upload.
It’s also a good idea to avoid monetizing your videos right away. Wait until you’re sure there are no copyright claims before turning on ads.
Using a split-screen or picture-in-picture layout also helps show that your video is a reaction, not just reused content.
If the original video has copyrighted music, mute that part or replace it with royalty-free tracks. CapCut lets you adjust audio levels easily.
You can also change how the clip looks by zooming, cropping, adding overlays, or applying effects. This makes it visually different from the source.
How to Make Your Reaction Videos Go Viral on YouTube
So you’ve made a reaction video—now how do you get more people to watch it? Here are some tips to help your content blow up.
Choose topics that are already trending. React to viral challenges, big celebrity news, or popular memes. More people will be searching for those topics!
Be real and expressive. Don’t hold back—let your true reactions show. Authenticity is what makes reaction videos so shareable.
Collaborate with other creators. Partnering with someone who has a similar audience can help both of you gain exposure.
Create a series. If people enjoy one of your reaction videos, they’ll likely want more. Think about series like “Try Not to Laugh” or “Reacting to Viral TikToks.”
Edit like a pro. Good editing keeps viewers engaged. Use cuts, zooms, text, and effects to highlight the best moments.
Post when your audience is most active. If your viewers are teens, evenings and weekends might be best. Check your YouTube analytics to find out.
Engage with your audience. Ask them to comment what you should react to next. It makes them feel involved and boosts interaction.
Promote your video on other platforms. Share short clips on TikTok, Instagram, or Twitter to drive traffic to your YouTube channel.
Most importantly, be original. Put your own unique spin on trends instead of just copying what others are doing.
How to Make Reaction Videos on Your Phone
Guess what? You don’t always need a computer to make great reaction videos. Here’s how to make reaction videos on your phone using the CapCut app.
Download CapCut on your phone, then import the video you want to react to. Use the camera overlay feature to record your reaction right in the app.
Arrange the clips with picture-in-picture mode so both videos are visible. Resize and reposition them till it looks just right.
Then, have fun editing! Add captions, transitions, filters, stickers, and even royalty-free music or sound effects. When you’re done, export the video and share it directly to Instagram, TikTok, or other platforms.
Making reaction videos on your phone is quick, easy, and still delivers high-quality results. Perfect for editing on the go!
How to Edit a Reaction Video for Maximum Impact
Editing can totally make or break your reaction video. Here’s how to edit a reaction video in a way that keeps viewers hooked.
Start by syncing your reactions perfectly with the original video. Good timing is everything!
Cut out any boring or repetitive parts to keep the video engaging and fast-paced.
Add text, emojis, or graphics to emphasize your reactions. If you’re shocked, a “NO WAY!” pop-up can make it even funnier.
Use sound effects wisely—a well-placed drumroll or laugh track can enhance funny moments.
Don’t forget color grading. Adjusting colors can make your video look more professional and visually appealing.
If you’re new to editing, CapCut’s templates and AI features can help. The auto-caption tool is especially handy for adding subtitles quickly.
Just remember—the goal of editing is to enhance your natural reactions, not overshadow them. Keep it smooth and purposeful.
CapCut — Your all-in-one video & photo editing powerhouse! Experience AI auto-editing, realistic effects, a huge template library, and AI audio transformation. Easily create professional masterpieces and social media viral hits. Available on Desktop, Web, and Mobile App.
Wrapping It Up
Reaction videos are an amazing way to connect with your audience, show off your personality, and have fun while creating content. Whether you’re just starting out or looking to improve, this guide covered everything from choosing content and setting up your gear, all the way to editing and avoiding copyright issues.
The most important thing is to be yourself. Authenticity wins every time. And with a tool like CapCut, editing doesn’t have to be complicated—it can actually be a blast!
So what are you waiting for? Grab your camera, find something awesome to react to, and start creating. Your audience is waiting!
Frequently Asked Questions
What kind of content is best for reaction videos?
Trailers, music videos, viral TikToks, emotional scenes, and funny fails are all great options. Basically, anything that’s trending or stirs strong emotions works well. Just make sure it fits your channel’s style.
How can I make reaction videos using just my phone?
Use the CapCut app! It lets you import videos, record your reaction, and edit everything right on your phone. You can use picture-in-picture mode, add effects, music, and more, then share directly to social media.
How do you make a reaction video on YouTube without copyright trouble?
Use short clips, add your own commentary, and change the visuals with edits like zooming or cropping. Always credit the original creator, and make sure you understand fair use guidelines.
What’s the easiest way to cut long reaction videos into short clips?
CapCut’s “Long Video to Shorts” feature is perfect for this. It automatically trims longer videos into short, shareable clips. You can then add music, captions, and effects to make them stand out on platforms like TikTok and Instagram Reels.
What’s the best way to learn how to edit reaction video content?
Practice! Start with simple edits and slowly try more advanced features. CapCut’s user-friendly interface makes it easy to learn. You can also watch tutorials or experiment with different tools to see what works best for you.
Some images sourced from CapCut.