TOOL HUNTER

Ever notice how some videos just look so clean and professional? A lot of that comes from good editing, and one of the easiest ways to level up your video quality is by using blur effects. Whether you want to hide something distracting, add some artistic flair, or just make your subject stand out more, learning how to blur video on CapCut can make a huge difference.
The best part? You don’t need to be a pro editor to do it. CapCut is super user-friendly and packed with features that help you create stunning videos without any cost. In this guide, we’ll walk through everything from basic blurring to more advanced techniques, so you can make your content look polished and engaging.
What Exactly is a Video Blur Effect?
A video blur effect is a technique where you intentionally make certain parts of your footage fuzzy or out of focus. You might blur the entire video, just the background, or specific objects or areas. People use blur effects for all sorts of reasons:
- Privacy Protection: Hide personal details like faces, license plates, or sensitive info.
- Focus Attention: By blurring the background, you make the main subject pop.
- Create Mood: Blur can add mystery, drama, or a dreamy aesthetic.
- Fix Imperfections: Soften harsh lighting, reduce noise, or mask low-quality footage.
- Simulate Motion: Add a sense of speed or movement to static shots.
It’s a simple tool, but it has a big impact on how viewers perceive your video.
Getting Familiar with CapCut
CapCut is a free, powerful video editor that works on both desktop and mobile. It’s loaded with features that are easy to use, even if you’ve never edited a video before. When it comes to blur effects, CapCut offers a ton of options: motion blur, pixel blur, background blur, and more. Each effect is customizable, so you can control the intensity, duration, and placement.
One of the best things about CapCut is its simplicity. The interface is clean and intuitive, so you won’t get lost in complicated menus. Whether you’re on a Mac, Windows, or using your phone, CapCut delivers a smooth editing experience.
CapCut — Your all-in-one video & photo editing powerhouse! Experience AI auto-editing, realistic effects, a huge template library, and AI audio transformation. Easily create professional masterpieces and social media viral hits. Available on Desktop, Web, and Mobile App.

How to Blur an Entire Video on CapCut
Sometimes you want the whole video to have a soft, blurred look—maybe to create a dream sequence or a flashback effect. Here’s how to blur the entire video using CapCut:
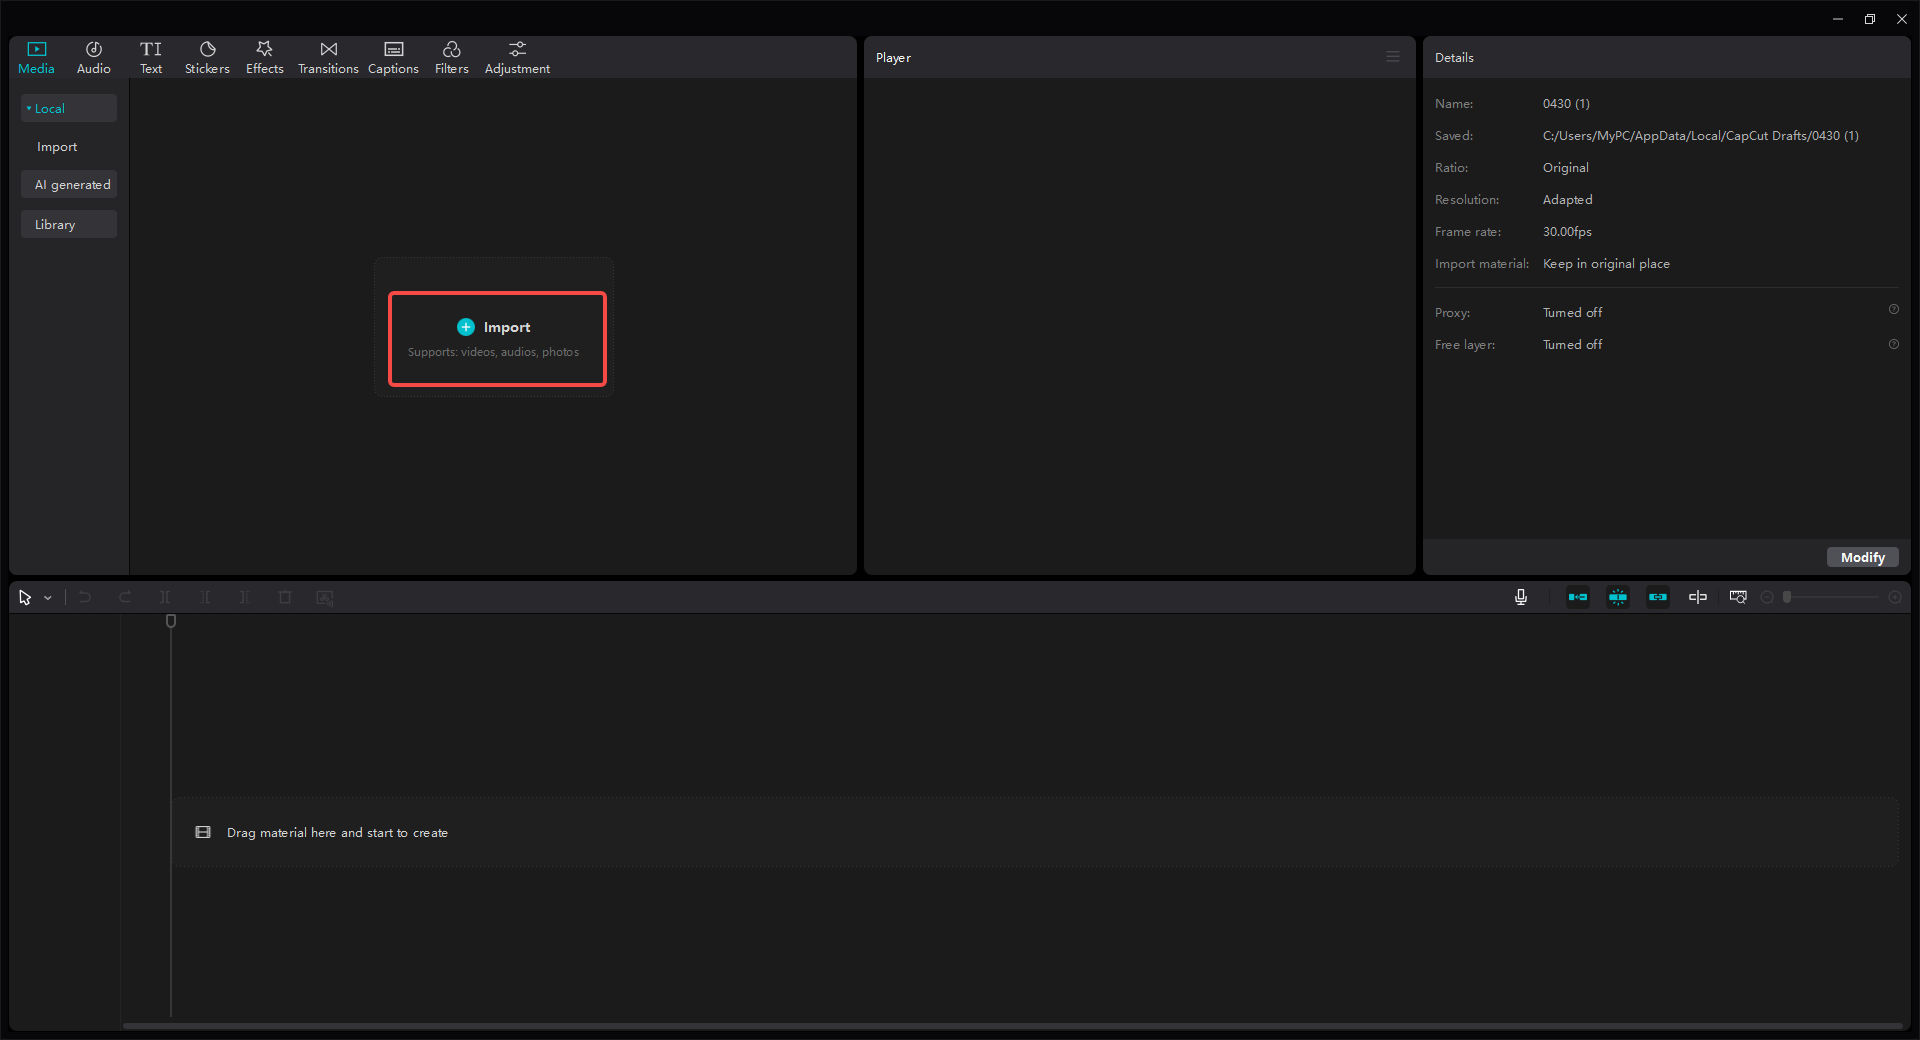
Upload Your Video
Open CapCut and start a new project. Click “Import” to upload your video from your device, or drag and drop it directly into the editor.
Apply a Blur Effect
Go to the “Effects” tab and type “blur” in the search bar. You’ll see options like motion blur, Gaussian blur, and more. Pick one that suits your video.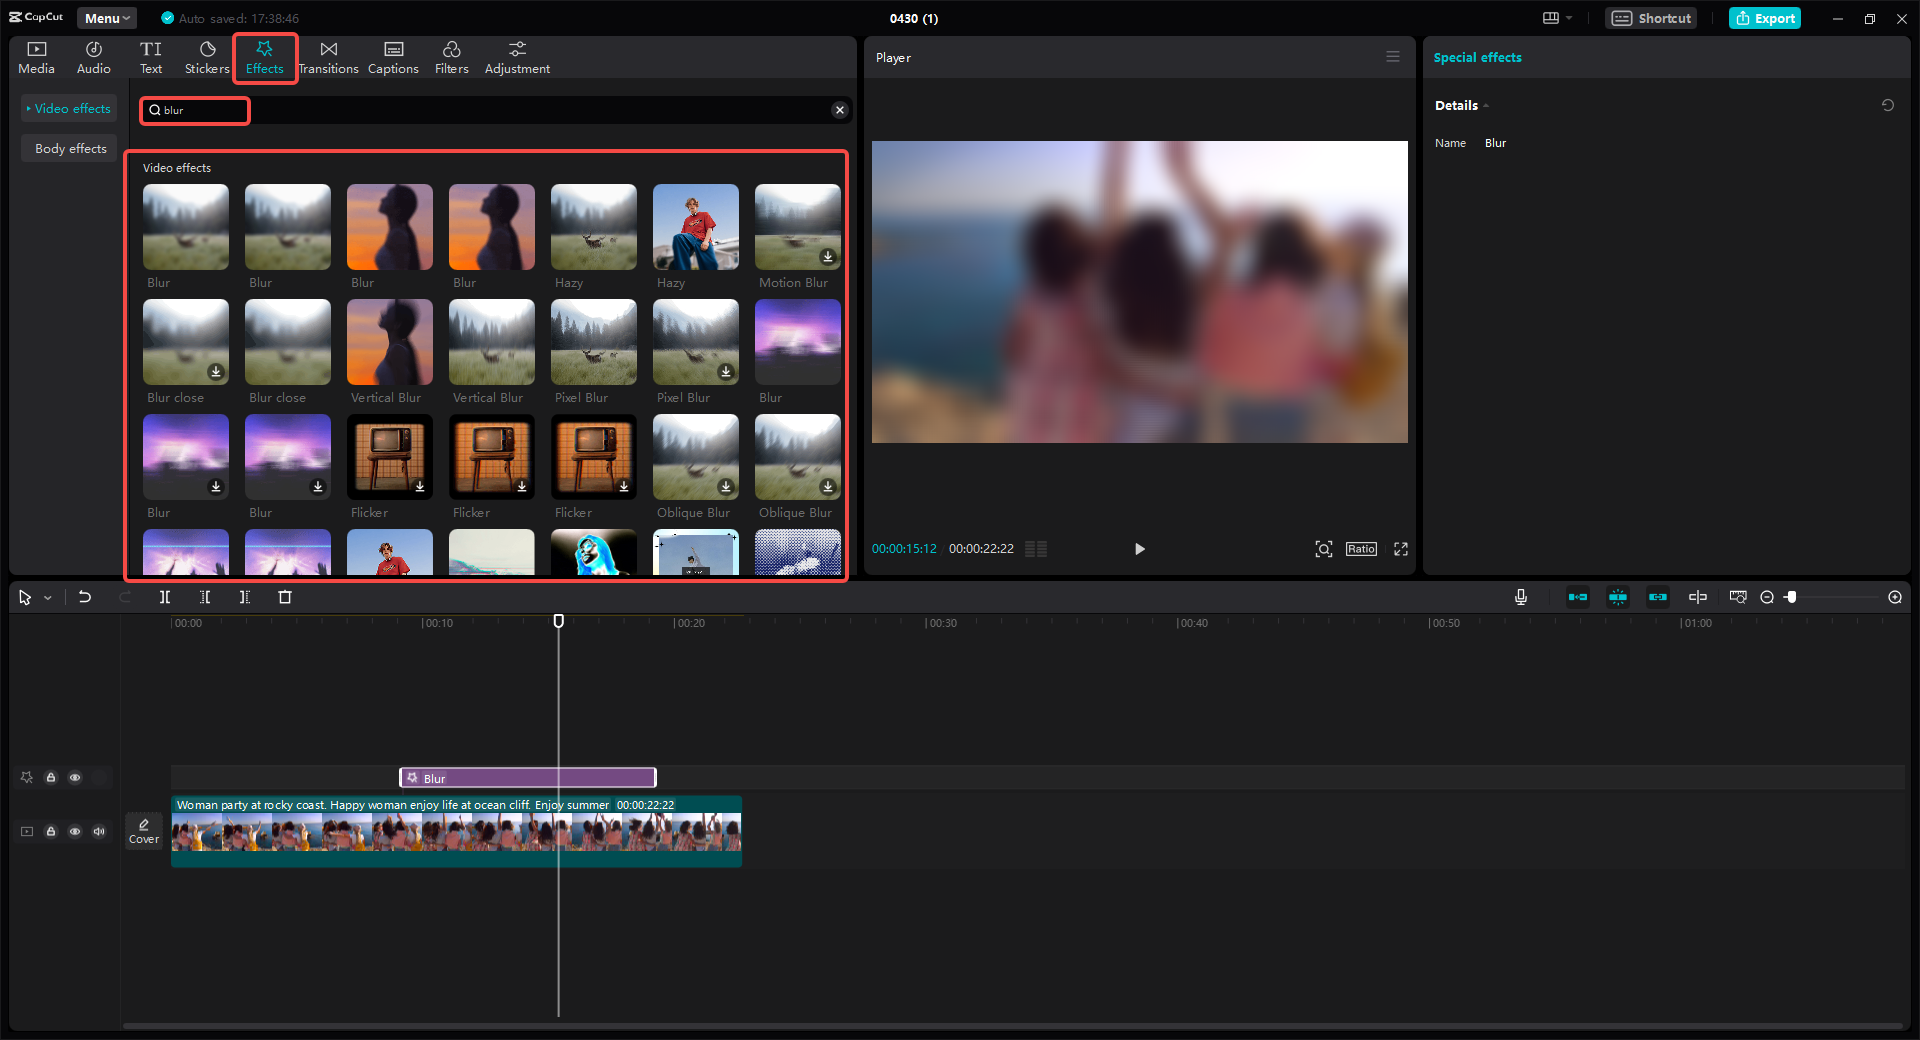
Adjust the Effect
Drag the blur effect to your timeline and stretch it to cover the entire length of your video. You can even layer multiple blur effects for a more customized look.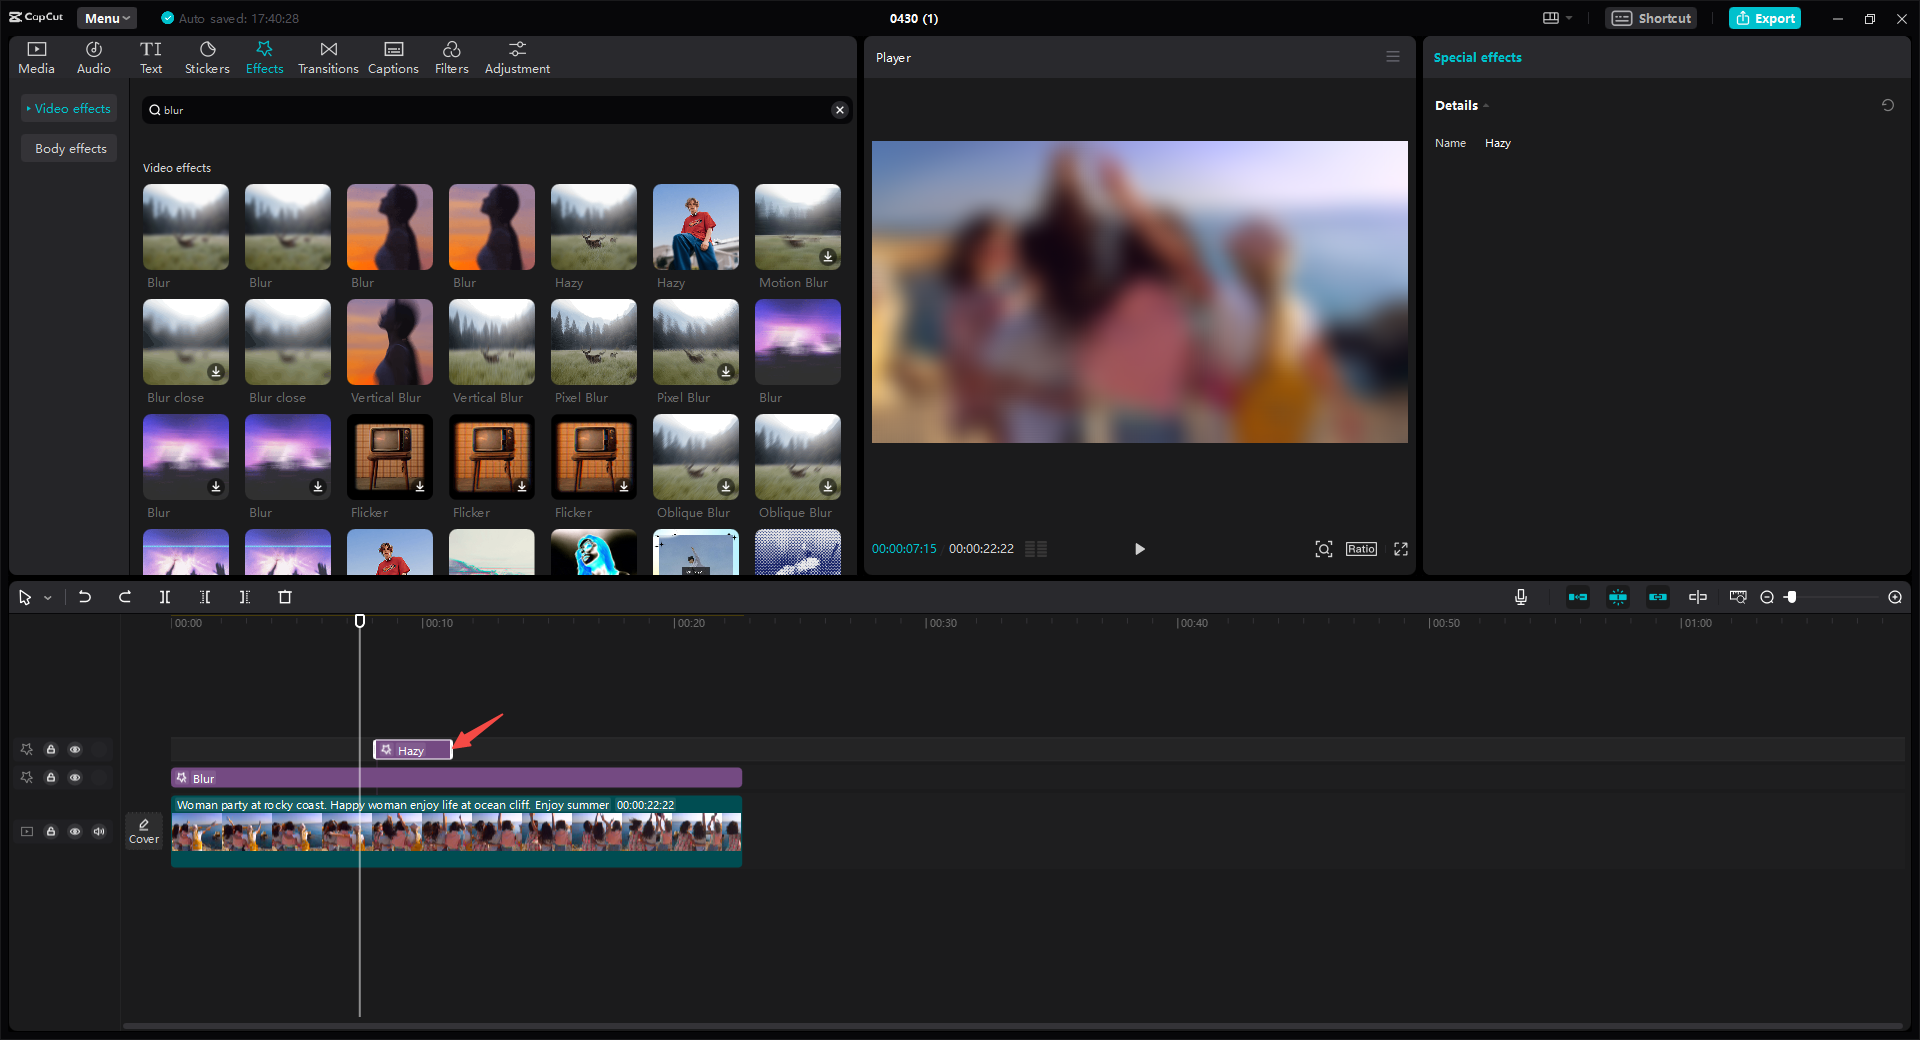
Enhance Your Video
CapCut isn’t just about blur—it has tons of other tools. You can trim clips, add text, adjust colors, stabilize shaky footage, and more.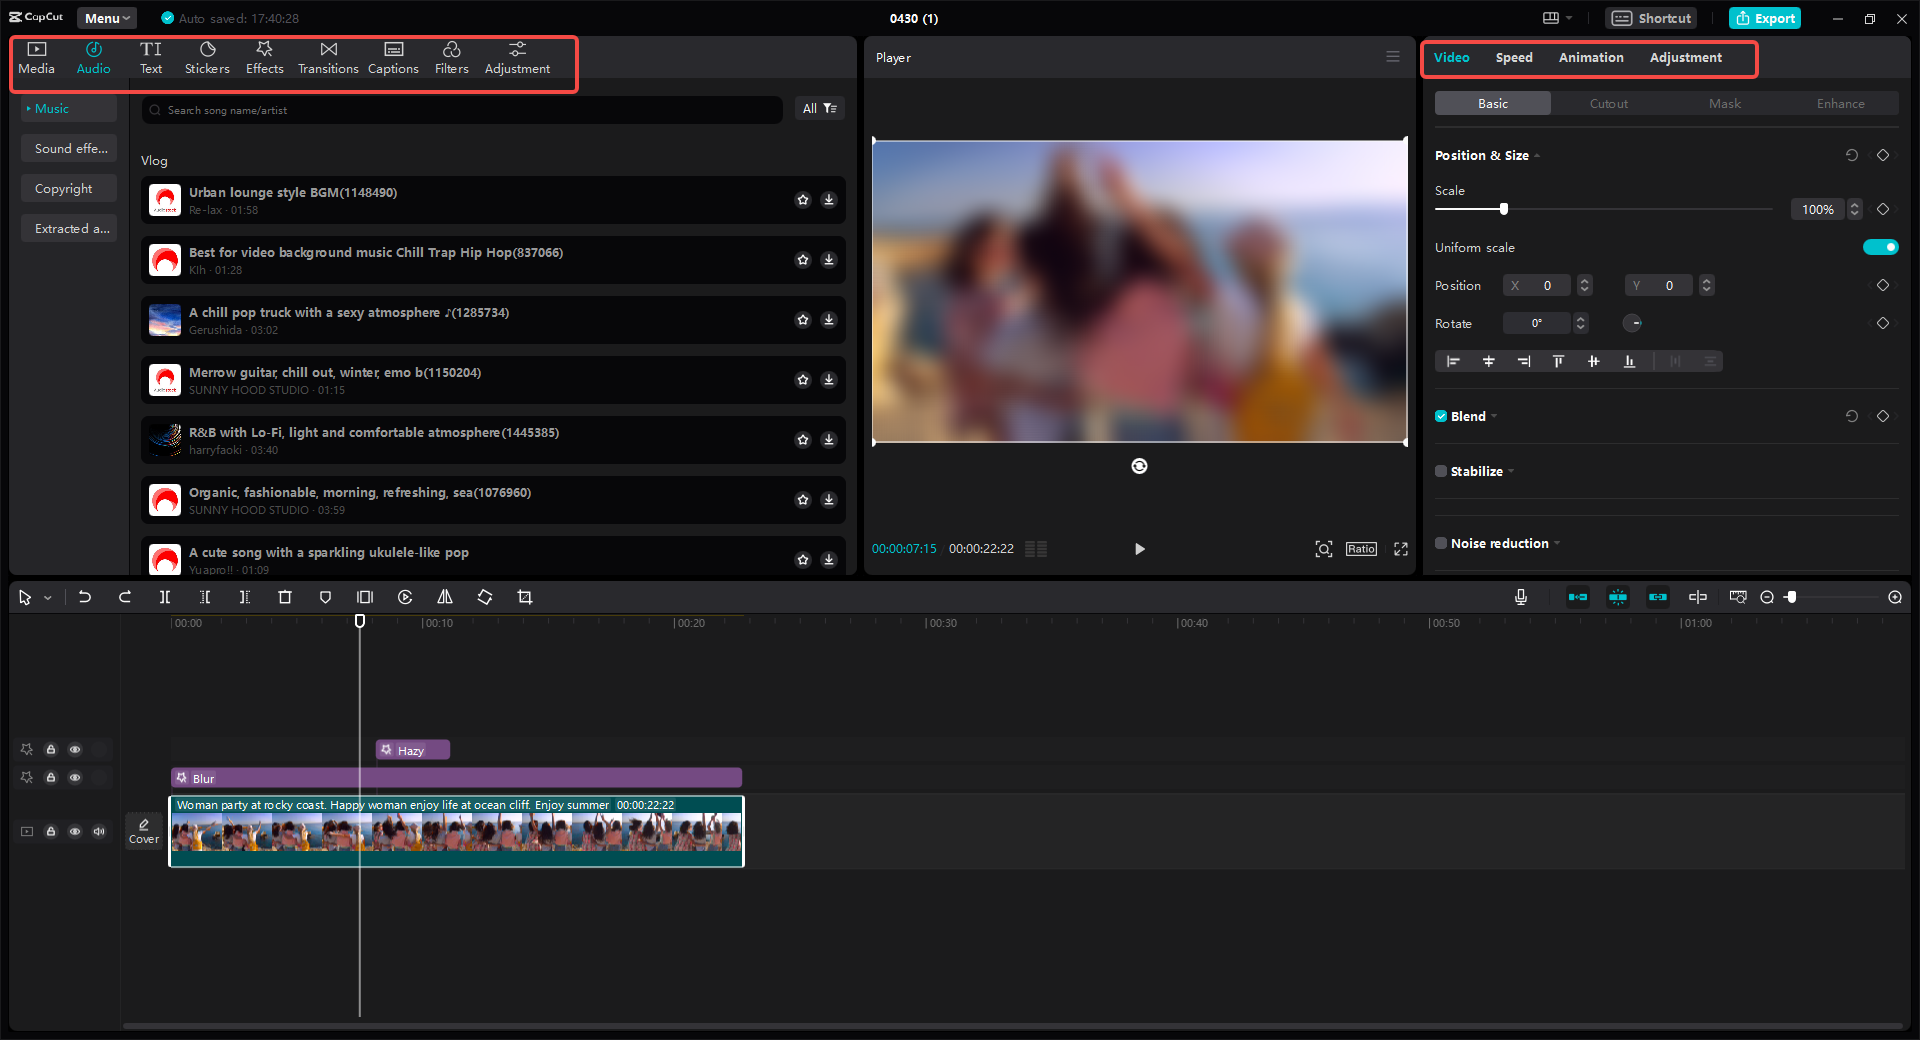
Export Your Video
Once you’re happy with the result, hit the “Export” button. You can save the video to your device or share it directly to platforms like TikTok or YouTube.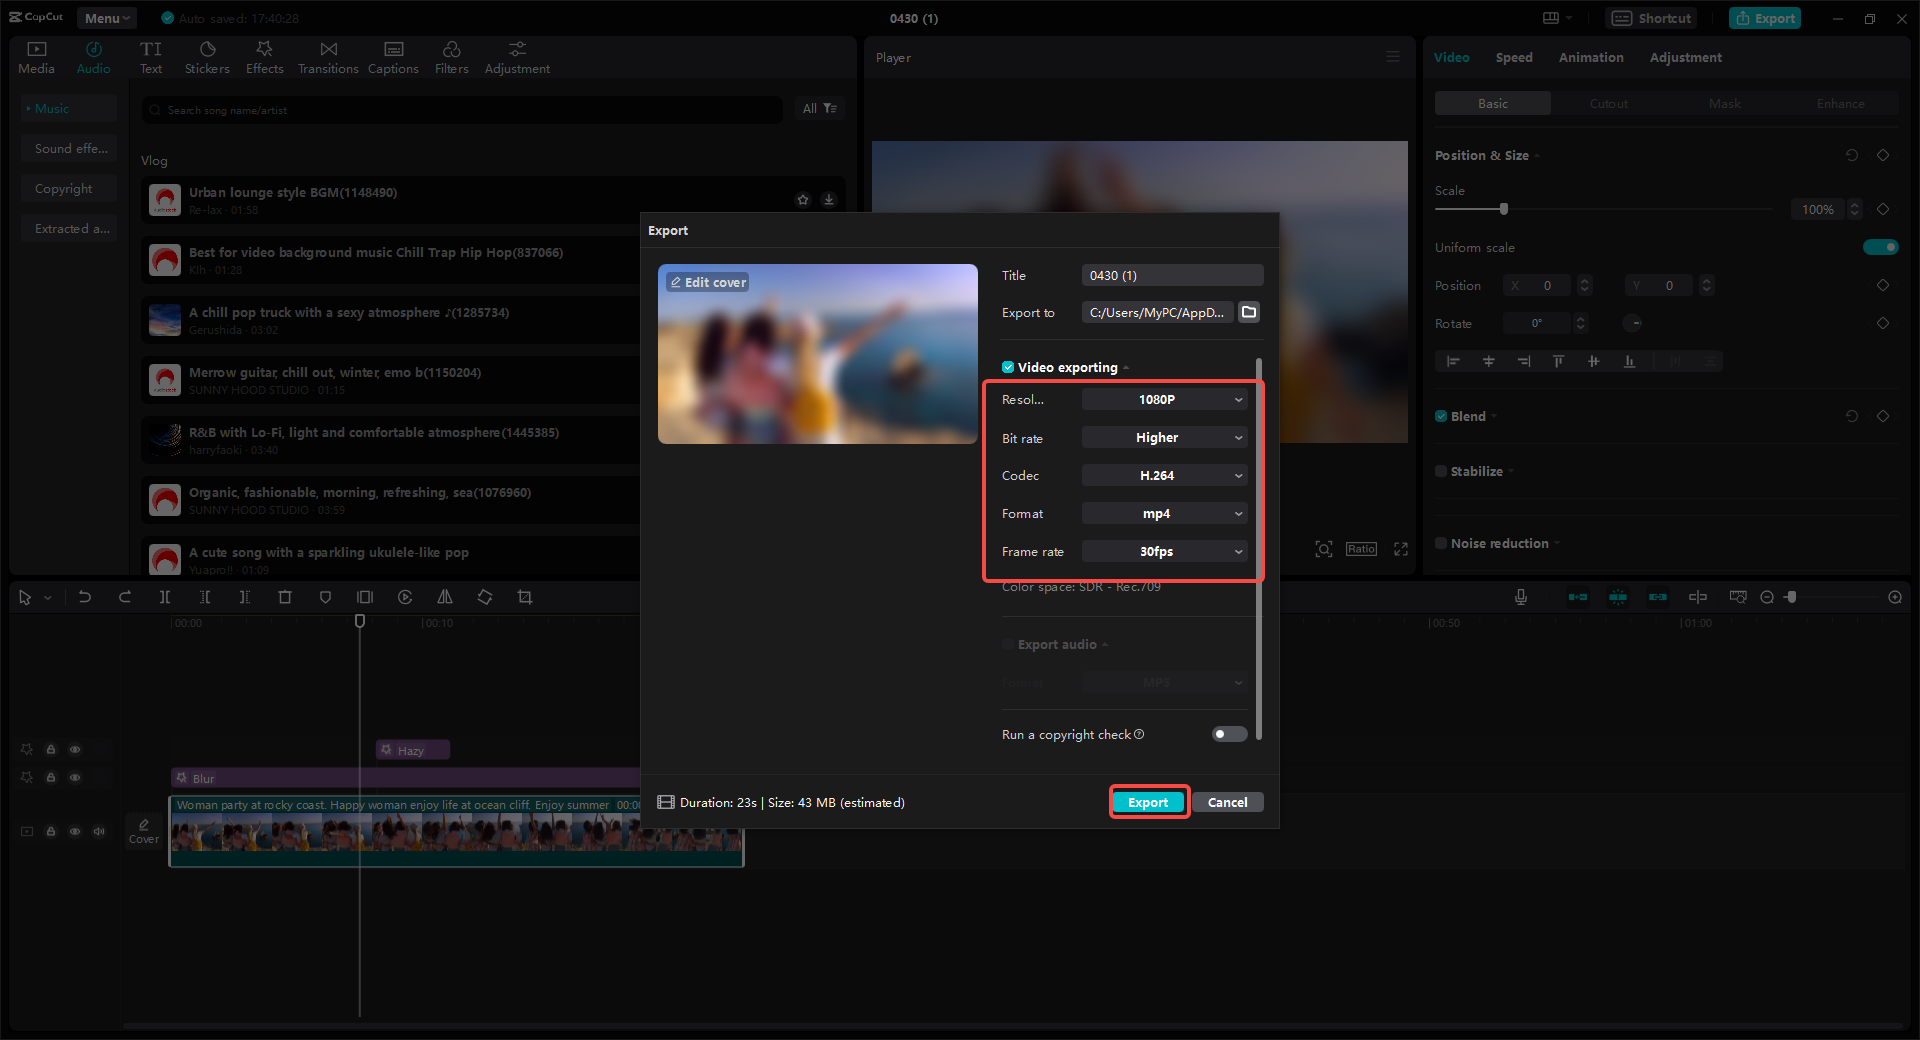
How to Blur Specific Parts of a Video on CapCut
Maybe you don’t want to blur the whole video—just a person’s face, a logo, or something in the background. CapCut makes it easy to blur specific sections:
Upload Your Video
Just like before, import your video into CapCut.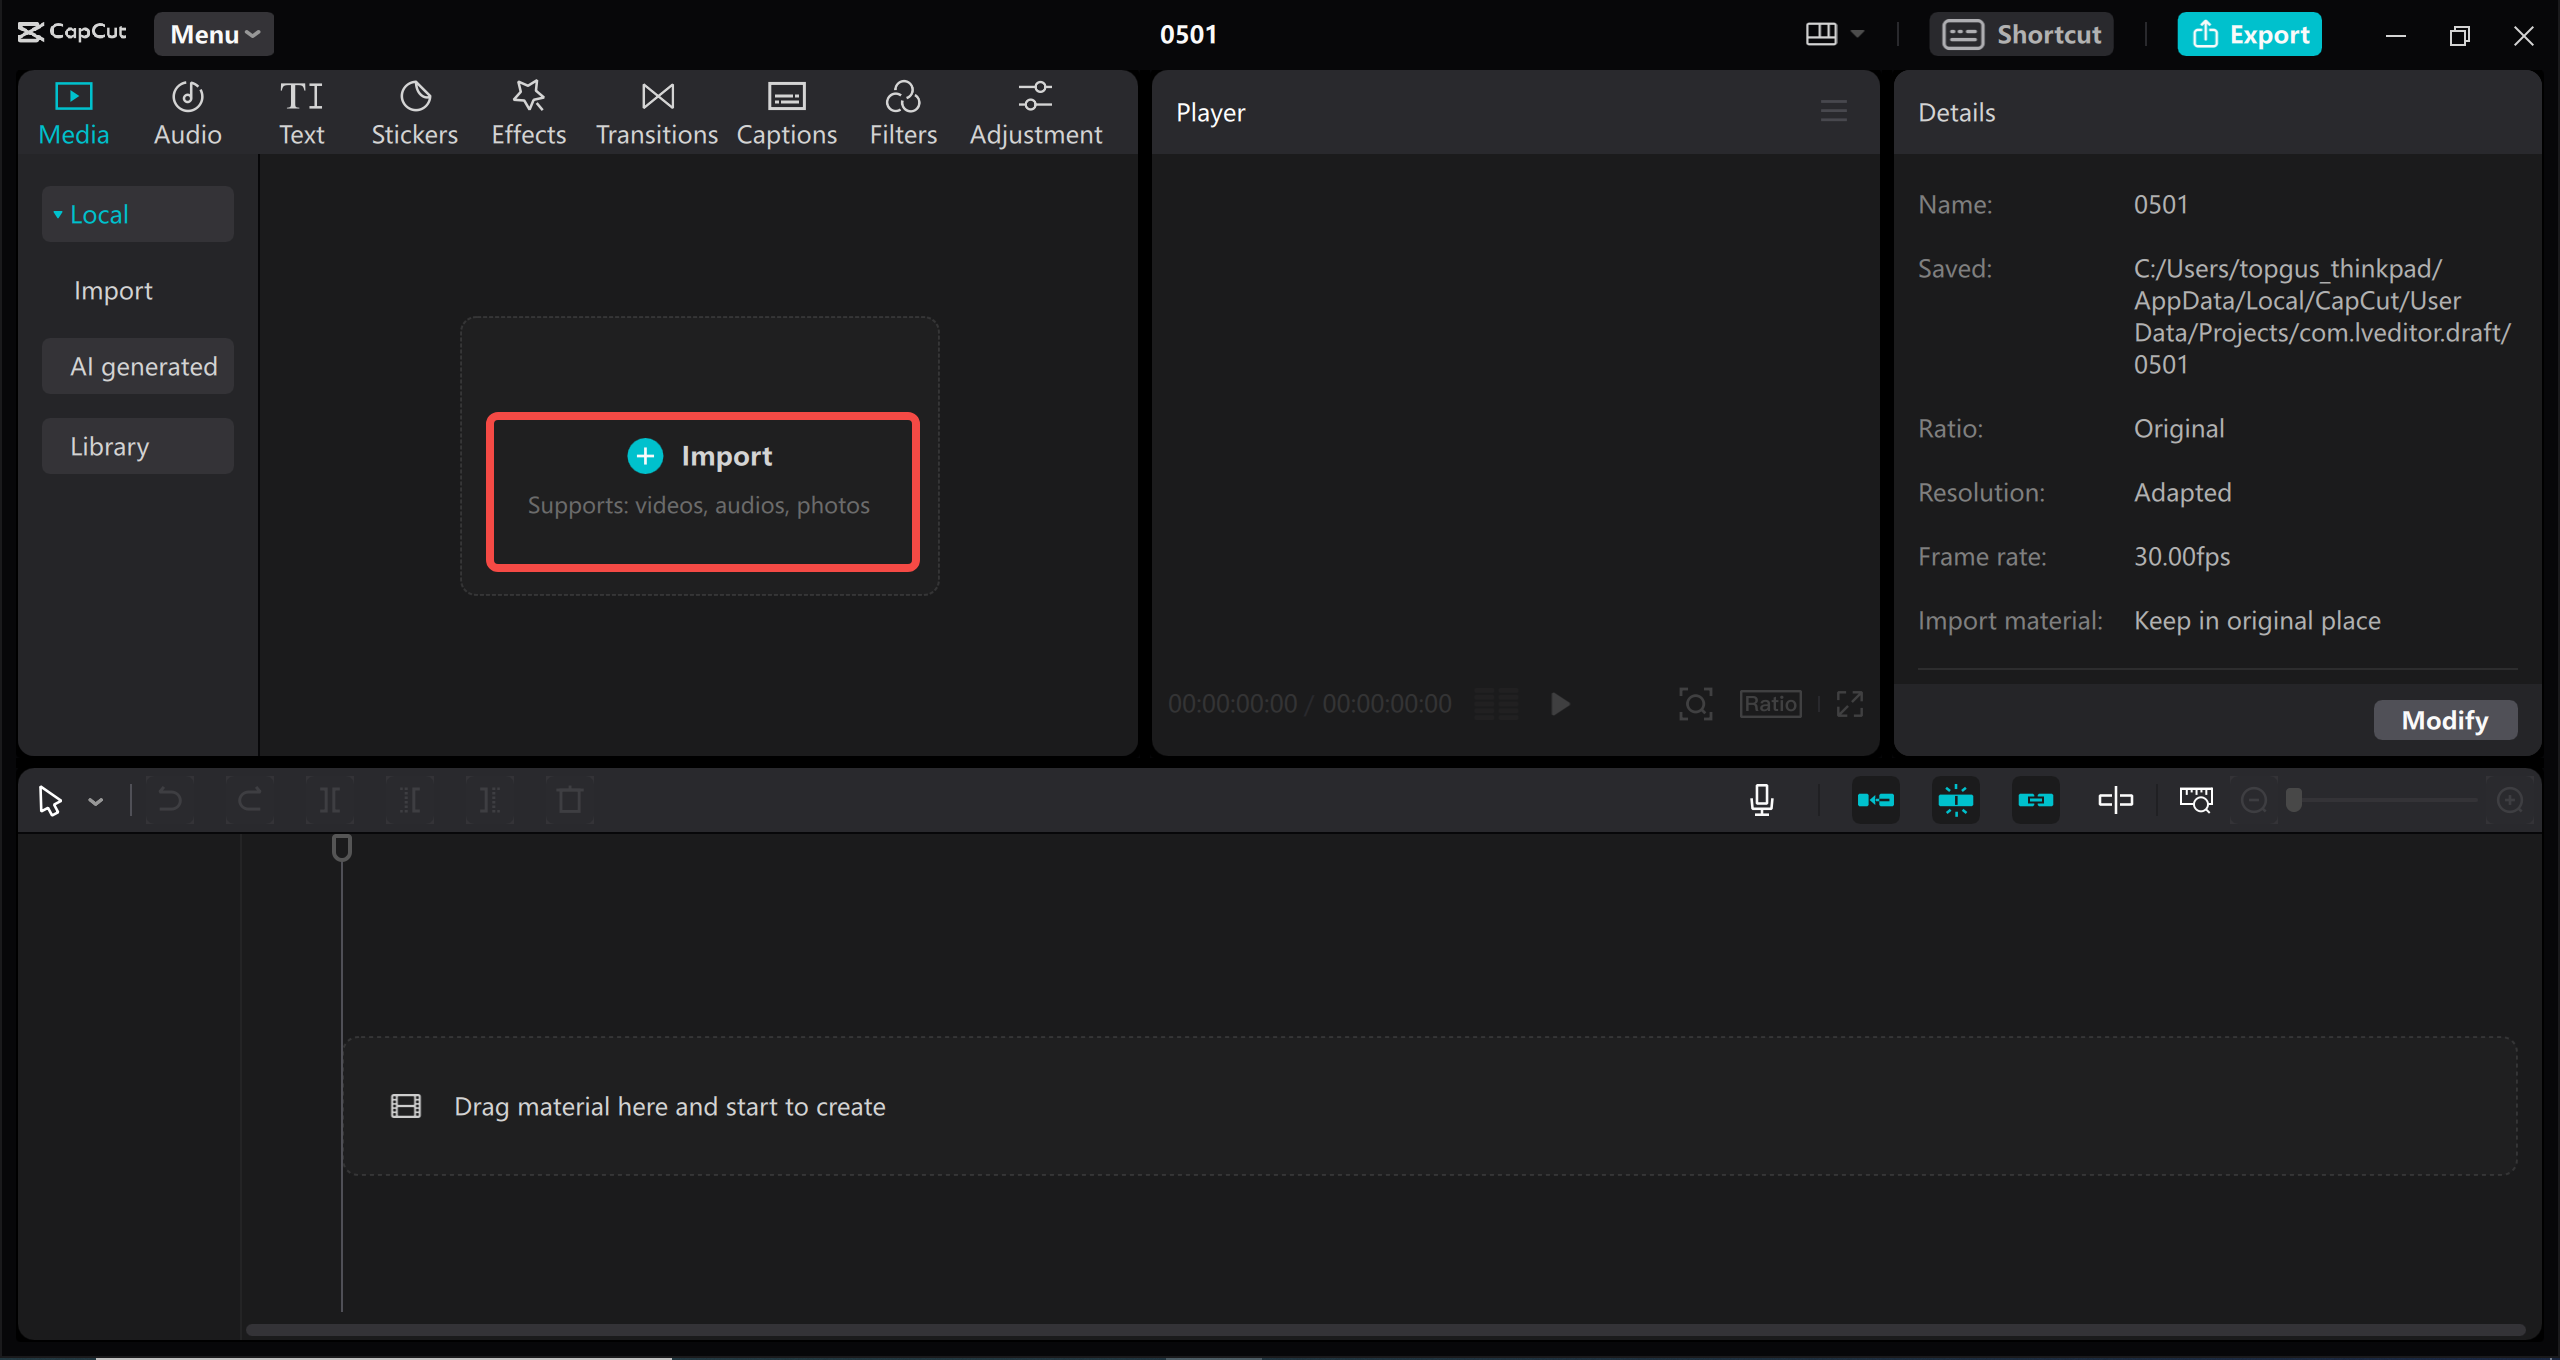
Apply a Blur to a Specific Section
Add a blur effect from the Effects tab, but this time, place it only where you need it on the timeline. You can shorten or lengthen the effect to match the exact duration you want.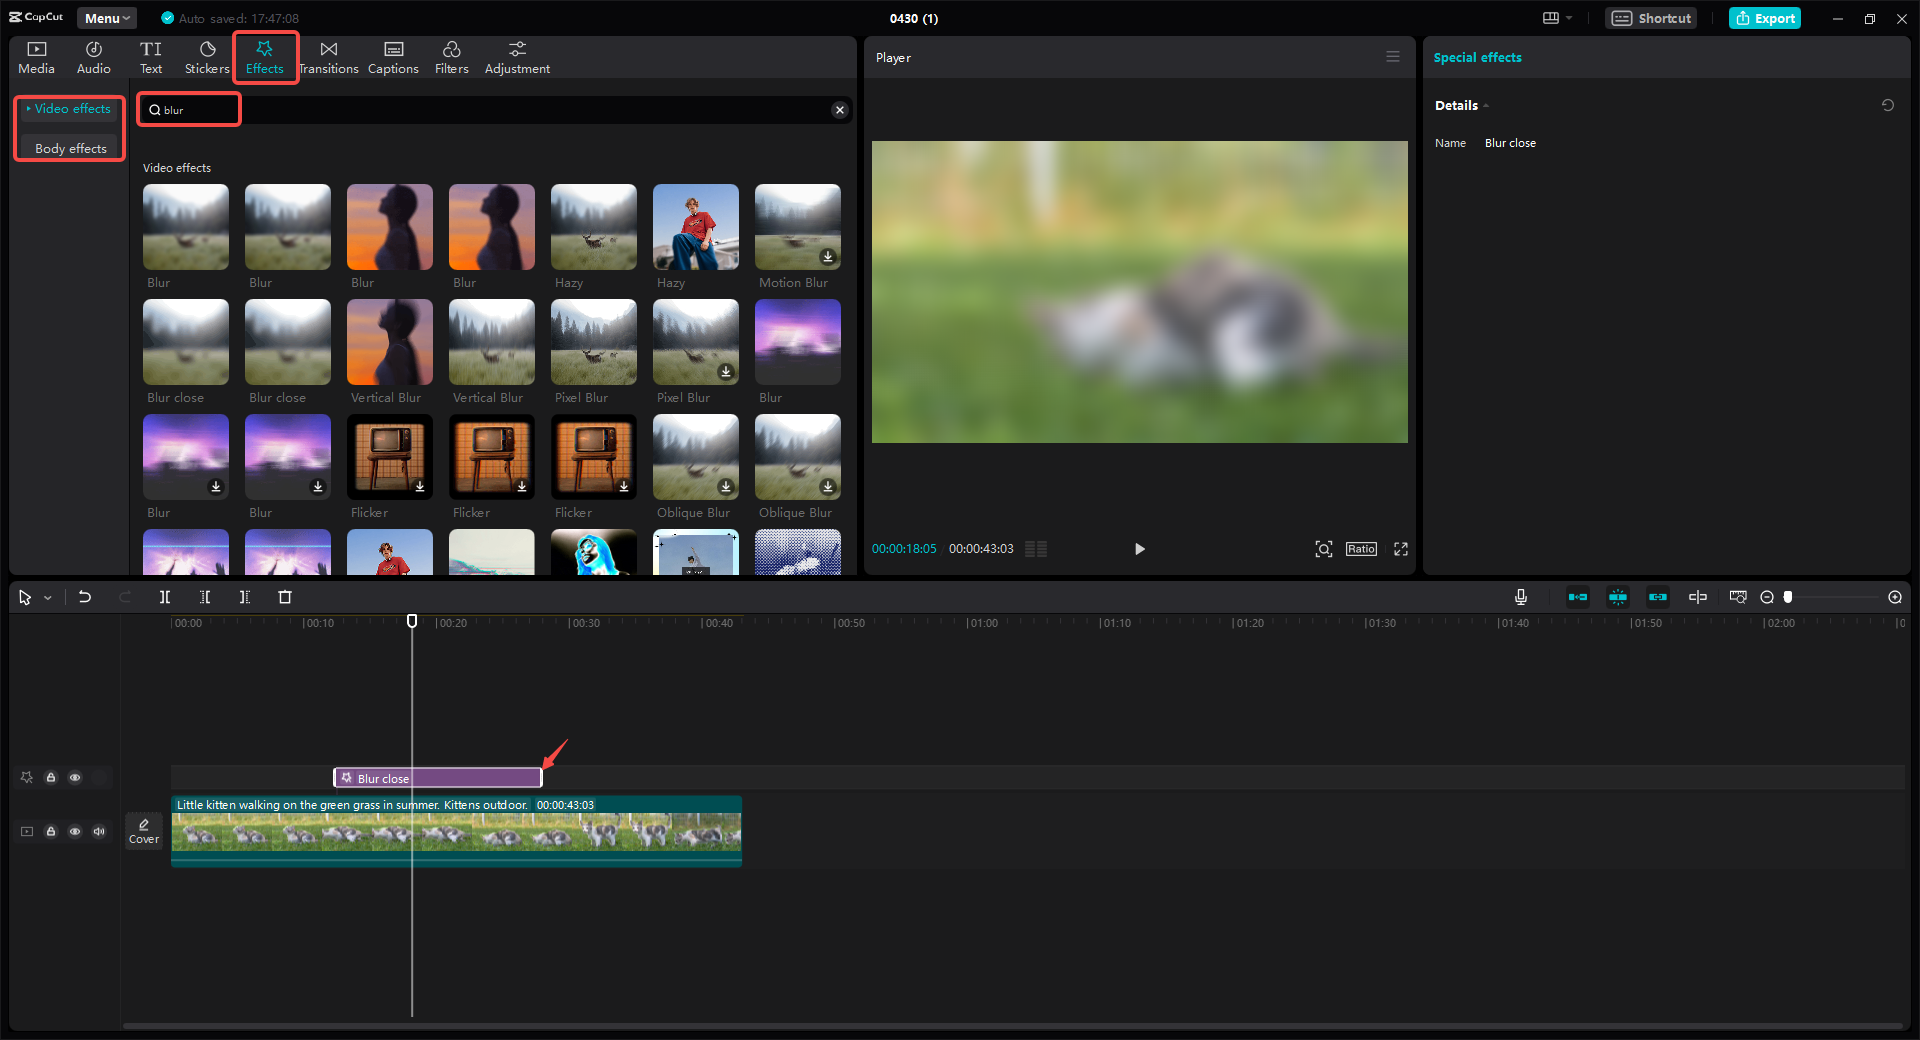
Customize the Blur
Use the editing panel to adjust the intensity and size of the blur. You can also use masking tools to precisely outline the area you want to blur.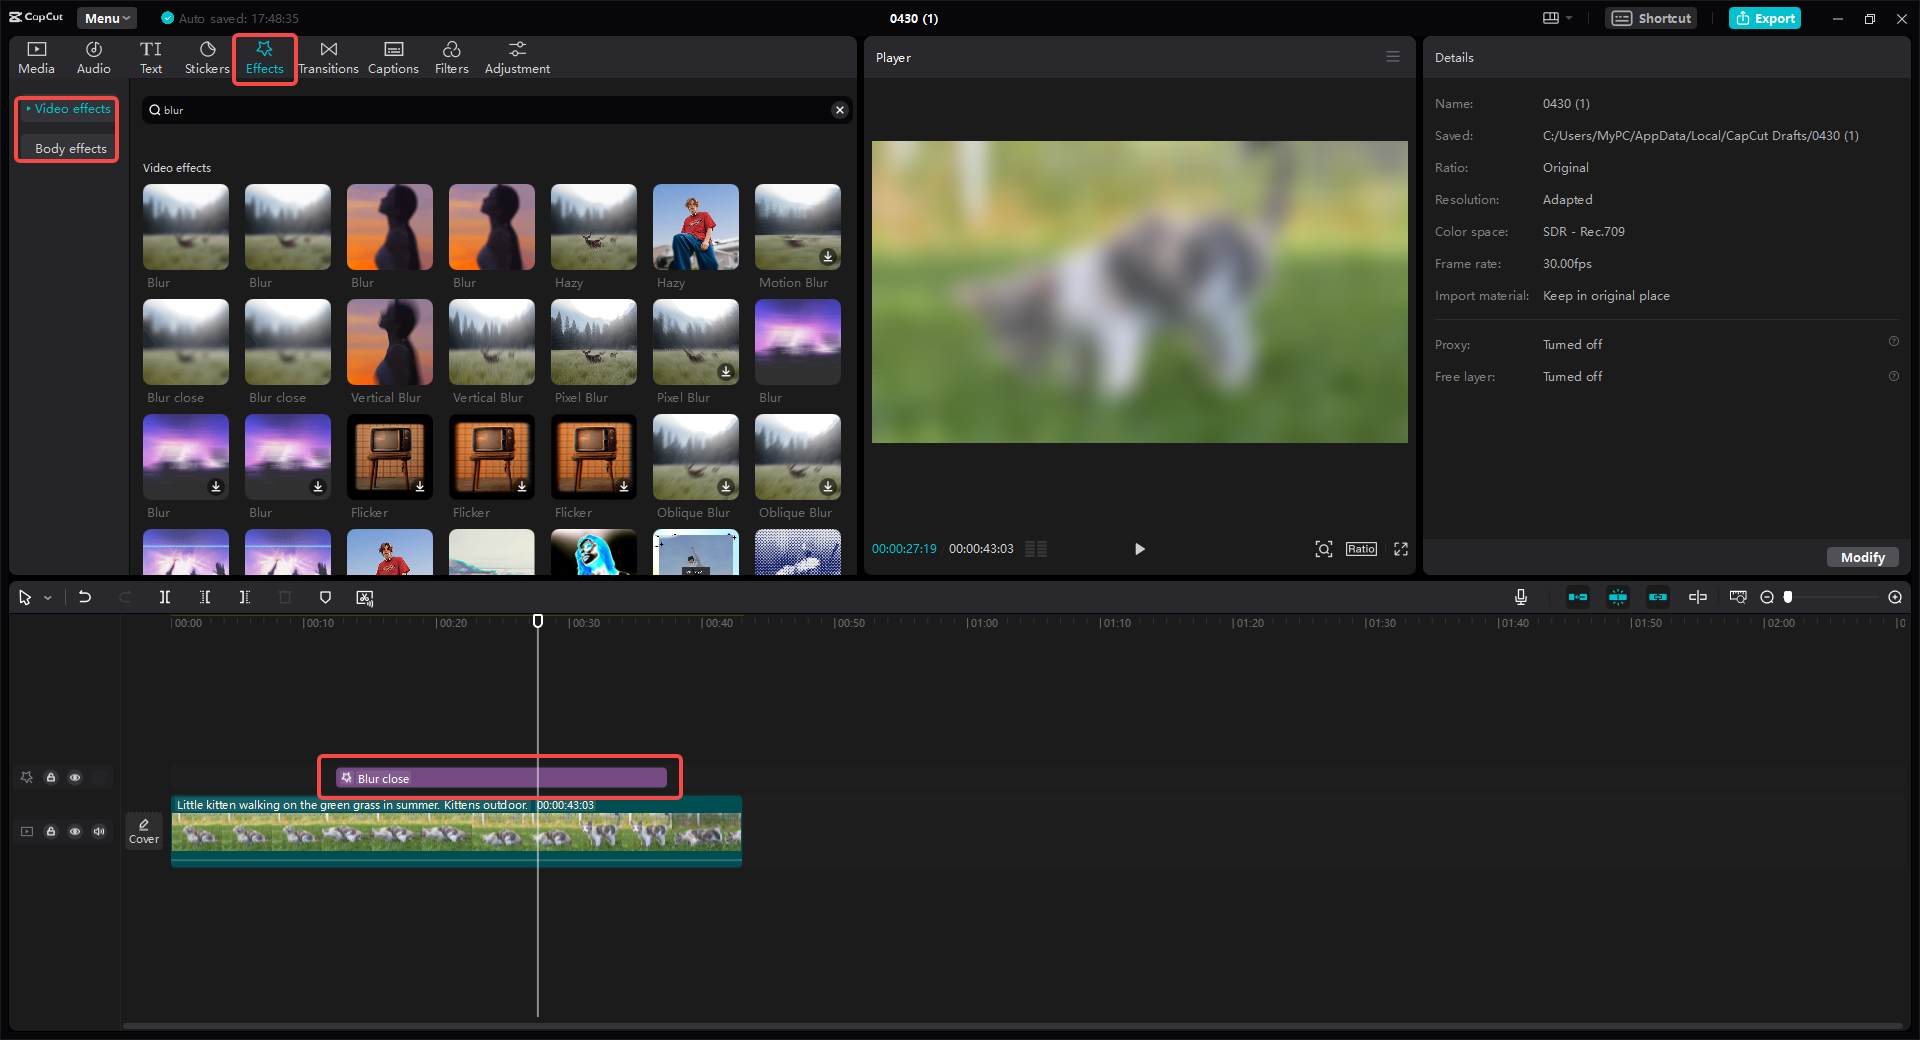
Add Finishing Touches
CapCut lets you fine-tune your video with filters, stickers, sound effects, and more. You can also use the split tool to isolate certain scenes.
Export and Share
Once everything looks perfect, export your video in high quality.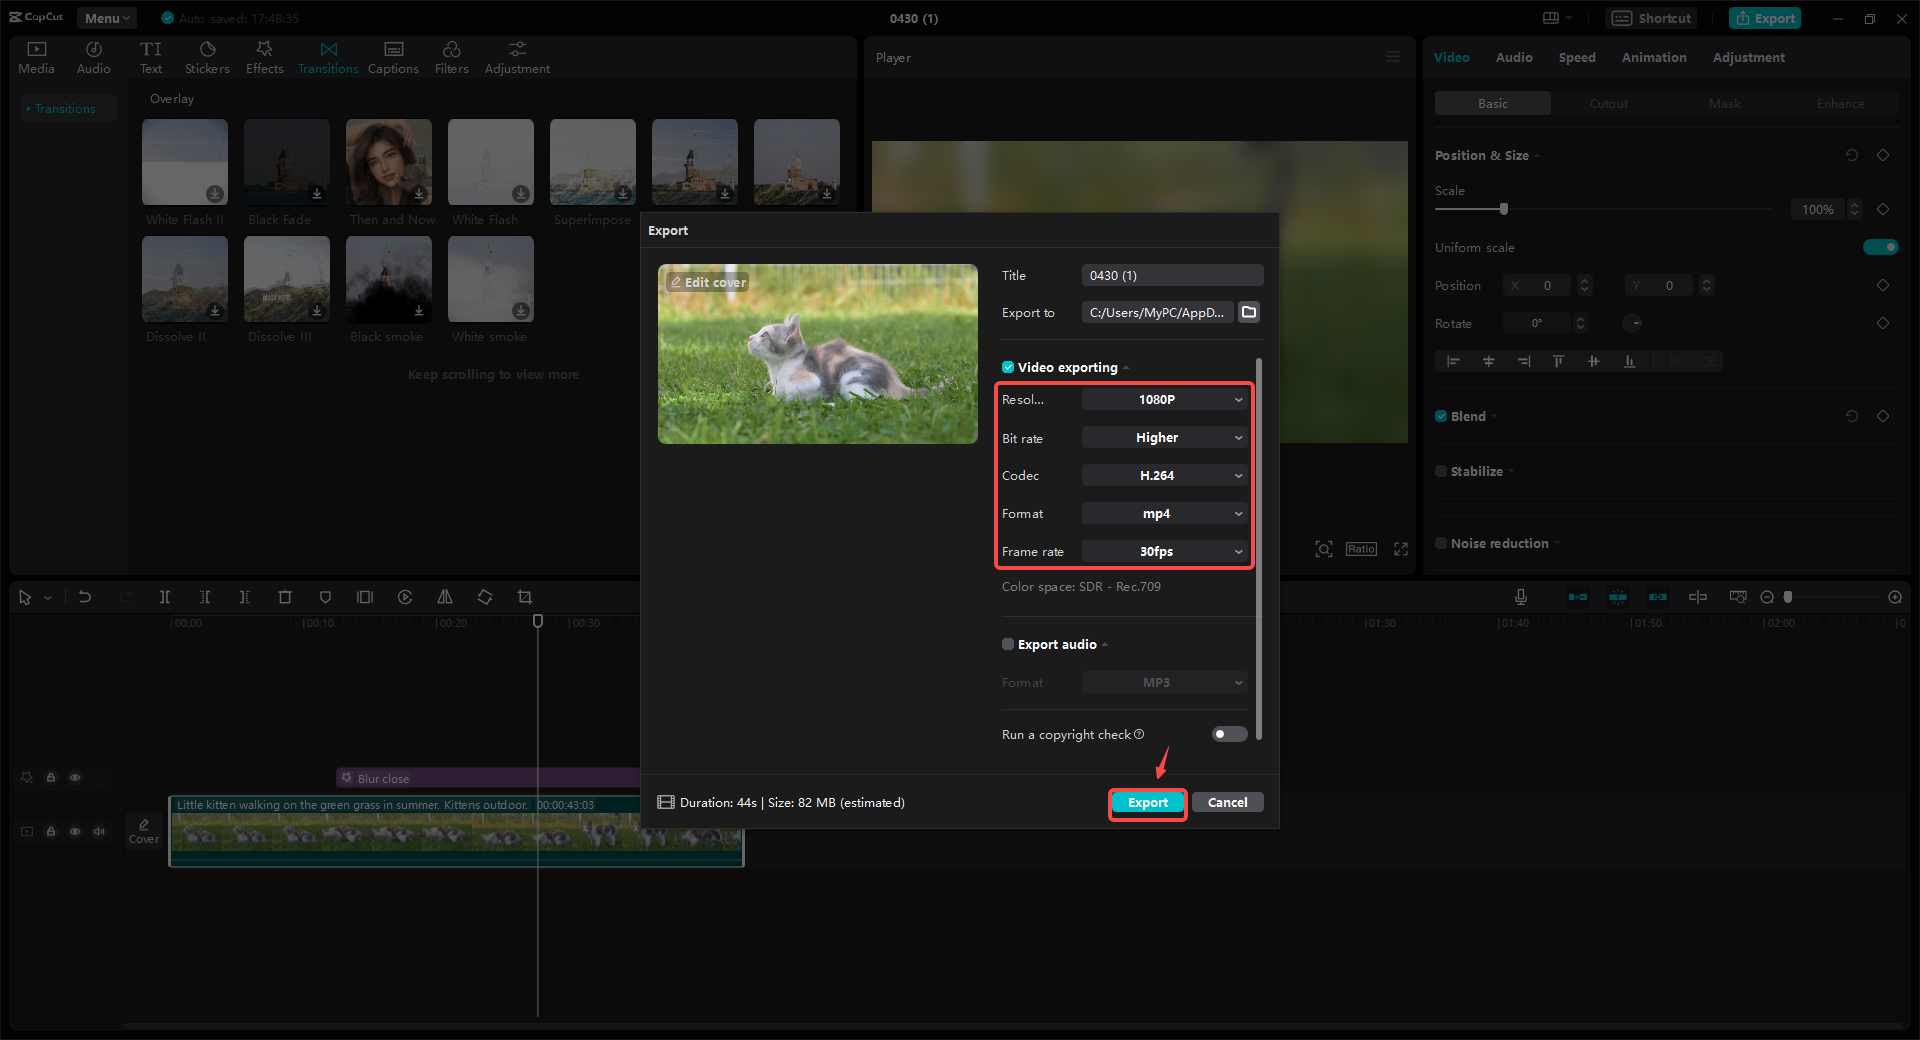
How to Blur the Background on CapCut
Blurring the background is a great way to make your subject stand out—especially in vlogs, interviews, or tutorials. Here’s how you can blur the background in CapCut:
Import Your Video
Upload the clip you want to edit.
Apply Background Blur
Go to Effects and select “Hazy Blur” or another background-focused blur effect. This will automatically blur everything behind your subject.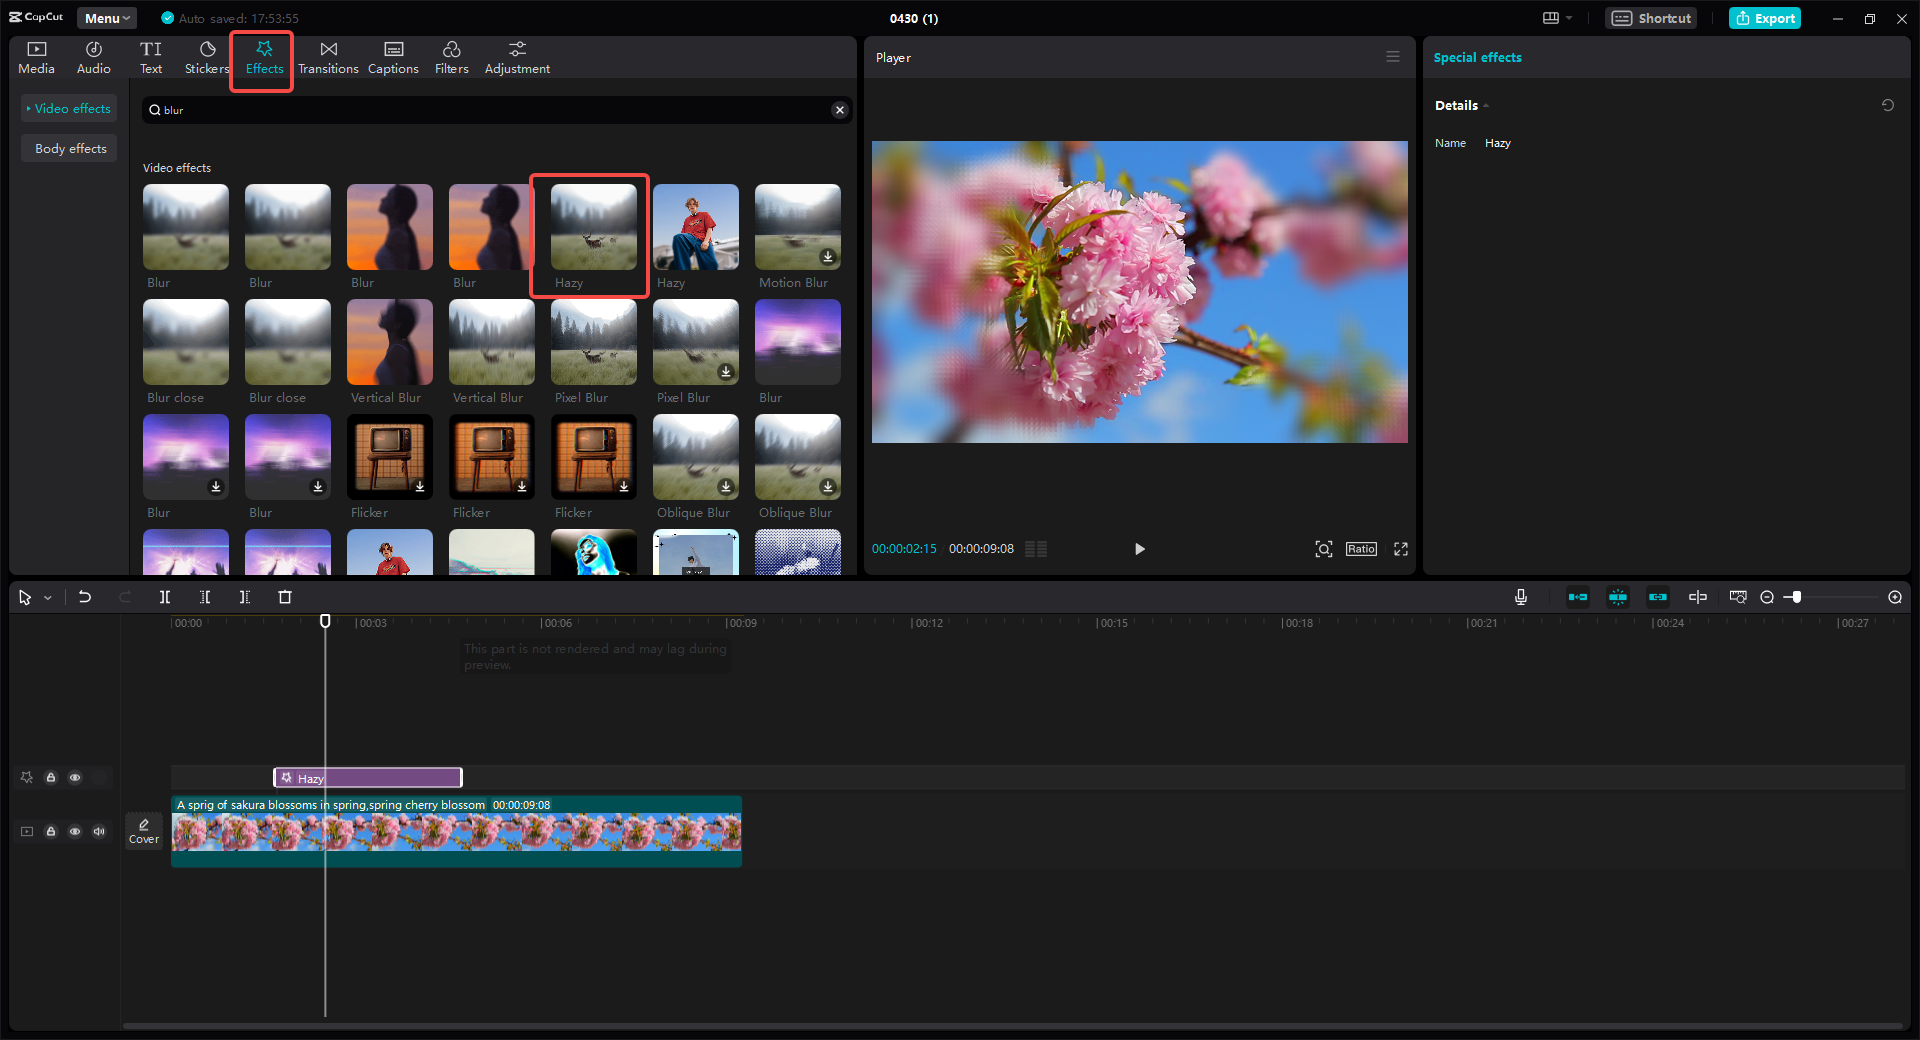
Export Instantly
Once applied, you can export your video right away or make additional tweaks.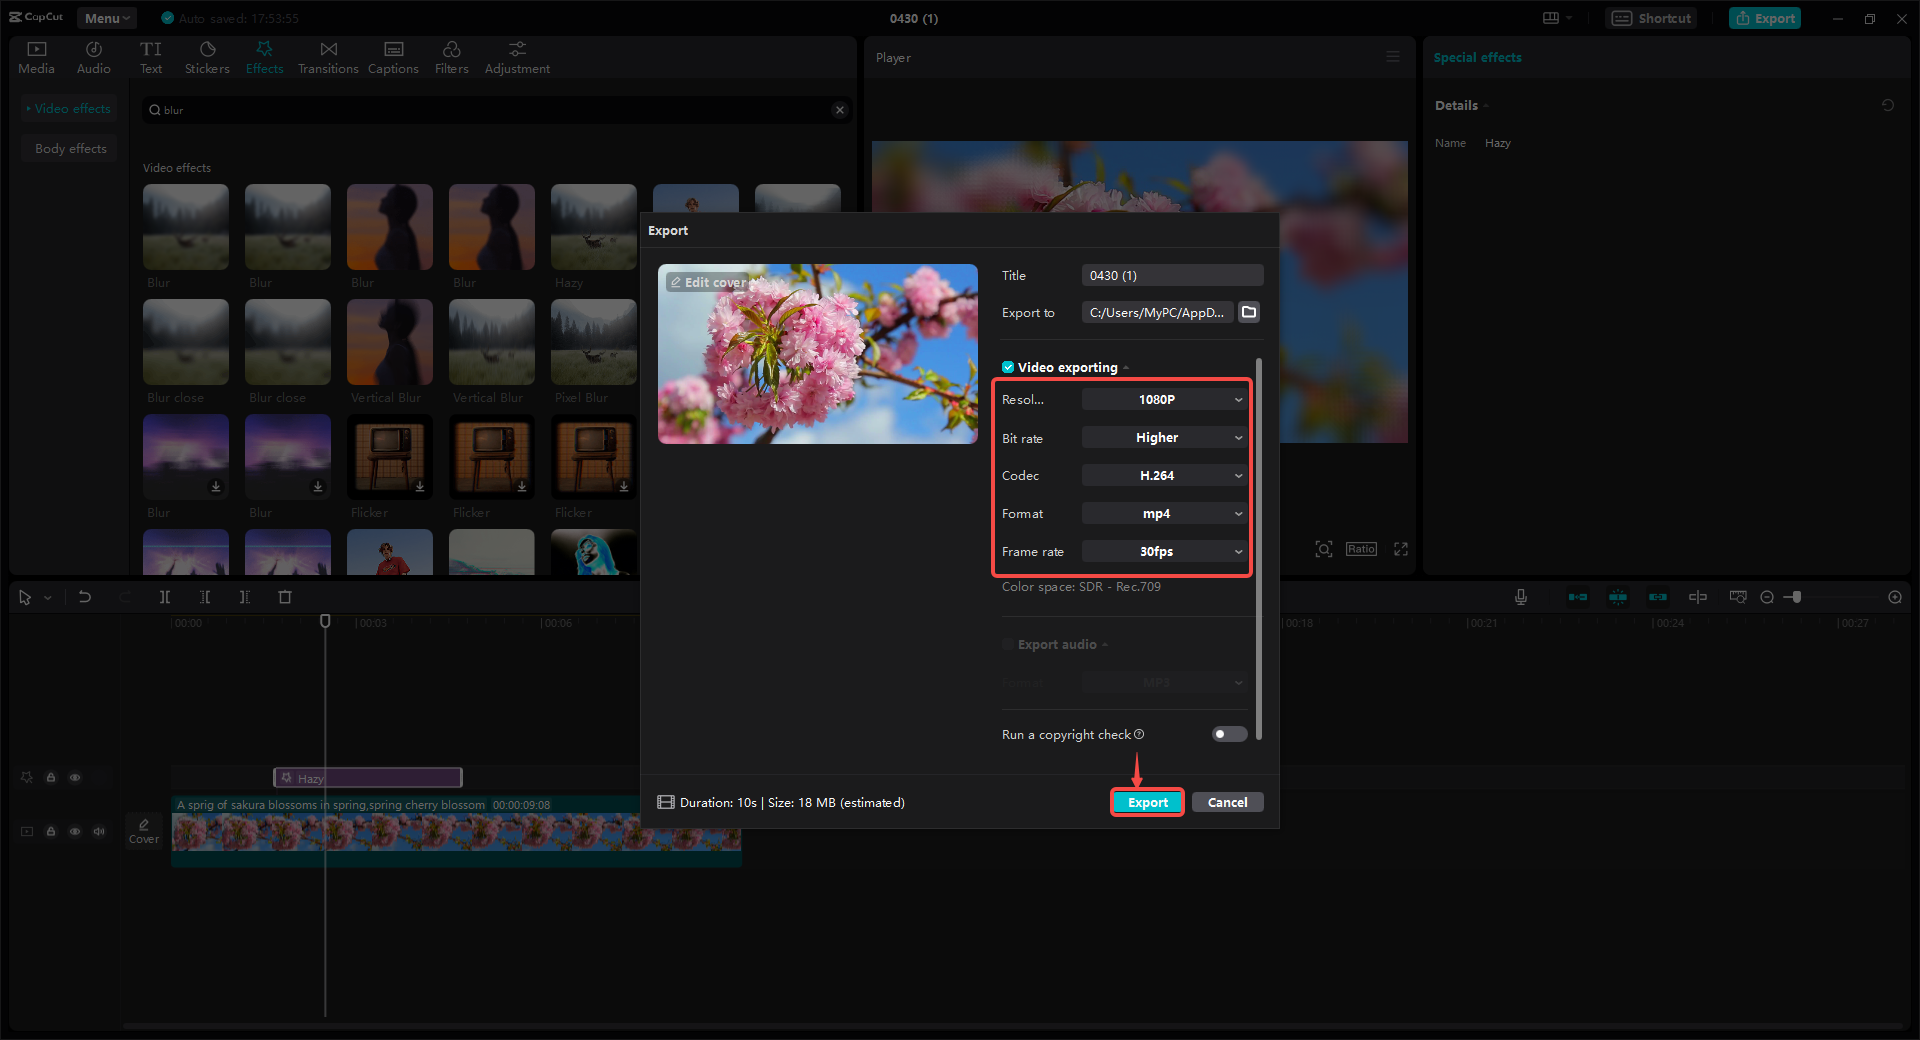
Why Choose CapCut for Blur Effects?
Wondering why CapCut stands out? Here are a few reasons:
- It’s Free: No hidden fees—all blur effects and editing tools are completely free.
- Easy to Use: The interface is simple, so even beginners can navigate it easily.
- Powerful Features: From precision blurring to color grading and audio editing, CapCut has everything you need.
- Cloud Storage: Save your projects online and access them from any device.
- Social Media Integration: Export and share directly to TikTok, YouTube, and other platforms.
CapCut — Your all-in-one video & photo editing powerhouse! Experience AI auto-editing, realistic effects, a huge template library, and AI audio transformation. Easily create professional masterpieces and social media viral hits. Available on Desktop, Web, and Mobile App.
Wrapping Up
Adding blur effects to your videos can completely transform them—making them look more professional, engaging, and visually appealing. With CapCut, it’s easier than ever to apply these effects, whether you want to blur the entire video, specific parts, or just the background.
So why not give it a try? Play around with different blur styles, experiment with timing and intensity, and see how much of a difference it can make. You might be surprised at how quickly you can create videos that look like they were edited by a pro.
Frequently Asked Questions
Can I blur only part of a video in CapCut?
Yes! You can apply blur effects to specific sections using the timeline and masking tools.
Is it possible to remove a blur effect after applying it?
Absolutely—as long as you’re still in the editor, you can delete or modify any effect before exporting.
How can I make the blur effect look natural?
Adjust the intensity, use feathering options, and try combining blur with other effects like color correction or lighting adjustments.
Some images used in this article are sourced from CapCut.