TOOL HUNTER

Have you ever noticed those little pictures on websites and apps that help you find what you’re looking for? Those are called icons, and even though they’re small, they’re super important for making things easy to use online. But here’s something interesting—not all icons are made the same way. The file format can really change how they look and work. When you want the best quality and clear backgrounds, PNG is definitely the way to go. Unlike JPEG or GIF, PNG keeps your icons looking sharp and lets you have see-through backgrounds.
This matters a lot because our eyes process pictures way faster than words. If you want people to get your message quickly, using PNG icons is a smart move. Let’s check out how to convert icons to PNG and why this format is awesome for online stuff.
Table of Contents
- Why You Should Use PNG Format for Icons
- Getting to Know CapCut for Icon Conversion
- How to Convert Icons to PNG Using CapCut Web
- Using CapCut Desktop for Icon Conversion
- Cool Features of CapCut for Icon Conversion
- Why PNG Format Rocks for Icons
- Getting Your Icons Ready Before Conversion
- Common Questions About Icon Conversion with CapCut
- Pro Tips for Icon Conversion
- CapCut for Various Icon Types
- The Value of Good File Naming and Organization
- Adding CapCut PNG Icons to Your Projects
- Fixing Common Icon Conversion Problems
- What’s Next for Icon Design with Tools Like CapCut
- Wrapping Up: Why CapCut is Awesome for Icon to PNG Conversion
Why You Should Use PNG Format for Icons
Icons are all over the digital world. They help us navigate websites and apps smoothly. But to make them look their absolute best, you need to pick the right format. PNG is special because it keeps icons crisp and clear, even with transparent parts.
When you convert icons to PNG, they mix perfectly with any background. This makes them look pro and fit right into your design. Whether you’re building a website, an app, or any digital project, using PNG icons can seriously level up how everything looks and works.
PNG format is also great because it doesn’t get blurry when you make it bigger or smaller. That means your icons will look good on huge monitors and tiny phone screens. Plus, PNG works on all sorts of platforms and devices, so your icons will always look fantastic no matter where people see them.
Getting to Know CapCut for Icon Conversion
If you want to change icons to PNG format, CapCut is a really good tool to try. It comes as both a web version and desktop software, so you can pick how you want to work. CapCut makes it simple to convert your icons while keeping their quality top-notch—and you can even make them better with cool editing features.
CapCut gets that converting icons isn’t just about switching formats—it’s about making your visuals pop. Whether you’re a designer, a developer, or just someone who wants nicer-looking icons, CapCut has all the tools you need in one spot.
The best thing about using CapCut for icon conversion is how easy it is. You don’t need to be a tech whiz to create pro-looking PNG icons. With its simple interface and powerful features, CapCut helps anyone make great icons without stress.
CapCut — Your all-in-one video & photo editing powerhouse! Experience AI auto-editing, realistic effects, a huge template library, and AI audio transformation. Easily create professional masterpieces and social media viral hits. Available on Desktop, Web, and Mobile App.

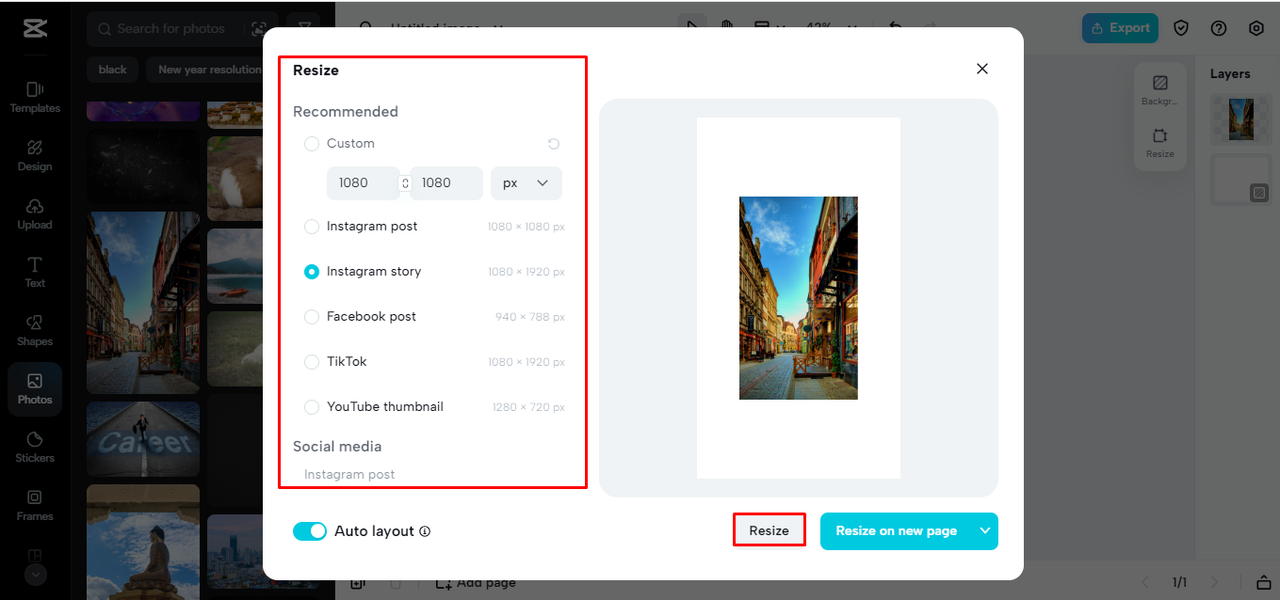
How to Convert Icons to PNG Using CapCut Web
Using CapCut Web to change icon to PNG is straightforward and you don’t need to download anything. Here’s how it works:
First, go to the CapCut website and make an account. You can sign up with your Google, TikTok, or Facebook account, which makes starting really quick and simple.
Once you’re logged in, create a new project. Look for the “New Project” button or something similar. This opens the editing space where you can upload your icon.
Now, upload your icon image. You can drag and drop the file from your computer right into CapCut. If you like, you can also click to upload from your device or bring it in from cloud storage like Google Drive or Dropbox.
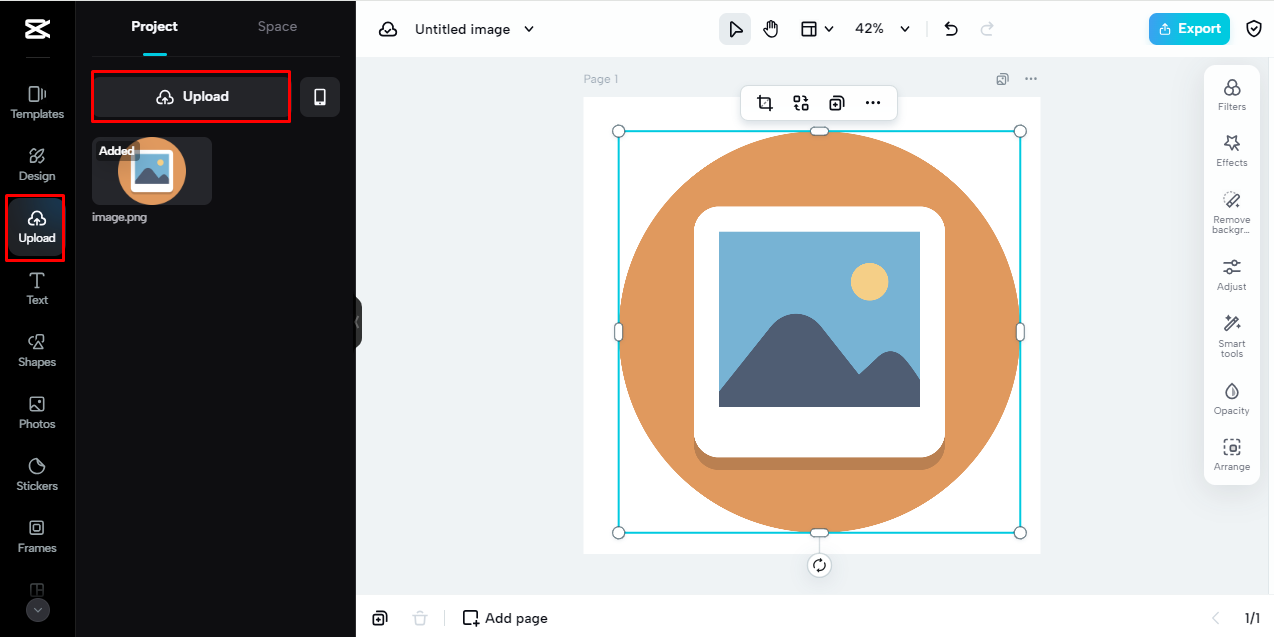
After your icon is up, you might want to do some edits. This part is optional, but CapCut has lots of editing tools if you need them. You can change colors, resize, or tweak other things to get your icon looking perfect.
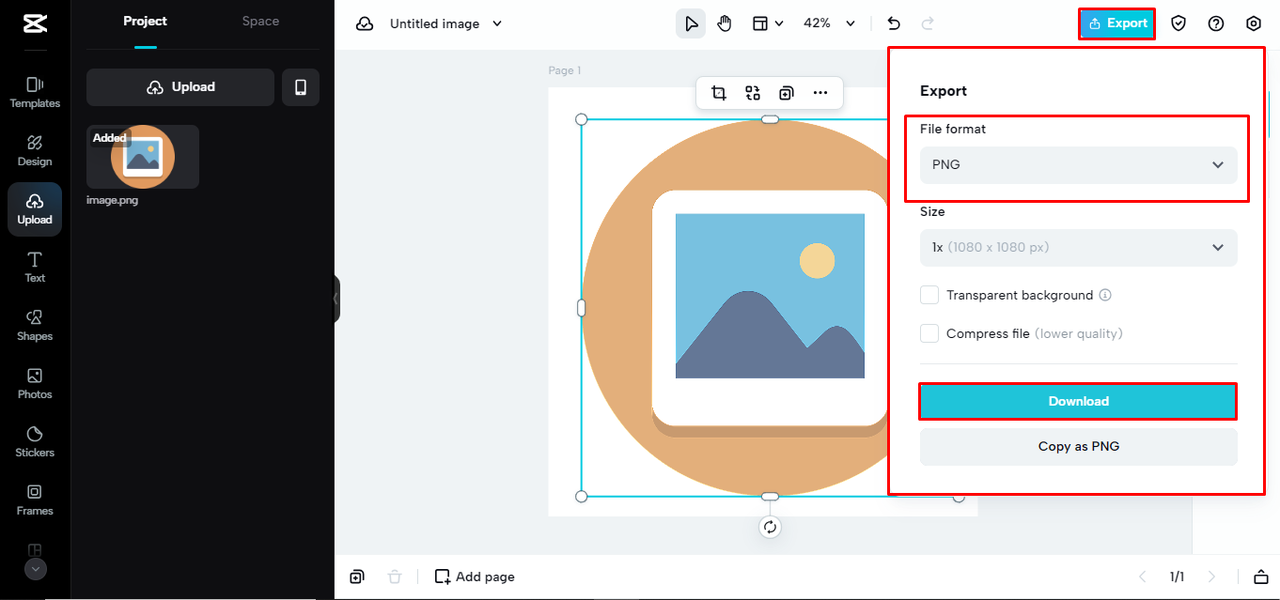
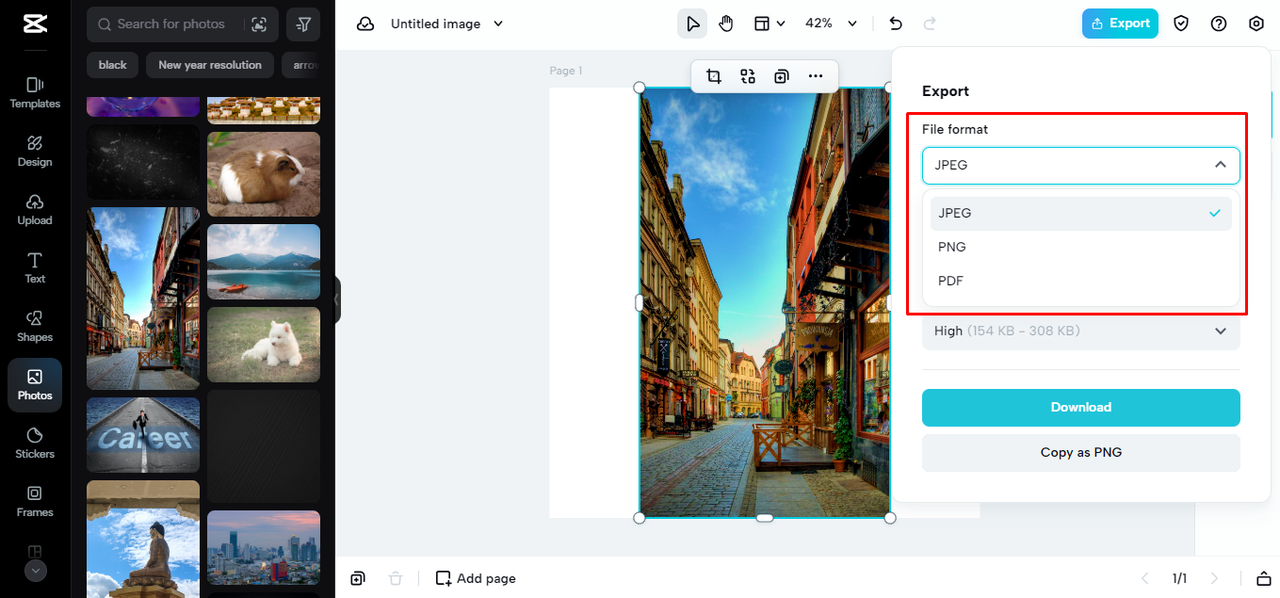
When you’re happy with your icon, export it as a PNG. Find the export or download button, and be sure to pick PNG as your format. CapCut will then process your icon and get it ready for download.
Using CapCut Desktop for Icon Conversion
If you like working with desktop software, CapCut has a desktop version that’s just as powerful. The steps are similar to the web version, but you get the bonus of working offline and maybe faster processing if you have lots of files.
To start with CapCut desktop, first download and install the software from the official CapCut website. Installing it is easy and feels like putting any other program on your computer.
After installing, open CapCut and start a new project. The layout will look familiar if you’ve used the web version, with all tools neatly arranged for easy access.
Bring in your icon file by dragging it into the workspace or using the import option from the menu. CapCut desktop handles many file formats, so it’s easy to work with icons from different places.
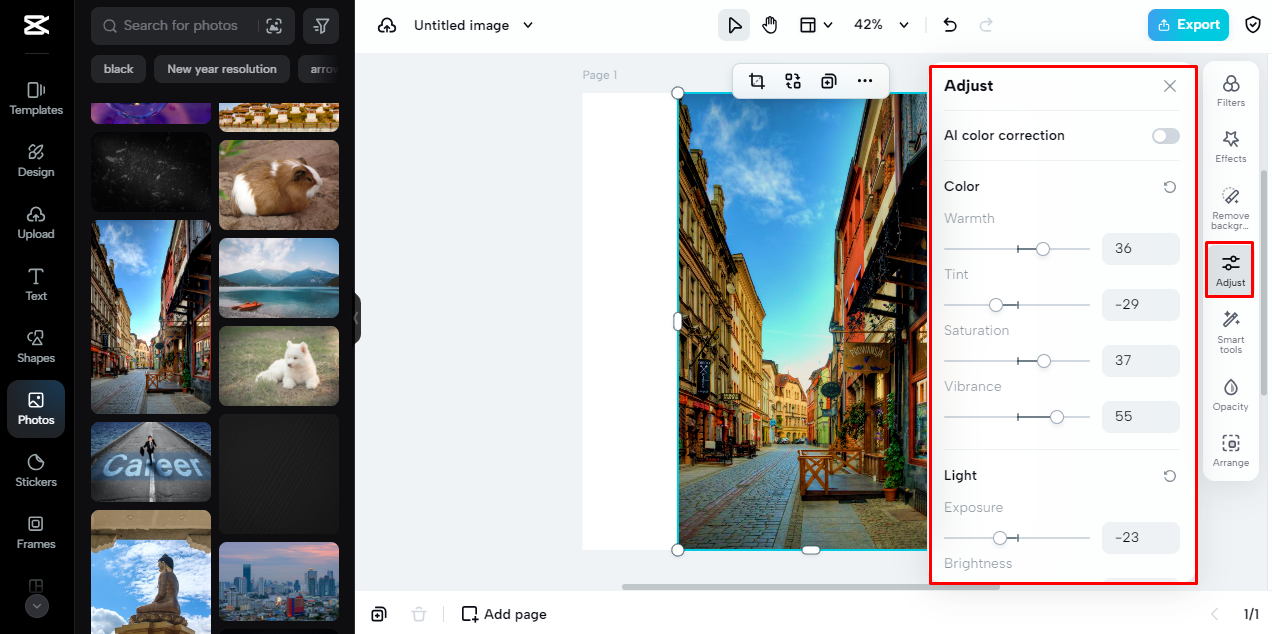
The editing features in CapCut desktop are really thorough. You can make exact changes to your icon, making sure it looks perfect before converting. The real-time preview lets you see adjustments right away, which is super helpful for nailing the look.
When you’re set, export your icon as a PNG file. CapCut desktop gives you multiple export choices, so you can balance quality and file size based on what you need. This flexibility is great for different projects that might need different specs.
Cool Features of CapCut for Icon Conversion
CapCut stands out for icon conversion thanks to its special features. These make creating capcut icon png files much simpler and more effective.
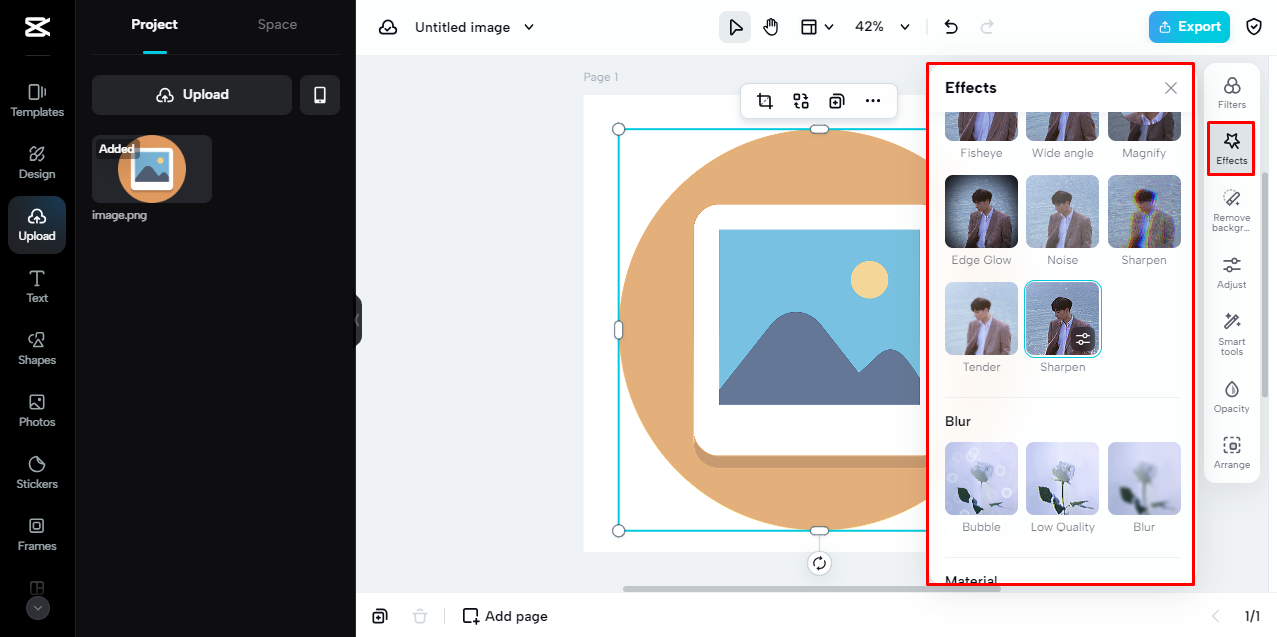
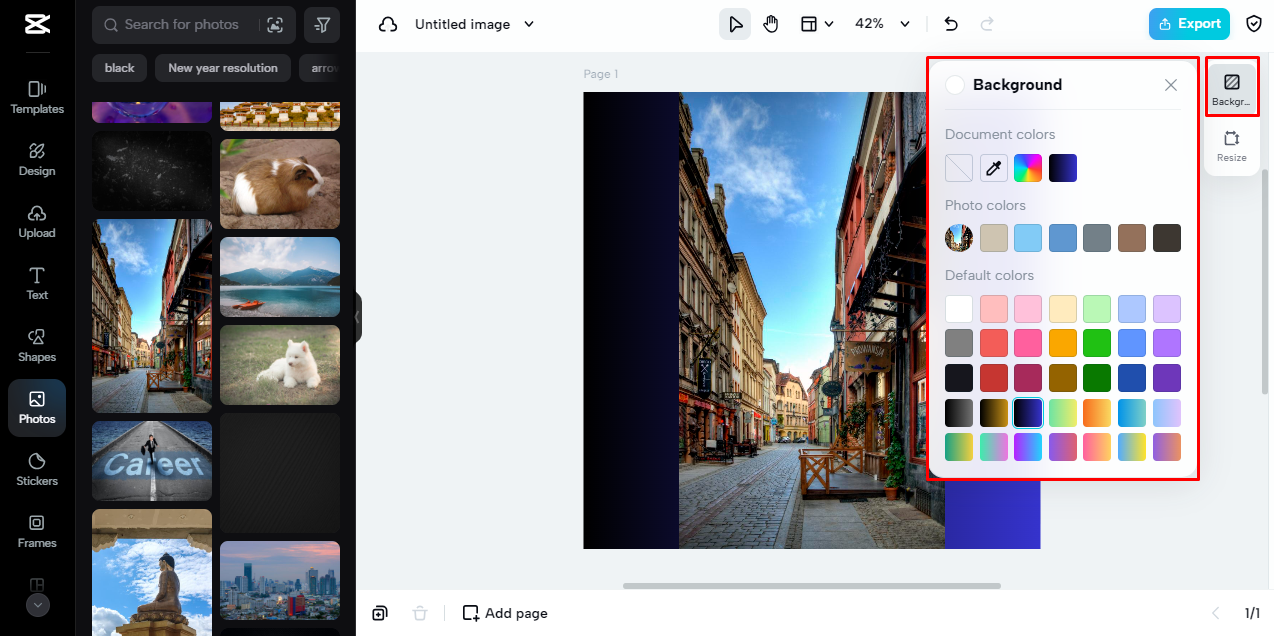
One of the neatest features is being able to change background colors. This is really handy when you need your icon to match a certain color plan or stand out on specific backgrounds. With CapCut, changing colors is easy and gives you creative freedom to make your icons look just how you imagine.
Scalability is another awesome feature. CapCut lets you resize icons without losing quality. This means you can make icons larger or smaller and they’ll stay sharp and clear. This is key because icons need to work at various sizes on different devices and screens.
For exporting, CapCut offers several options. You can pick different settings for your PNG files based on what you’re after. Whether you want smaller files or higher quality, CapCut puts you in control of how your final icon turns out.
The real-time editing feature might be one of the most useful parts of using CapCut. As you make changes to your icon, you can see exactly how it’ll look instantly. This speeds up editing and makes it more intuitive, especially when you’re trying to get your icon just right.
Why PNG Format Rocks for Icons
PNG format has a bunch of perks that make it ideal for icons. Knowing these benefits can help you see why switching your icons to PNG is totally worth it.
The transparency feature of PNG is probably its biggest plus for icons. Icons often need to sit on different backgrounds, and having a transparent background lets them blend in smoothly. Whether your site has a light theme, dark theme, or colorful backdrop, PNG icons will look like they belong without any awkward white boxes around them.
Quality keeping is another reason PNG is great for icons. Unlike some other formats that squash images and lose details, PNG keeps your icons looking sharp and clear. This is extra important for icons because they usually have fine details and precise shapes that need to stay intact.
Cross-platform compatibility means PNG icons work everywhere. They look good on Windows, Mac, iOS, Android—pretty much any device or system you can think of. This universal support makes PNG a dependable choice for icons that need to work across different platforms.
PNG also handles colors really well. It supports millions of colors and keeps color accuracy, which matters for icons that need to match brand colors or specific design plans. This color faithfulness ensures your icons always look exactly as you meant them to.
Getting Your Icons Ready Before Conversion
Before you convert your icons to PNG with CapCut, there are some things you can do to ensure they come out great. Spending a bit of time prepping your icons can make a huge difference in the final outcome.
Thinking about resolution is key. Resolution affects how clear and detailed your icon will appear. Higher resolution means more detail, but also bigger file sizes. With CapCut, you can select the right resolution for your needs, whether you want super detailed icons or smaller files for quicker loading.
Keeping your design elements consistent is another good habit. If you’re converting several icons, ensuring they have a uniform style, color scheme, and design approach will make your whole project look more professional. CapCut’s editing tools can help you keep this consistency across all your icons.
It’s also wise to expect common design challenges. Sometimes icons might have problems like rough edges or missing details when converted. CapCut’s features help tackle these issues, but thinking about them in advance can save you time later. For instance, ensuring your original icon is high quality will give you better results after conversion.
Common Questions About Icon Conversion with CapCut
People often have questions when they begin converting icons to PNG format with CapCut. Here are some frequent questions and their answers to help you grasp the process better.
Many wonder if there are any limits when converting icons with CapCut. While CapCut is very flexible, it’s good to recall that super complex icons might have some constraints. Also, really big files might take more time to process. But for most icon conversion needs, CapCut works like a charm.
People also ask if they can reverse changes after converting to PNG. The good news is yes, CapCut lets you undo changes. The real-time editing feature means you can test different things and revert them if you don’t like how they look. This makes trying out different styles safe and easy.
Another common question is about why transparency matters in icons. Transparency is important because it lets icons blend with any background seamlessly. Without transparency, icons would have solid backgrounds that might not fit your website or app design. PNG’s transparency support fixes this problem perfectly.
Many users want to know how CapCut keeps quality during conversion. CapCut uses advanced processing to make sure your PNG icons maintain their quality and sharpness. The multiple export options also let you balance quality and file size based on your specific needs.
Pro Tips for Icon Conversion
Once you’re comfy with basic icon conversion, there are some advanced methods that can help you get even better results with CapCut.
Consider working with layers if your icons have complex designs. CapCut supports layered editing, which means you can work on different parts of your icon separately. This gives you more control and makes it easier to create detailed, pro-looking icons.
Think about making icon sets instead of single icons. If you need multiple icons for a project, designing them as a set from the start ensures consistency. CapCut’s workspace lets you work on several icons at once, making it easier to keep a uniform style across all your icons.
Try out different export settings to find what works best for your particular needs. Sometimes a slightly different compression level or color profile can make a big difference in how your icon looks and performs in various settings.
Don’t forget to think about how your icons will appear at different sizes. What looks good big might not work when shrunk down. CapCut’s real-time preview at different sizes can help you create icons that work well at various dimensions.
CapCut for Various Icon Types
CapCut works well for all sorts of icons, from simple app icons to complex website navigation elements. Understanding how to best use CapCut for different icon types can help you get the most from the tool.
For simple icons with solid colors, CapCut’s color adjustment tools are perfect for getting the exact shades you want. The color picker and adjustment sliders make it easy to match brand colors or create harmonious color schemes.
For more detailed icons with gradients or complex shapes, CapCut’s precision editing tools help maintain all the details during conversion. The zoom function and detailed view options make it easy to work on fine details without losing sight of the overall design.
If you’re working with icons that include text, CapCut’s text tools allow you to ensure readability at different sizes. You can adjust font size, spacing, and contrast to make sure text elements stay clear and readable even when the icon is small.
For icons that need to work in both light and dark mode settings, CapCut’s preview features let you test how your icon will look against different backgrounds. This helps create versatile icons that work well in various interface contexts.
The Value of Good File Naming and Organization
When working with multiple icons, how you name and organize your files becomes important. Good organization practices can save you time and prevent mix-ups later.
Create a consistent naming system for your icon files. This might include info about the icon’s purpose, size, or version number. Consistent naming makes it easier to find the right icon when you need it.
Use folders to organize icons by project, type, or size. CapCut’s workspace lets you organize your files efficiently, making it easier to handle multiple icon conversion projects at the same time.
Keep versions of your icons as you work on them. Sometimes you might want to return to an earlier version, and having multiple saves allows for this flexibility without losing your current progress.
Consider creating readme files or documentation for your icon sets. This can be especially helpful if others will use your icons or if you might need to come back to the project later. Good documentation ensures that everyone knows how to use the icons correctly.
Adding CapCut PNG Icons to Your Projects
After you’ve made your perfect PNG icons with CapCut, the next step is putting them into your projects. How you use your icons can affect how well they work and how good they look.
For web projects, think about using icon sprites for multiple icons. This method combines multiple icons into one image file, which can cut down on server requests and improve loading times. CapCut’s export options make it easy to create icons that work well in sprite sheets.
For app development, make sure to export icons at all the needed sizes. Different platforms and devices require icons at specific dimensions, and CapCut’s batch processing abilities can help you generate all the necessary sizes efficiently.
When adding icons to documents or presentations, consider the resolution needs. For print materials, you might need higher resolution icons than for screen use. CapCut’s export settings let you choose the right resolution for each situation.
Always test your icons in their final environment. An icon might look perfect in CapCut but appear different when placed in your website or app. Testing ensures that your icons work as planned in their real-world context.
Fixing Common Icon Conversion Problems
Sometimes you might run into issues when converting icons to PNG with CapCut. Knowing how to handle these common problems can save you time and frustration.
If your icon looks blurry after conversion, check the original image quality and the export settings. Sometimes beginning with a higher quality original and tweaking the export resolution can fix blurriness issues.
If file sizes are too big, try different compression settings in CapCut’s export options. You can often reduce file size a lot without noticeable quality loss, especially for simpler icons.
If colors don’t look right after conversion, check your color profile settings. Different devices and software read colors slightly differently, so picking the right color profile during export can help maintain color accuracy.
If you’re having issues with transparency, make sure you’re properly removing backgrounds before export. CapCut’s background removal tools are quite effective, but complex backgrounds might need extra cleaning for best results.
What’s Next for Icon Design with Tools Like CapCut
As design tools keep evolving, the process of making and converting icons is getting more advanced and accessible. CapCut shows where design tools are going—powerful but user-friendly.
We’ll probably see more AI-assisted features in icon design tools. CapCut already includes some smart editing features, and future versions might have even more automated help for tasks like background removal, color matching, and style consistency.
Cloud integration and collaboration features will likely become more common. The ability to work on icon projects with team members in real-time, no matter where they are, is becoming more important in our connected world.
Mobile compatibility and touch interface optimization will keep getting better. As more design work happens on tablets and phones, tools like CapCut will need to offer full functionality across all device types.
Integration with other design and development tools will probably expand. Smooth workflows between icon creation, UI design, and development environments make the whole process more efficient and consistent.
CapCut — Your all-in-one video & photo editing powerhouse! Experience AI auto-editing, realistic effects, a huge template library, and AI audio transformation. Easily create professional masterpieces and social media viral hits. Available on Desktop, Web, and Mobile App.
Wrapping Up: Why CapCut is Awesome for Icon to PNG Conversion
Converting icons to PNG format is a key step in creating pro-looking digital projects. PNG format offers transparency, quality preservation, and cross-platform compatibility that make it perfect for icons.
CapCut provides a fantastic platform for this conversion process, whether you use the web version or desktop software. Its user-friendly interface, powerful editing features, and flexible export options make it accessible to beginners while