TOOL HUNTER

Ever noticed how some photos just grab your attention? There’s a good chance that blurring played a role in making that happen. According to Forbes research, over 91% of people prefer looking at images rather than reading plain text. That’s because photos help us tell stories, share emotions, and connect with others in ways words sometimes can’t.
But here’s the thing – sometimes you don’t want everything in your photo to be crystal clear. Maybe there’s something in the background you’d rather hide, or perhaps you want to make your main subject pop. This is where learning to blur in photo editing becomes super useful.
Blurring isn’t just about making things fuzzy or out of focus. It’s actually a powerful creative tool that can add depth, create mystery, and direct attention exactly where you want it. Whether you’re into social media, photography, or just want to make your personal photos more interesting, knowing how to blur pictures online is a skill worth having.
Table of Contents
- Getting Started with Online Photo Blurring
- Step-by-Step Guide to Blurring with CapCut
- Beyond Blurring: Additional Creative Features
- Practical Applications of Photo Blurring
- The Advantages of Using Blur Effects
- Answering Common Questions About Online Photo Blurring
- Real-World Examples and Use Cases
- Advanced Techniques and Creative Possibilities
- Making the Most of Your Blur Editing Experience
- The Future of Online Photo Editing
- Final Thoughts on Photo Blurring
Getting Started with Online Photo Blurring
The beauty of modern technology is that you don’t need expensive software or professional skills to create stunning effects. With online tools, anyone can learn to blur a photo online quickly and easily. The key is finding the right tool that offers both simplicity and powerful features.
When you want to blur photo online, you’re looking for something that gives you control without being complicated. You want to be able to choose which areas to blur, how much blur to apply, and maybe even add some creative touches along the way. The best part? Many of these tools are completely free to use.
Step-by-Step Guide to Blurring with CapCut
Let’s walk through how you can transform your images using CapCut’s blur photo online features. The process is straightforward and user-friendly, perfect for beginners and experienced editors alike.
First, you’ll need to access the CapCut online editor through your web browser. No downloads required – just open the website and you’re ready to start. The interface is clean and intuitive, so you won’t feel overwhelmed by too many options.

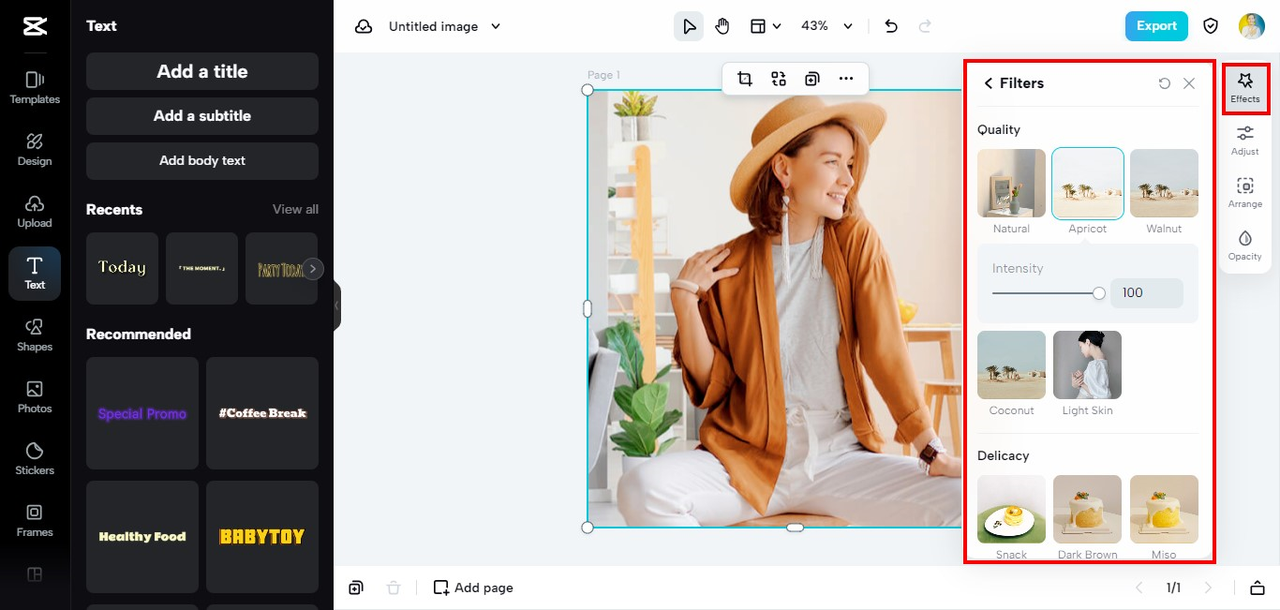
Once you’ve uploaded your image, you’ll find the blur tool under the “Effects” menu. Here’s where the magic happens. You can choose between different blur intensities and apply them to specific areas using the masking tool. This means you can selectively blur picture online without affecting your entire image.
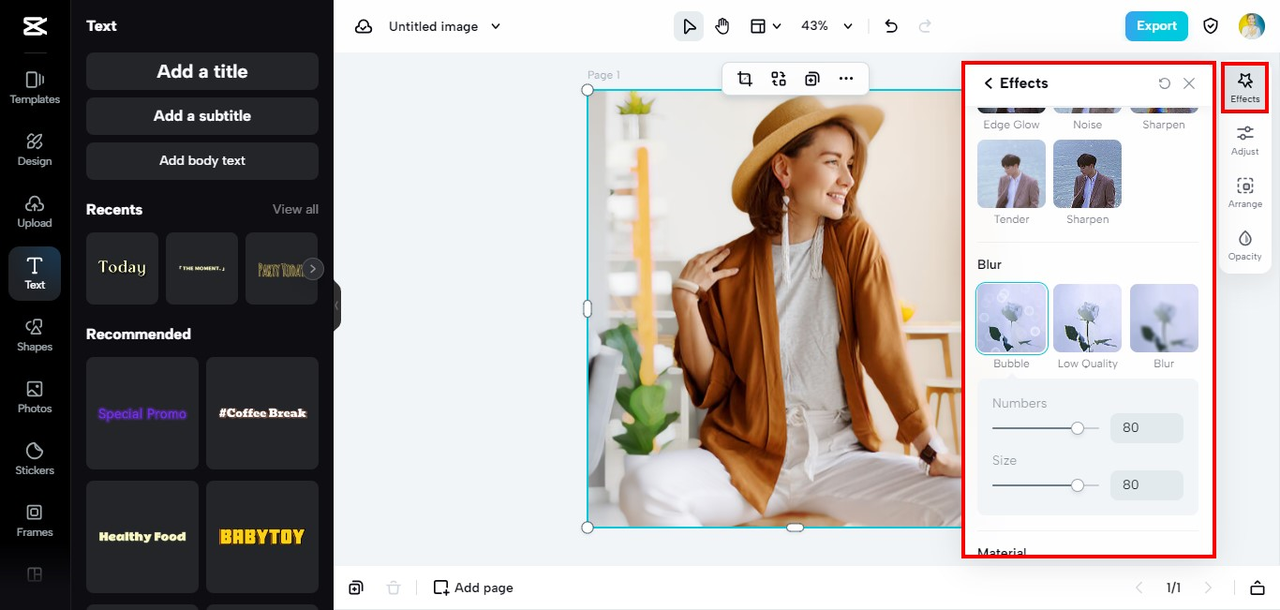
The real-time preview lets you see exactly how your changes will look, so you can adjust until everything looks perfect. Whether you’re going for a subtle background blur or a more dramatic effect, you have complete control over the final result.
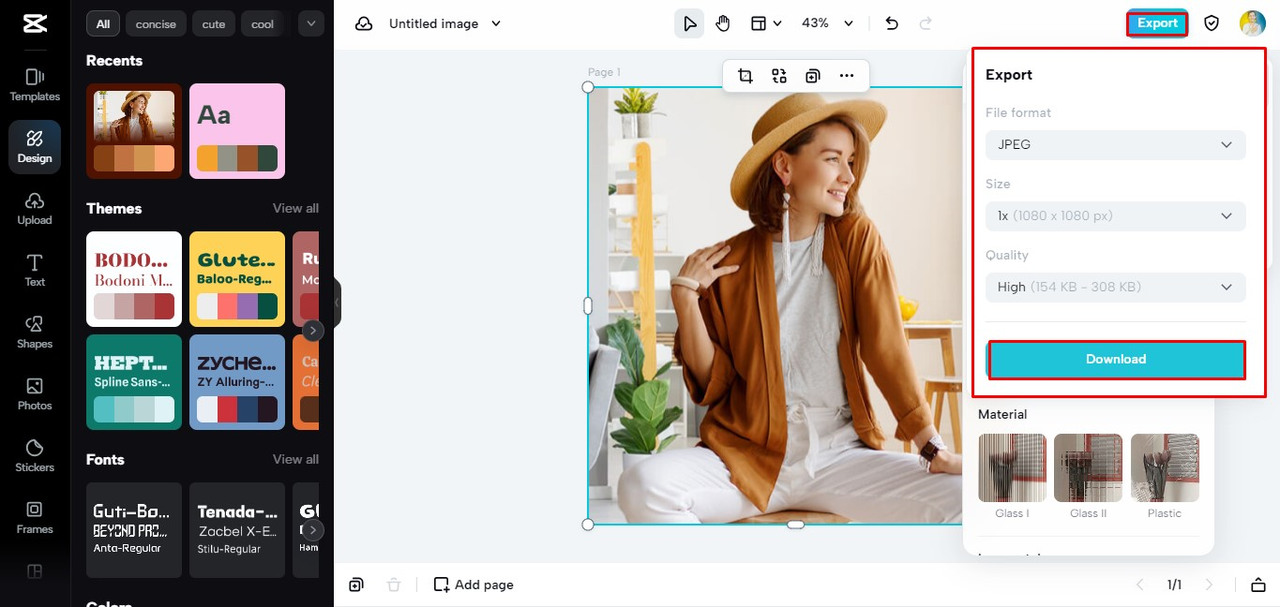
When you’re happy with your edits, simply export your image in your preferred format and quality. The whole process from upload to download takes just minutes, but the impact on your photos can be huge.
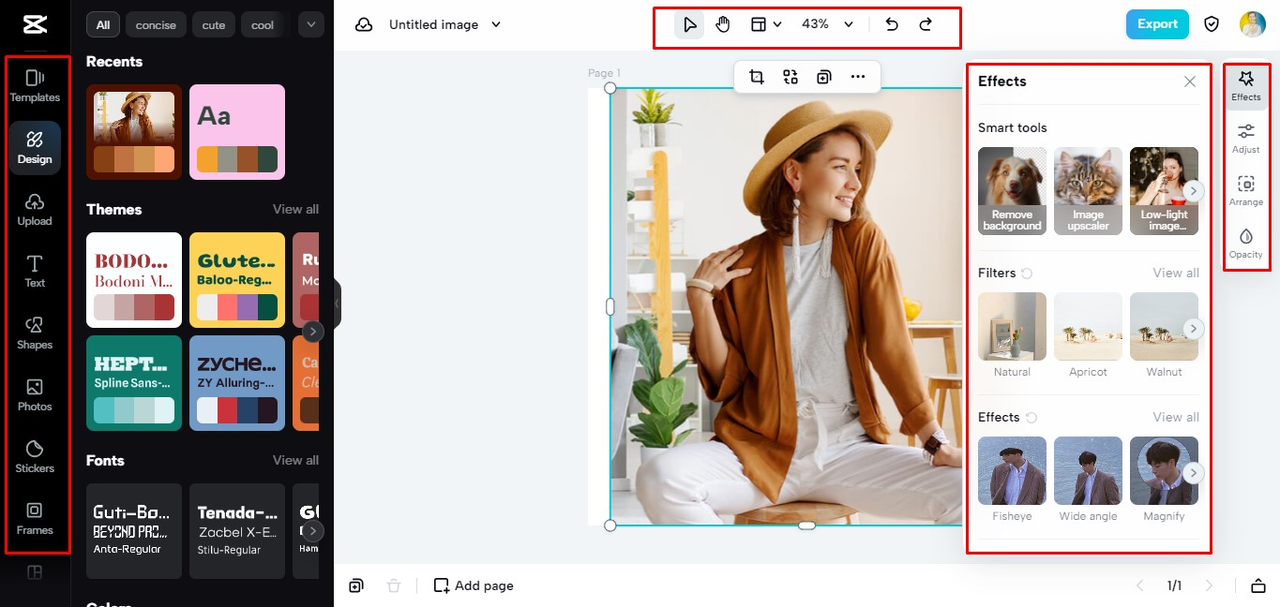
Beyond Blurring: Additional Creative Features
What makes CapCut stand out as a blur photo online tool is that it’s so much more than just a blur editor. While the blur functionality is excellent, you also get access to a whole suite of editing features that can take your images to the next level.
The effects library is particularly impressive. You can add everything from subtle lighting adjustments to dramatic transformations that completely change the mood of your photo. It’s like having a professional photo studio at your fingertips.

Filters are another great way to enhance your images quickly. Whether you’re going for a vintage film look, a crisp black-and-white conversion, or vibrant colors that pop, there’s a filter for every style and occasion.
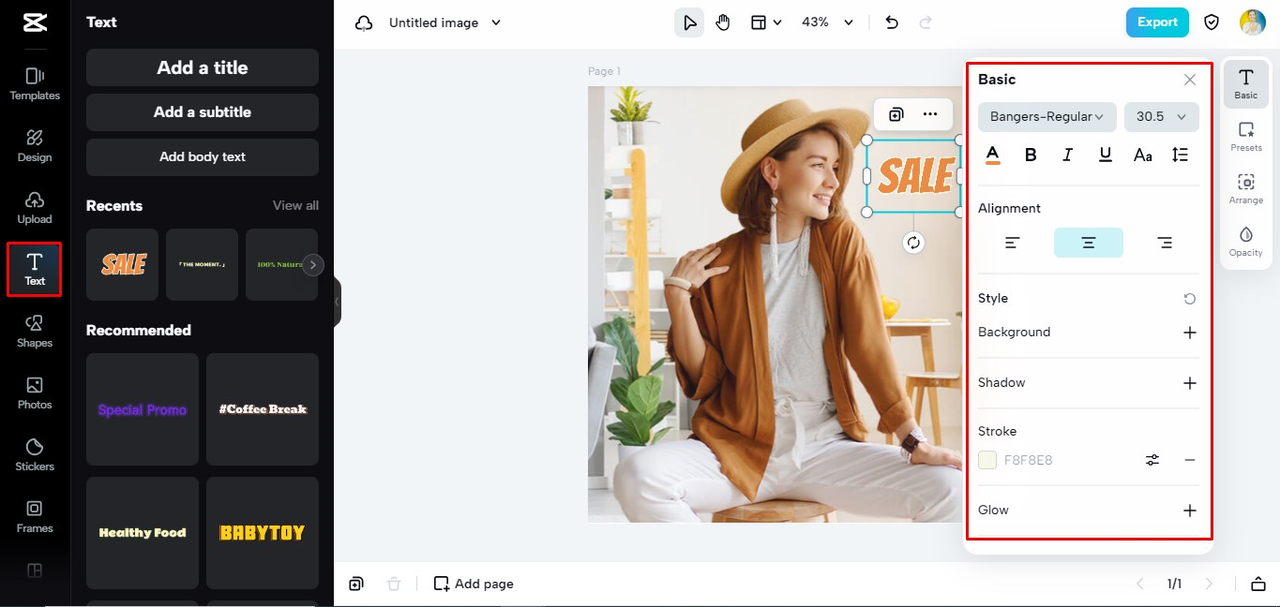
For those who want to add personal touches, the text and sticker options are fantastic. You can add captions, create memes, or just decorate your photos with fun elements that express your personality.
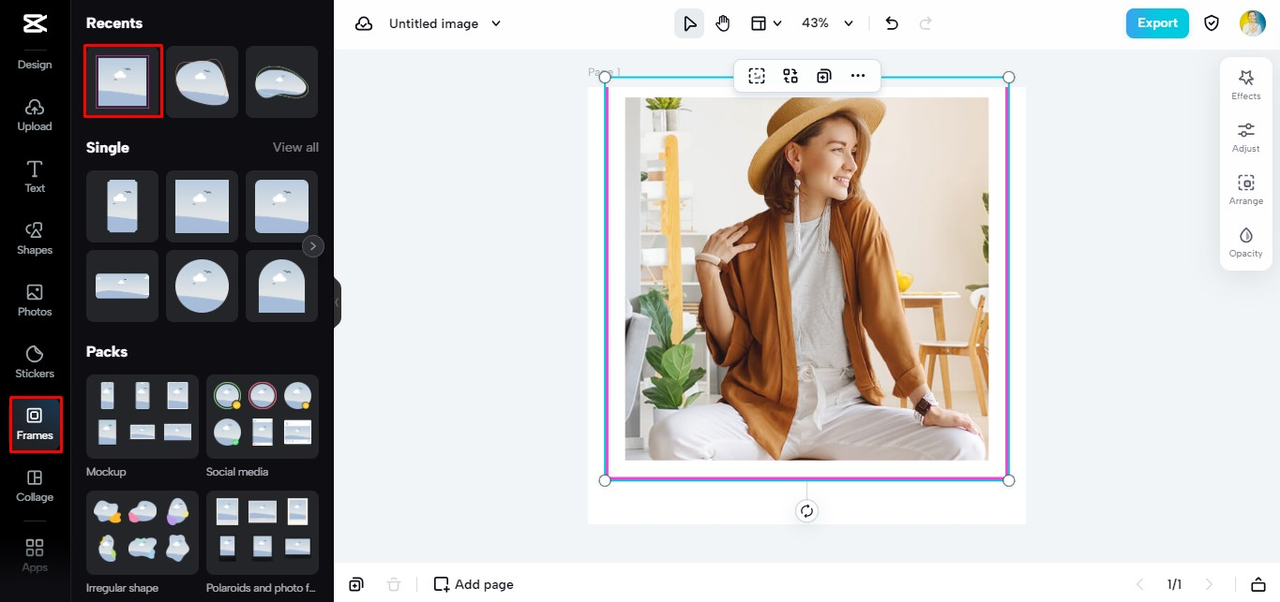
Framing your photos can give them a finished, professional look. The frame options range from simple borders to more elaborate designs that complement your image’s style and content.
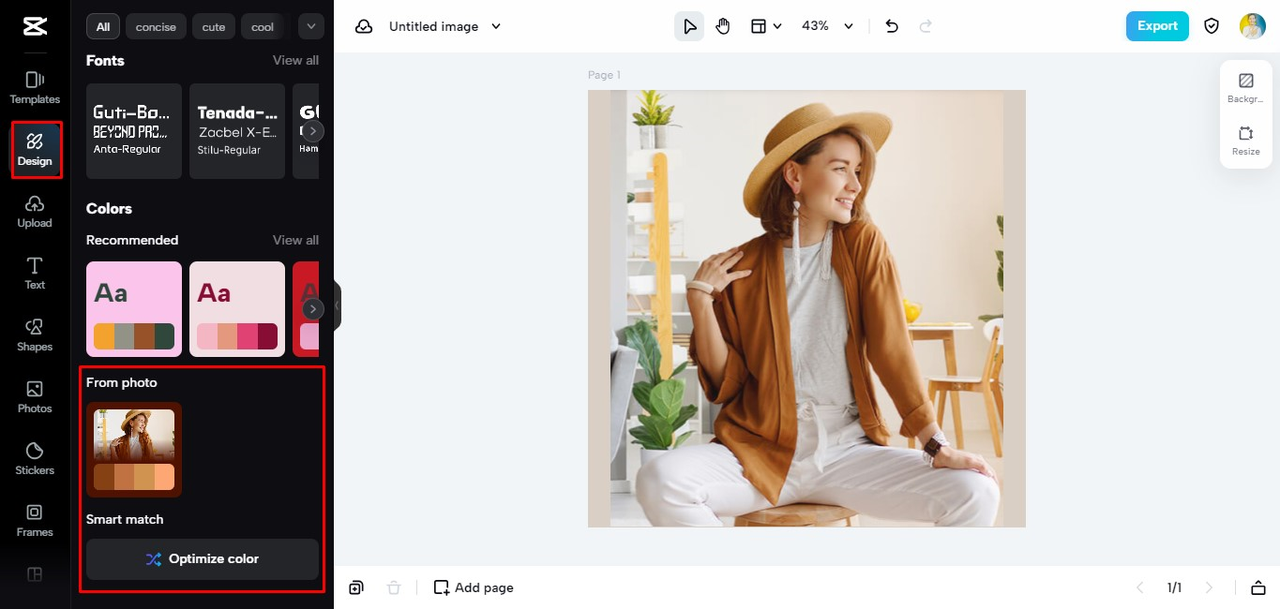
Color matching is another standout feature, especially if you’re working with multiple images that need consistent coloring. The AI-powered tools make technical adjustments easy, so you can focus on being creative.
Practical Applications of Photo Blurring
So when exactly should you consider using blur in photo editing? The applications are more varied than you might think, and they go beyond just making things look artistic.
Privacy protection is probably the most practical use case. We all share photos online these days, but not everyone in your pictures may want to be publicly visible. Maybe you caught someone in the background who wasn’t expecting to be photographed, or perhaps you’re sharing family photos but want to protect the identities of certain people. Being able to blur a photo online quickly means you can share your memories while respecting others’ privacy.
Directional focus is another powerful application. Every photo tells a story, and sometimes you want to guide the viewer’s eye to specific elements of that story. By blurring distracting background elements, you can make your main subject stand out more clearly. This is especially useful for product photography, portrait shots, or any situation where you want to eliminate visual competition for attention.
Creative expression is where blurring really gets fun. You can use blur effects to create mood, suggest movement, or add dreamlike qualities to your images. It’s a way to transform ordinary snapshots into artistic expressions that capture attention and imagination.
Technical correction is another practical use. Not every photo is taken under ideal conditions, and sometimes there are elements in the frame that you’d rather not include. Instead of trying to crop out these elements (which might compromise your composition), you can simply blur them into obscurity. This works great for removing temporary imperfections, distracting backgrounds, or unintended photobombers.
The Advantages of Using Blur Effects
Understanding why blurring works can help you use it more effectively in your own photos. The benefits go beyond just making things look nice – there’s actual psychology behind why blur effects are so powerful.
The spotlight effect is perhaps the most noticeable benefit. When you blur everything except your main subject, you’re essentially creating a visual hierarchy that tells viewers exactly where to look. This is incredibly useful for emphasis and storytelling through imagery.
Visual simplification is another major advantage. Modern life is visually noisy, and sometimes photos can feel cluttered or busy. Strategic blurring helps reduce visual complexity, making your images easier to “read” and more pleasant to look at. This is why professional photographers often use shallow depth of field – it creates natural blur that simplifies backgrounds.
Mood creation is an often-overlooked benefit of blurring. Different types of blur can create different emotional responses. A soft, subtle blur might create a dreamy, romantic feeling, while a more dramatic motion blur can convey energy and movement. Learning to use these effects intentionally can greatly enhance the emotional impact of your photos.
Professional polish is another reason to embrace blur effects. Even simple photos can look more professional and intentional with careful use of blurring. It shows that you’ve put thought into composition and focus, which elevates your work above casual snapshots.
Technical problem-solving might not be glamorous, but it’s incredibly practical. Blurring can fix a multitude of issues that might otherwise ruin a good photo. From hiding sensor dust spots to minimizing background distractions, having blur tools in your editing arsenal means you can salvage photos that might otherwise be unusable.
CapCut — Your all-in-one video & photo editing powerhouse! Experience AI auto-editing, realistic effects, a huge template library, and AI audio transformation. Easily create professional masterpieces and social media viral hits. Available on Desktop, Web, and Mobile App.

Answering Common Questions About Online Photo Blurring
Many people have questions when they first start exploring online photo editing tools, especially when it comes to privacy and reliability.
Security concerns are completely valid when using online tools. You’re uploading personal photos to a website, so you want to know they’ll be handled responsibly. Reputable services understand this concern and implement strong security measures to protect user privacy. They typically process images without storing them long-term and use secure connections to prevent unauthorized access.
The free versus paid question comes up frequently. Many people wonder how companies can offer powerful editing tools for free. The answer usually involves freemium models where basic features are free, while advanced capabilities might require payment. Some companies also offer free tools as a way to introduce users to their broader ecosystem of products and services.
Ease of use is a common concern, especially for beginners. The good news is that modern online editors are designed with simplicity in mind. You don’t need technical expertise or prior experience to achieve great results. The interfaces are intuitive, and there are usually tutorials or guides available if you need help.
Quality considerations are important too. People often worry that online tools might reduce image quality or add compression artifacts. While this can be an issue with some services, the better platforms maintain high quality throughout the editing process. They understand that output quality matters to their users.
Device compatibility is another frequent question. People want to know if they can use these tools on their phones, tablets, or computers. The best online editors work across multiple devices and platforms, often syncing your work automatically so you can start on one device and finish on another.
Real-World Examples and Use Cases
Seeing how others use blur effects can inspire your own creative projects. The applications are nearly endless, but some patterns emerge when you look at how people actually use these tools in practice.
Social media content creators often use blur effects to make their posts more engaging. A food blogger might blur the background to make a dish stand out, while a travel influencer might use blur to create a sense of depth in landscape shots. The ability to quickly blur picture online means they can maintain a consistent posting schedule without spending hours editing.
Small business owners find blurring incredibly useful for product photography. Not everyone can afford professional product shots, but with online editing tools, they can create clean, focused images that highlight their products effectively. Being able to blur a photo online means they can use photos taken in less-than-ideal environments and still get professional-looking results.
Photography enthusiasts use blur tools both creatively and technically. They might use blur to simulate shallow depth of field that their equipment can’t achieve naturally, or to salvage shots where the background is too busy. For hobbyists who want to improve their photos without investing in expensive gear, these tools are invaluable.
Educators and content creators use blurring for practical purposes like anonymizing student work, creating focus in educational materials, or producing clean-looking graphics for presentations. The ability to blur photo online quickly means they can create professional-looking materials without needing design expertise.
Personal users might use blur tools for everything from enhancing family photos to creating artistic prints for their homes. The barrier to entry is low, but the creative possibilities are extensive. Many people discover a passion for photography through these accessible editing tools.
Advanced Techniques and Creative Possibilities
Once you’ve mastered the basics of blurring, you can explore more advanced techniques that can really make your images stand out.
Selective blurring is a powerful technique where you apply different amounts of blur to different parts of your image. This can create a sense of depth and dimension that makes your photos feel more three-dimensional. It’s like guiding the viewer’s eye through the image in a specific sequence.
Motion blur effects can suggest movement and energy in otherwise static images. This is great for sports photography, action shots, or any situation where you want to convey a sense of dynamism. The key is using motion blur intentionally rather than randomly.
Radial blur creates a swirling effect that draws attention toward the center of the image. This can be used for dramatic emphasis or to create dreamlike, surreal effects. It’s particularly effective for portraits or images where you want to create a sense of mystery.
Zoom blur mimics the effect of zooming your lens during exposure, creating streaks that radiate from the center of the image. This technique can add energy and movement to otherwise static scenes, and it’s great for creating abstract effects.
Lens blur effects try to replicate the specific characteristics of different camera lenses. Some lenses create smooth, creamy blur (often called bokeh), while others have distinctive blur patterns. Being able to simulate these effects gives you creative options beyond what your equipment might normally allow.
CapCut — Your all-in-one video & photo editing powerhouse! Experience AI auto-editing, realistic effects, a huge template library, and AI audio transformation. Easily create professional masterpieces and social media viral hits. Available on Desktop, Web, and Mobile App.
Making the Most of Your Blur Editing Experience
To get the best results from your blur editing, there are some practices and considerations that can help you work more effectively and efficiently.
Starting with high-quality source images always gives you better results. While you can apply blur effects to any image, higher resolution photos give you more flexibility and better final quality. The blur effects will look cleaner and more professional when applied to good source material.
Working non-destructively is a key professional practice. This means keeping your original image intact while applying edits separately. Many online editors automatically work this way, but it’s good to understand how your chosen tool handles this. Non-destructive editing lets you experiment freely without worrying about ruining your original photo.
Understanding different file formats can help you make better decisions about quality versus file size. JPEG is great for photographs but uses lossy compression, while PNG preserves quality but creates larger files. Knowing which format to use for different purposes will help you maintain quality while managing file sizes appropriately.
Using presets and templates can speed up your workflow significantly. Once you find blur settings that work well for certain types of photos, you can save them as presets for future use. This consistency is especially valuable if you’re creating content for a brand or maintaining a cohesive visual style across multiple images.
Learning to see like an editor takes practice but dramatically improves your results. Start paying attention to how professional photographers use blur and focus in their work. Notice how your eye moves through images and what elements grab your attention first. This awareness will help you make more intentional decisions about where and how to apply blur effects in your own photos.
The Future of Online Photo Editing
As technology continues to evolve, online photo editing tools are becoming increasingly sophisticated while remaining accessible to casual users. The trends point toward more AI-assisted editing, smarter automatic adjustments, and even more intuitive interfaces.
The integration of blur tools with other editing features will likely become more seamless. Instead of working with blur as a separate effect, you might see tools that intelligently suggest blur applications based on your image content and composition goals.
Mobile editing capabilities will continue to improve, making it possible to achieve professional-level results directly from your smartphone. As phone cameras get better and editing apps become more powerful, the line between mobile and desktop editing will continue to blur (pun intended).
Social media integration might become more sophisticated, with platforms offering built-in editing tools that understand the specific requirements of different social networks. This could include optimized blur settings for different platforms’ aspect ratios and display characteristics.
Educational resources will likely become more integrated with editing tools themselves. We might see in-app tutorials, guided editing workflows, and intelligent suggestions that help users learn as they edit. This would make powerful editing techniques accessible to even more people.
Final Thoughts on Photo Blurring
Learning to effectively use blur in photo editing opens up a world of creative possibilities. What starts as a simple technique for hiding distractions or protecting privacy can evolve into a sophisticated tool for visual storytelling and artistic expression.
The accessibility of modern online editors means that anyone can experiment with these techniques regardless of their experience level or budget. You don’t need expensive software or professional training to start creating images that capture attention and communicate effectively.
The key is to start experimenting and developing your eye for what works. Try different types of blur on different kinds of images. Pay attention to how the changes affect the mood and focus of your photos. Over time, you’ll develop an intuition for when and how to use blur effects to enhance your images.
Remember that like any creative tool, blur is most effective when used intentionally. It’s not about applying effects randomly, but about making thoughtful choices that serve your creative vision. Whether you’re editing personal photos, creating content for social media, or developing professional work, thoughtful use of blur can elevate your images from ordinary to extraordinary.
The best way to improve is through practice and experimentation. Fortunately, with free online tools, you can experiment as much as you want without any cost or commitment. So upload some photos, play with the blur tools, and discover how this simple technique can transform your images.
Some images courtesy of CapCut